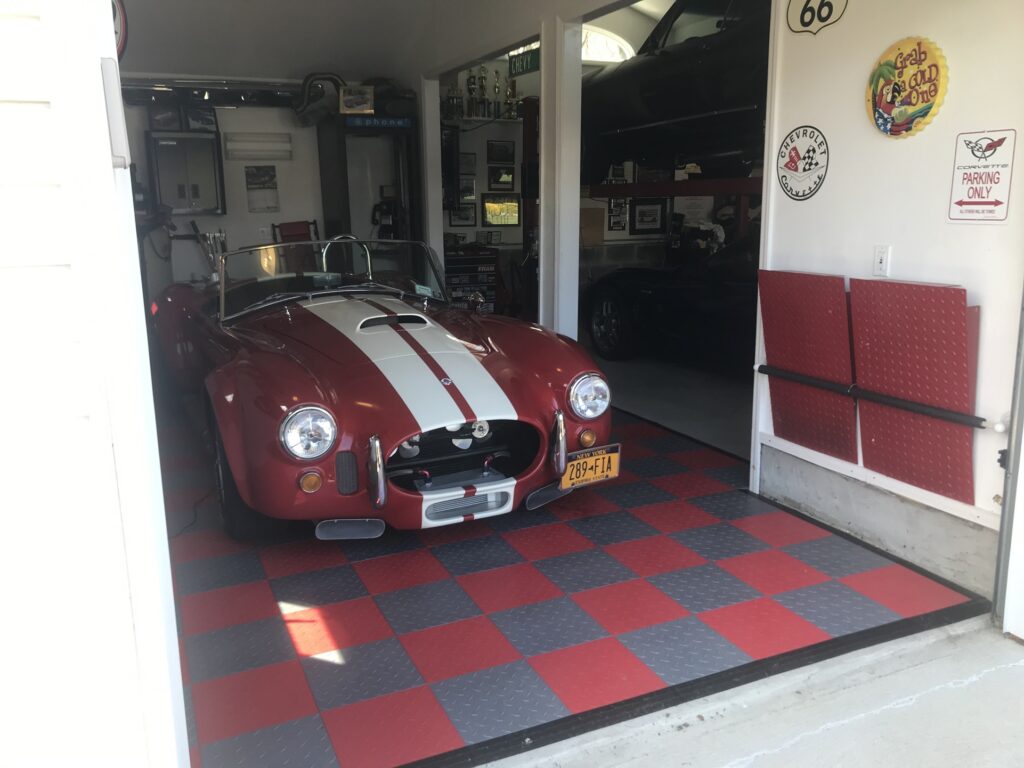
If you are reading this, it is almost certain that as a car enthusiast have a non-daily-driven car somewhere in a locked garage. Coronavirus notwithstanding, it is time to unlock the door, let the dogs out, fire it up, and drive it leaving the home isolation behind. But you have some car inspections to make before you hit the road to keep your classic car in Tip Top Form
I assume that the car has been sitting over the winter, say three to six months. If the car’s been sitting for years instead of months, you get into a whole other level of issues like bad gas, clogged fuel lines, corroded cooling system components, and failed brake and clutch hydraulic seals. But for a winter season’s sit, the list below should be fairly complete.
Visual Inspection
First take a thorough walk around the classic car or truck checking to see if anything is visibly loose or damaged. This check should include both inside and out so quick repairs can be made before it turns into a major fix or lost parts.
Tires
If, when you roll open the garage door for the first time in months, one of your vintage car’s tires is wheel-on-the-cement flat, that is your first priority. If that is the case, you need to put air in that tire before you can move the old car. So, if you do not have a compressor in the garage, buy a portable compressor that runs off the cigarette lighter socket, or better yet, runs off 12V DC or a 120VAC adapter. Put air in the tire and then see what it is going to do. If you immediately hear it hissing from a puncture or a bad valve stem, you need to stop everything, jack up the car, pull the wheel off, and either swap for the spare or get this one fixed. If you do not hear hissing, you can see whether the leak deflates the tire over hours or days. Just remember that it deflated over the winter, so it is going to do it again.
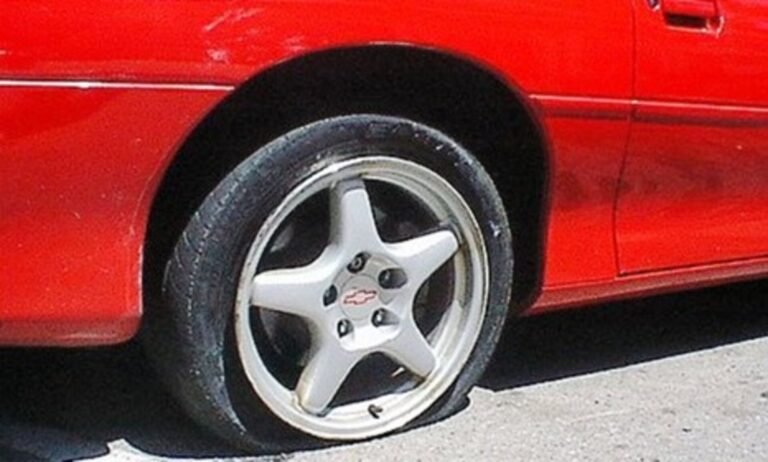
When you open the garage door and find a flat, everything grinds to a halt even before it starts.
Then, check the pressure of all four tires. Make sure that all the tires have air pressure that meets manufacturer’s specification, including the spare tire just in case. While you are doing that, it is a good idea to inspect the tire sidewalls for cracking. Odds are that if the car is stored indoors, the tires aren’t going to get much worse over a single winter, but it’s easy for 10 years to go by one winter at a time, and the tires slowly fade from “OK” to a not safe to drive condition.
Fluids outside
Next, look under the engine compartment for evidence of leaks. Hopefully, all you find is a few dots of oil from where the classic car’s been leaking out the front timing cover for the last 40 years and nothing more. Anything green is antifreeze, and its source should be identified before you drive the car. A minor leak can quickly mushroom into a gusher. Blue liquid can be either antifreeze or washer fluid. Slightly pink or red fluid is from an automatic transmission; some older transmissions can leak over the long sitting time, but the seal comes back to life after a short drive. Clear liquids are usually power steering or brake fluid. I am not above doing the pinky-in-the-fluid-and-tongue-touch-to-the-pinky test (antifreeze is sickly sweet), but I am old and cannot be easily killed.

If you do not hunt down the source of an antifreeze leak, it will bite you.
Move to the back of the vintage car where the fuel tank is, skooch under, look, and sniff. Vintage cars have metal fuel tanks, and they can leak from age, particularly with Ethanol’s propensity for attracting water. It is good practice to store an old car with a full tank of gas (this eliminates the chance for humid air to get into the tank and contaminate the gas with water). If you find the tank leaking, it ruins your day, since you now need to drain it. Gas can also leak from rotted or cracked rubber fuel lines. Gasoline is not like oil or antifreeze; there should be a zero-tolerance policy for any amount of fuel leakage. You should also sniff in the engine compartment to be certain gas is not leaking there.
Fluids inside
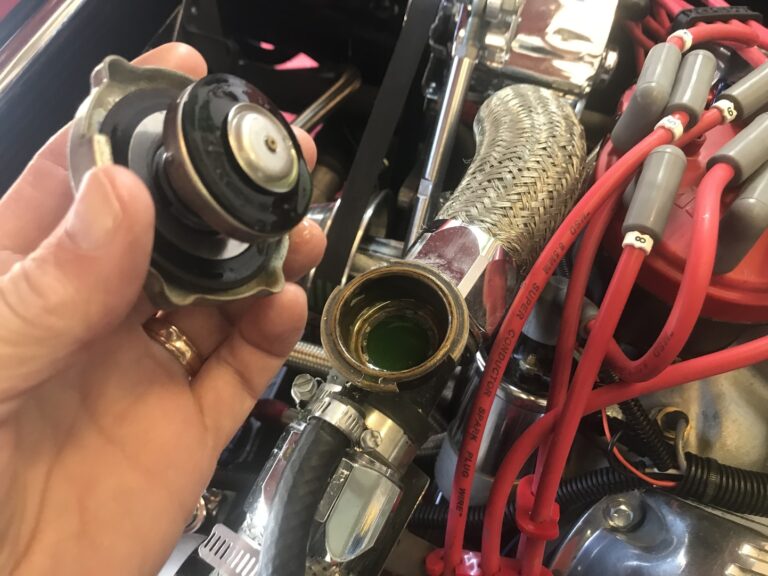
Check the oil, coolant, brake fluid levels, power steering, and clutch reservoir if equipped. Classic car collectors have varying practices on changing the oil, but most do a complete change in the Fall after the last drive or 1st thing in the Spring start up. Either way it is good to start the season with fresh oil and filter. I give a quick look inside the radiator or expansion tank to both check the level and see if there is any oil in there indicating a weakening head gasket. Also, check to see that it is a good color. There are gauges to check the coolant condition as well.
The critter checks
If your garage has an affinity for rodents and they have made your car home, they can deposit a lot of material in the air cleaner in a short amount of time. It is good insurance to pop the top off the air cleaner and have a quick look inside. Also, check around the engine compartment for any signs, as many rodents do love to chew on wires.
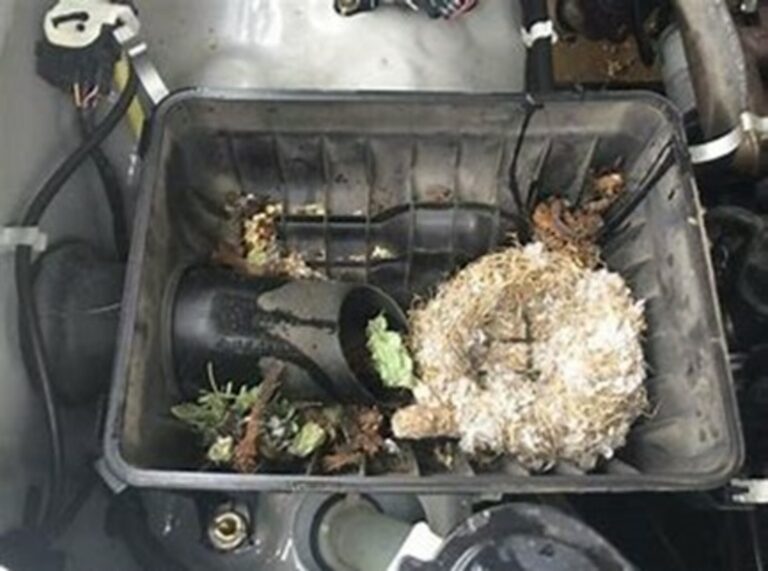
If you find this, you will be glad you looked.
Hoses and belts
Give the hoses and belts a quick inspection. Squeeze the hoses. If any of them are pillow-y soft, order replacements. Inspect the belts for cracks and cuts and put a thumb on each of them to check the tension. If they are obviously loose, take a moment and tighten them.
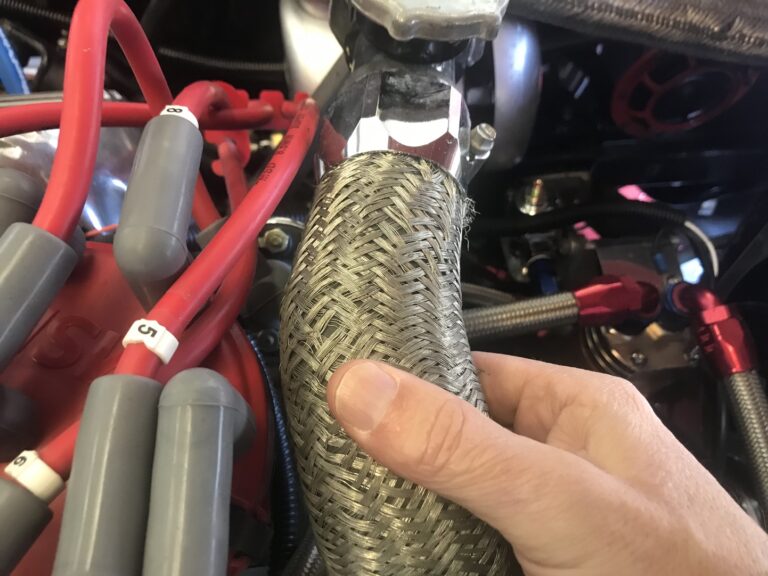
Check for soft hoses.
Battery
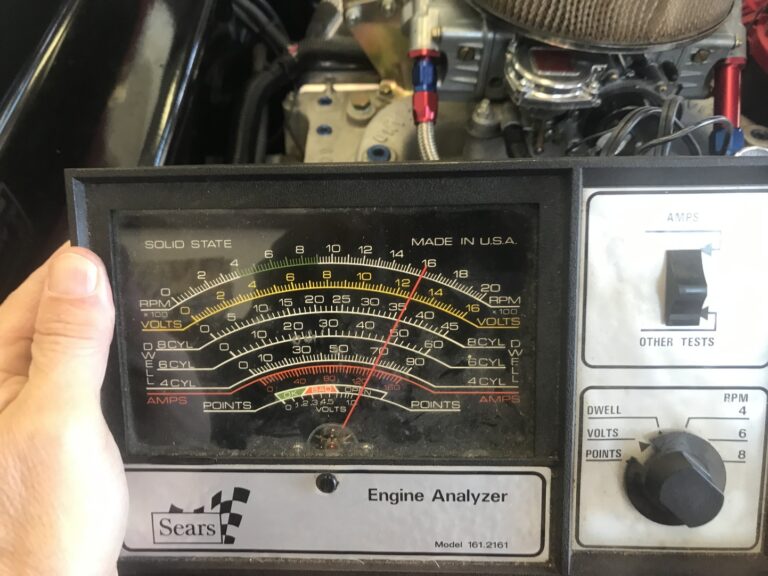
We will come back to the battery in cranking (below), but here is where I talk about what you should have done when you put the car away last Fall. If the battery has been on a tender or trickle-charger for the winter, it is probably fine. Since I store several of my cars in a remote garage without electricity, I cannot trickle-charge them. Instead, I simply unhook the negative battery terminal over the winter. Most of the time, when I reconnect it three or four or six months later, the engine turns right over. But if you did not do either of these things, you will probably have a problem. You can take a multimeter, set it to measure voltage, and put the two probes on the battery terminals. If it reads 12.6 volts, or near it, the battery is fully charged. If it is in good health and the cable connections are good, it should turn the engine over. But with every 0.2-volt drop, the battery loses about 25 percent of its cranking power. If it is reading closer to 12 volts than 12.6, it’s unlikely to crank the engine over without being connected to a good three-stage battery charger for several hours. So, measure it, and if you need to charge it, do so.
If your battery voltage is not very close to 12.6 V, the engine is going to crank slowly, if at all, until the battery is fully charged. Some old cars also have after-market ignition systems which require a minimum of 12 volts to operate so proper voltage is key to getting the car to start.
The crank-over
If the car has passed the above checks, the engine is ready to be cranked. As I said above, if the battery is fully charged and registering about 12.6 volts, it should crank when you turn the key. If it does not crank, clean the battery and cable terminals and try again. If the voltage is a little low, you can jump-start the car, but if the battery is deeply drained (i.e., turn the key and you get a click of the starter but that’s all), or worse, flatlined (less than 10.5 volts, or the car’s dash lights barely even turn on), it’s best to replace the battery. Alternators are not designed to charge deeply discharged batteries. Although old analog cars often do not seem to mind, post-OBDII cars with a proliferation of electronic control modules can do very odd things, including bucking and dying, if a deeply discharged battery is jump-started and the car is driven.
If the vintage car is fuel injected, it will likely start in just a few seconds when the starter is cranked. If it does not, the fuel pump may not be running, either due to a popped fuse, stuck relay, or the pump itself. Carbureted cars often take much longer to start due to the lower fuel pump pressure, the need to refill the float bowls, the far less precise air/fuel metering, and the lack of direct spray into the cylinders. A short blast of starting fluid into the carburetor throat can coax the engine to life. If a carbureted car still will not start after sitting, the problem is often that an old fuel line has become dry-rotted and is sucking air rather than fuel.
The eyeballs-on idle
Once the engine is running, let it idle for about a minute. Then shut it off and look under the engine for any fluid dripping or streaming out.
Electrical check
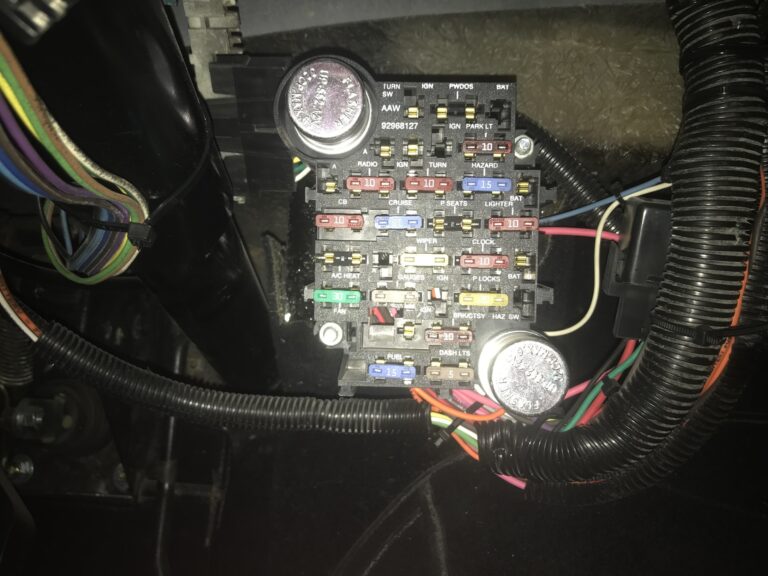
It is now a good time to check your lights both inside and out. Turn on your parking lights and check the lights; do the same for the regular lights and high beams. Follow that with the turn signals in both directions. Check your dash lights to make sure they are also operating properly. The older bulbs do have a tendency to go bad. It is also good to take a flashlight to check your fuse box to see if there are any burned fuses or leads.
Twice around the block
It is common for brake pads to stick to rotors from sitting. If the classic car has been stored indoors, the rotors probably will not have rusted much, but you still want to scope it out. Take the car for an easy lap around the block. Brake gently to verify that the brake pedal is firm and functional, then push more firmly. Pick up speed and do it again. Note any brake pedal shudder (pulsation), pulling to one side, and steering wheel shimmy. Pull back into the driveway and check again for any fluid leakage.
A real test drive
Take the classic car up onto the highway or another road where you can build speed. Verify that it comes up to operating temperature in about the middle of the gauge and stays there. Continue to test the brakes for shuddering or pulling. If the brake pedal is still pulsating, there are still unwiped deposits on it. A series of hard braking exercises (first verifying that no one is behind you) may wipe the rotors clean, or you may find that it does not go away. Then you need to buy new rotors. If there is steering wheel shimmy that was not there in the fall, it is likely the tires are flat spotted from sitting. It may go away. It may not. Come home, recheck for fluid leakage, and check again the next morning.
If the old car passes these tests, I feel rather good about thinking that it is in about the same condition it was in when put away in the Fall. I am beginning to enjoy it in the spring, but keep in mind that it does not mean that the car has been healed of any unknown problems. Cars are not biological systems; they do not mend themselves with a good long sleep.