
So, you walk out to your classic car, and something just does not look right. Your car is leaning to one side and as you walk around you discover one of your tires is flat. Maybe you are lucky, and it is in your own driveway or maybe you have prepared for just this instance and you are ready to start plugging a leaking tire.
The first thing you will need to do is determine if your tire is worthy of being plugged. Where and how badly your tire is damaged will determine whether or not plugging it is a viable solution.
- As a rule of thumb, you do not want to plug a tire too close to the side wall, as the side wall flexes on turns and may result in the failure of your plug or worse a blowout. Typically, you only want to plug a tire within the treads of the tire and even then, you do not want to be too close to the side wall even if it is within the last row of treads.
- Next you want to determine if the damage to the tire is even able to be plugged, while I have seen people put several tire plug cords in one hole, it is certainly not advisable. Not as a permanent fix, anyway. There are also limits as too how many plugs one should be put in a single tire even if they are not in the same repair.
However, even after the assess the situation, if you are in the middle of nowhere with no cell service and no spare tire, your only choice may be to plug the tire, drive slowly and make it to safer location where you can properly address the damaged tire.
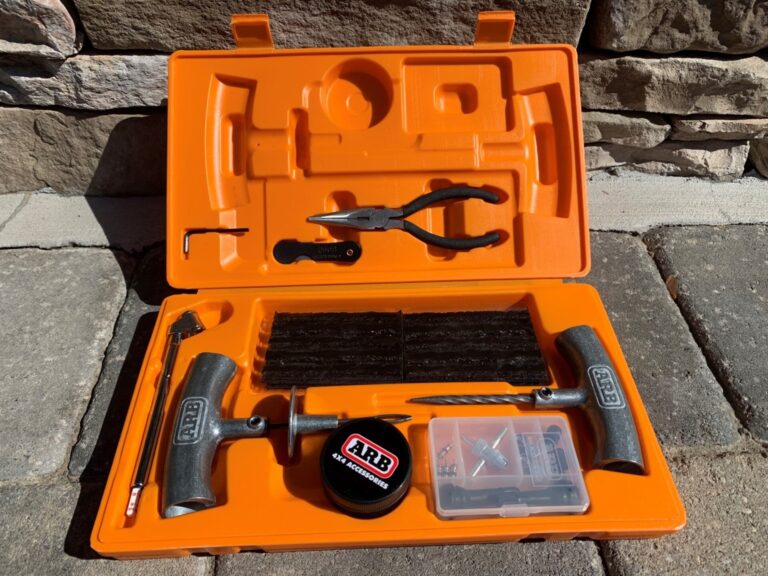
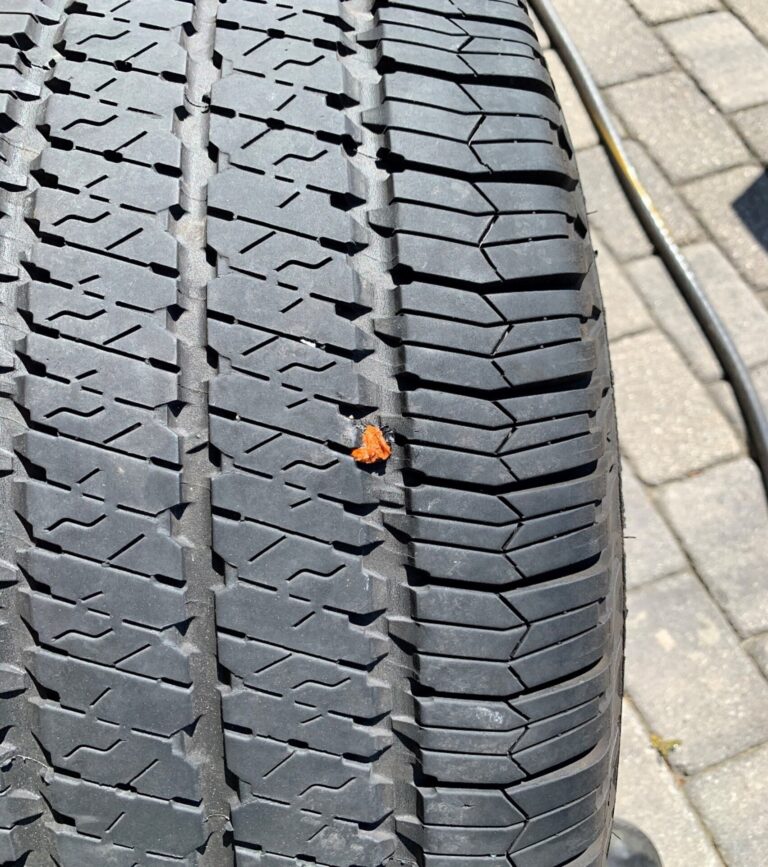
So, you have assessed the situation, it is a simple puncture in the center of the tread, and you have decided to plug the tire. You will need the following tools and items:
- Pliers (to remove the debris)
- Reaming Tool (to clean out the hole)
- Repair Cords (to plug the hole)
- Cord Insertion Tool (to insert the Cord)
- Air Pump (to reinflate the tire)
There are many different tire repair kits on the market and available at your local auto parts store or even Home Depot.
Steps in Plugging a Tire:
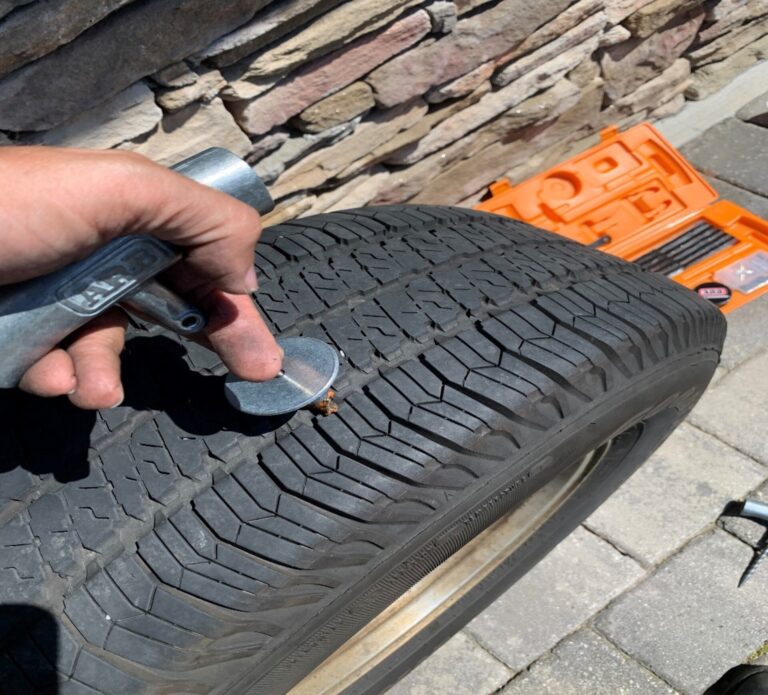
- Remove debris from tire using the pliers. Note: Residual air will escape once the object has been removed.

2. If available, apply lubricant to the Reaming Tool. The lubricant helps to keep the belts separated and allows for easier insertion of the repair cords in Step 4.
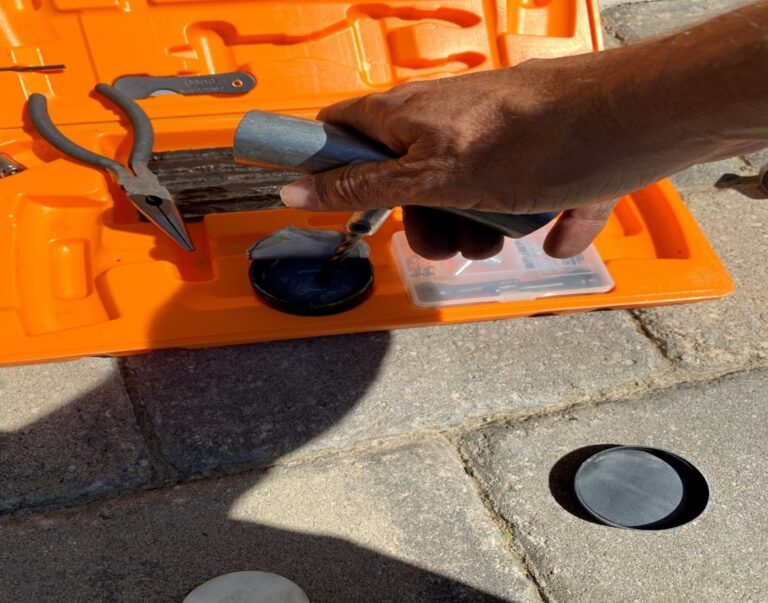
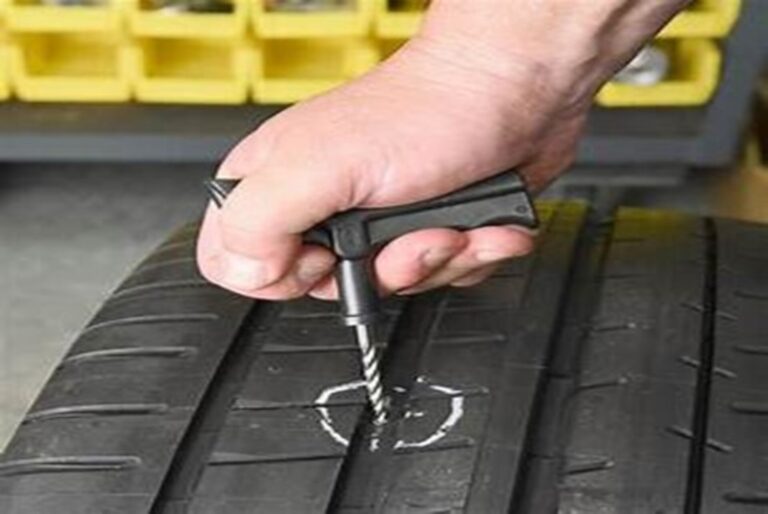
3. Insert the reaming tool into the puncture hole and push while rotating the handle of the reaming tool. It may be necessary to re-inflate or add air to the tire in order to help with this step and Step 4.
4. Thread the repair cord through the eye of the insertion tool until equal parts are on either side of the tool. If available, you may also add lubricant to the tip to make insertion easier but, but it is certainly not necessary.
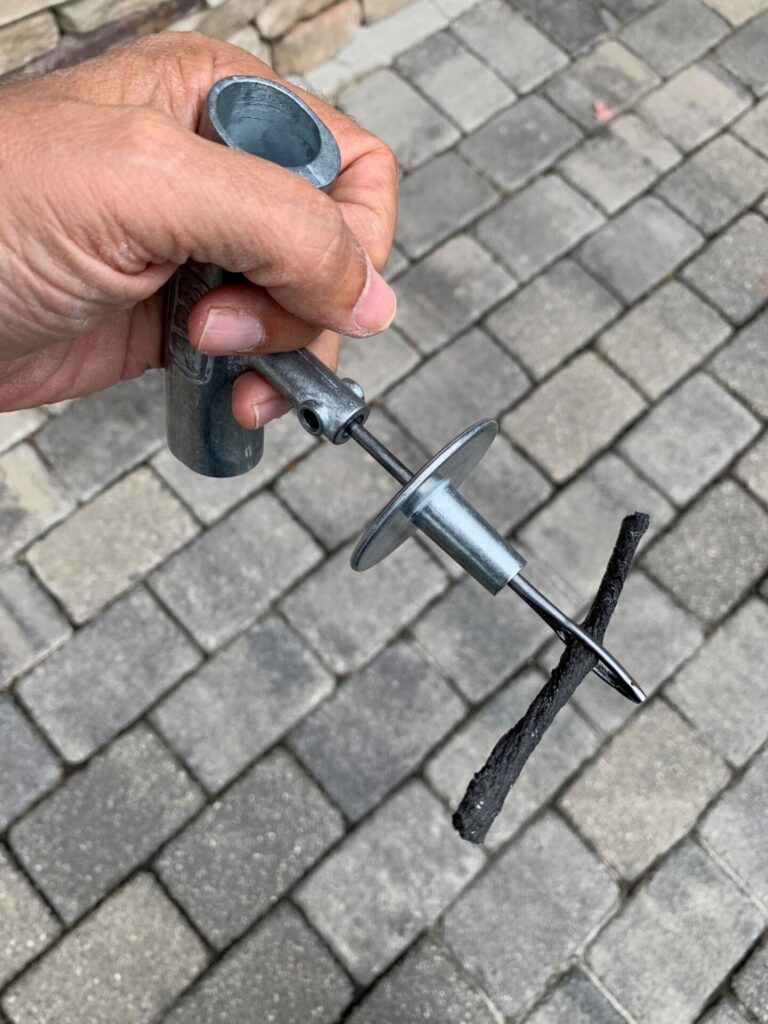
5. Firmly push the insertion tool and cord into the tire until the sleeve of the insertion tool is full against tire. NOTE: A small amount of cord should still be visible.
6. To remove the tool, hold down the sleeve firmly against the tire and pull up on the handle. NOTE: do not twist the handle. Trim the excess cord with a razor blade.
7. Re-inflate the tire using a suitable compressor to the recommended tire pressure and check for leaks.
Plugging a leaking tire on your own is much simpler than one would think, and can be done anywhere provided you have the right tools and a compressor in order to reinflate the tire during or after repairs.
While these repairs are intended to be permanent, it is recommended that the repair is checked regularly and that you have the tire professionally checks and repaired as soon as possible, if necessary.
Jamie Pappas
Hello classicautoadvisors.com webmaster, You always provide great insights.
Dear classicautoadvisors.com owner, You always provide useful information.
To the classicautoadvisors.com owner, You always provide great resources and references.
To the classicautoadvisors.com admin, You always provide in-depth analysis and understanding.
Hello classicautoadvisors.com admin, Your posts are always well-supported by research and data.
To the classicautoadvisors.com owner, Thanks for the well-presented post!
Hi classicautoadvisors.com admin, Thanks for the well-presented post!
To the classicautoadvisors.com webmaster, Your posts are always well thought out.
Dear classicautoadvisors.com administrator, Nice post!
Hi classicautoadvisors.com webmaster, Great job!
Hello classicautoadvisors.com admin, Great content!
Dear classicautoadvisors.com owner, Thanks for the post!
Dear classicautoadvisors.com owner, Your posts are always well-written and easy to understand.
Hello classicautoadvisors.com owner, Your posts are always well written.