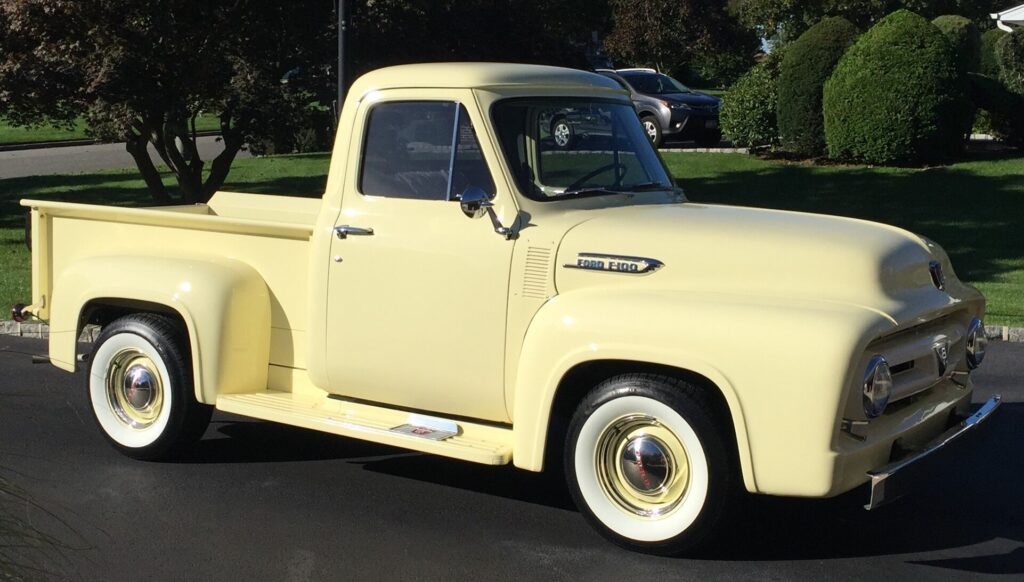
Not everyone has the budget to buy the perfect restored classic car or the time and money to restore their dream car that is less than perfect; but there are steps to take to keep your classic car feeling like new.
As we walk through the classic car shows and see those perfect classics with all the right stickers and inspection markings as if they just rolled off the assembly line, we wonder do they even drive that car. In many cases they probably do not, and the car may have even been trailered to the show. We have all heard the term “Trailer Queen” and that is fine for many people.
Then there are the great majority that have an old classic that they like to work on but more importantly they love to drive. This blog is for those of you who are more excited to drive your car then to show it. In the following paragraphs, I will touch upon some great ways to keep your vehicle looking and driving better than you thought it could.
The ideas that will be mentioned are not necessarily designed to make your vintage car concourse correct like the cars described above but they will help to make your car more enjoyable to drive and hopefully a classic you can be proud of no matter where you drive it.
Polish the Glass
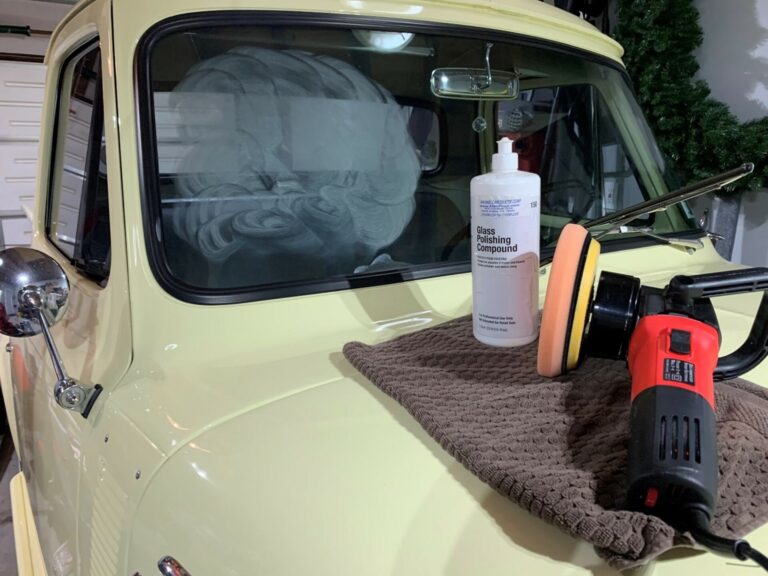
One thing that makes a new car look new is the shiny new glass. Whether it is your daily driver or your garaged classic. Not only does it make the vintage car look great from outside, but it makes it more enjoyable to drive as you look from the inside out.
While new glass is readily available for almost every classic car, it is not cheap and something most will have to depend on the expertise of someone else to replace. However, that does not mean you have to suffer with that old sand blasted windshield. Many scuffs and marks can be polished leaving you glass looking clearer than you thought possible.
While polishing your glass will not eliminate scratches so deep you could catch a fingernail on it, it will eliminate many scratches, rain spots, and hazing. I speak from experience, as I had the end come off a windshield wiper during a rainstorm and when the sun finally came out, I notices a perfect semi-circle “carved” into my glass. While I have seen glass polished with fine body-shop compounds, I went online and order glass specific polishing compound. After a little work that scratch went from “unrepairable” to barely noticeable, then from barely noticeable to gone. The results were amazing, and I proceeded to polish every piece of auto glass in the driveway.
It is amazing what a little bit of glass polish and an orbital polisher can do.
Stainless Trim
The older the car is, the more chrome or stainless trim it is likely to have. The same trim that made it stand out in a good way when it was new may be what is holding it back from being a head turner now. Like a new windshield, in todays day and age new trim is available for many popular models from the 50s, 60s and 70s with the list ever increasing but it comes with a price tag. I also believe that, while there are many quality replacement parts on the market, sometimes the quality of what came original on the car is better. Before spending a lot of money on replacement trim, see about the possibility of repairing the old trim. With a little work and patience old trim can be reshaped and refinished to look better than new. This is especially true of stainless-steel trim which tends to be very workable. If you are not adept with tools and do not have the skills or patience, investigate having the trim restored by someone else. You may find that it is still less expensive than buying reproduction trim and what is more you will maintain your original trim, which is always great.
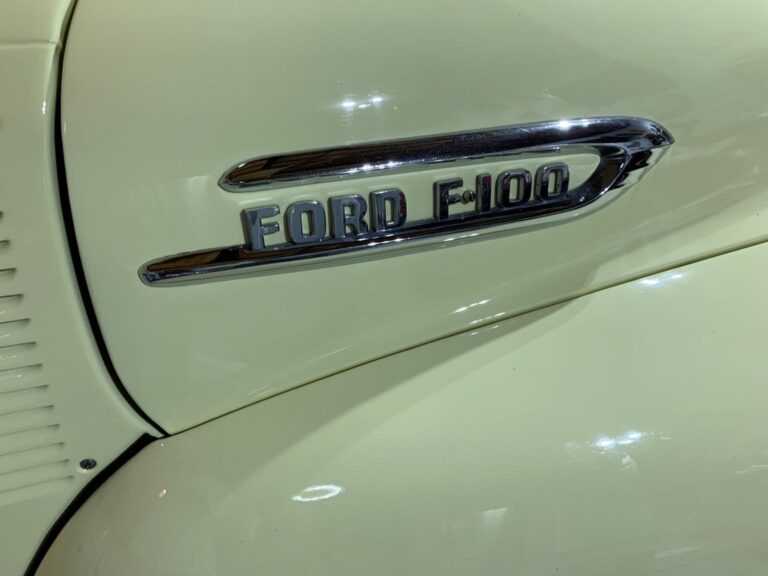
Hand Painted Details

Just like the trim described above, lots of the trim bits of older cars can be refurbished at home with simple tools and finishing products but it takes time and patience. A number of the classic cars I have had the opportunity to work on had small painted details that once painted made all the difference in the world on the quality and look of the final quality. From the “Ford” logo in the middle of the “dog dish” hub caps on a 1953 Ford F-100 to the Cadillac crest in the middle of the hubcaps on a 1969 Fleetwood. The results were amazing, and it was a very rewarding, especially knowing new life was given to an old part. Simple model paints a small brush and a quiet afternoon brought new life to an old car. You do not have to stop there; with those same techniques you can touch up the raised lettering on the dash and switches. If the lettering is recessed, just use a pin dipped in the right color and let the paint flow into the letters. It is a great touch few may notice but all will wonder why it looks so new.
Renew Faded Lenses
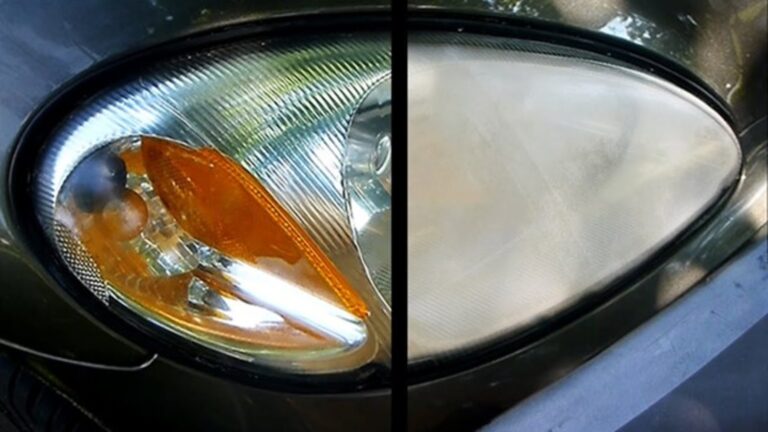
With the exception of polishing the glass, the other tips mentioned so far are probably more applicable to cars of the 50s, 60s and 70s but this next tip pertains to more “modern cars”. Parking and tail lenses tend to get dull with age, and that the 80’s cars are a couple of decades old; the early plastic composite headlights are commonly clouded. Having recently worked on a 2000 Jaguar S-type with only 30,000 miles on the odometer the car does not need to be from the 80s to have dull headlights in need of some TLC. You can always buy new, but once I priced out new headlights for that Jaguar at over $300 per light, I knew there must be another way. Almost all of the hazing on these dull lights can be eliminated with sanding and polishing. While you can experiment with body-shop compounds, but if the wrong compound is used you could do more damage than good. I would suggest investing in a headlight restoration kit from a variety of different manufacturers. These kits come all-inclusive with sandpaper, polishing compound and a wheel for the end of a drill. Some of these kits include a finishing spray that is designed to prevent the sun and ultraviolet rays from causing the plastic to dull again. I have done it and while I was a little uneasy about taking sandpaper to a dull but useable headlight, the results were remarkable, and the headlights came back to life “good as new”.
Brighten Lamp Housings
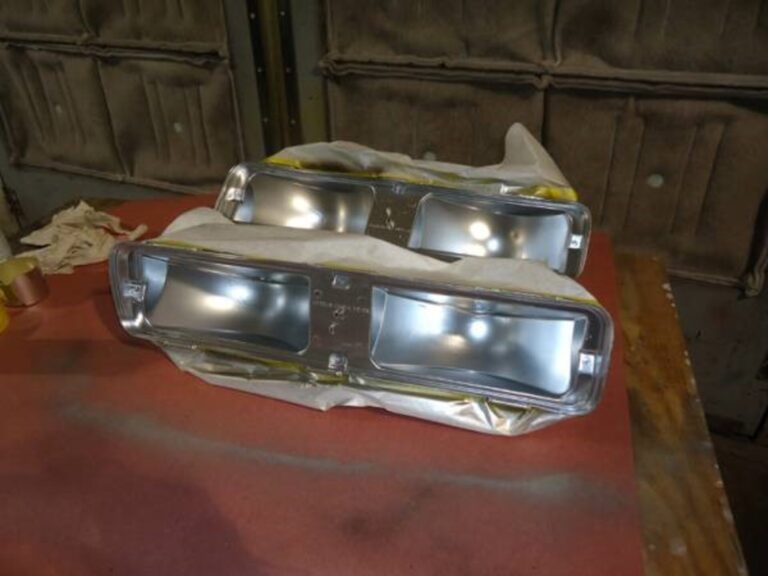
Many times, the age of a vehicle is evident when you look at the taillights or parking lights at night. The lights appear to be dull or uneven from one side to another. What may look like an electrical problem could be the result of the insides of the lights being weathered due to faulty seals and years of being hit by the elements. Correcting this situation can be simple. Pull off the assembly and take it apart so that you are able to get to the inside where the weathering has occurred. After polishing the lenses as described above, clean out any old paint or rust. Then treat any remaining rust and mask off the light socket and spay with either silver or white paint, both are very reflective. If the lens is of the clear parking-light type, then install new amber bulbs. Finally, screw the lens to the housing using a fresh set of gaskets. The difference with the lights on will be surprising.
Form Your Own Bezel Gaskets
If you dismantled your taillights, cleaned out the inside and repainted only to realize the gaskets are shot and you cannot buy new ones, it is time improvise. I have seen individuals use black silicone gasket sealer to repair the problems with faulty seals and it has worked well. Use the smallest tip on the sealer, squeeze a small amount into the area to repair, then cover it with plastic wrap. It is best to wet the plastic wrap or spay with WD-40 in order to prevent the silicone from sticking to the plastic wrap. Carefully press the gasket into place and put the lens in. If you are careful with how much silicone you used, you should be able to get gasket to conform, and when it has hardened the wrap should come off without issue leaving the repaired gasket in place.
Rally-Wheel Restoration
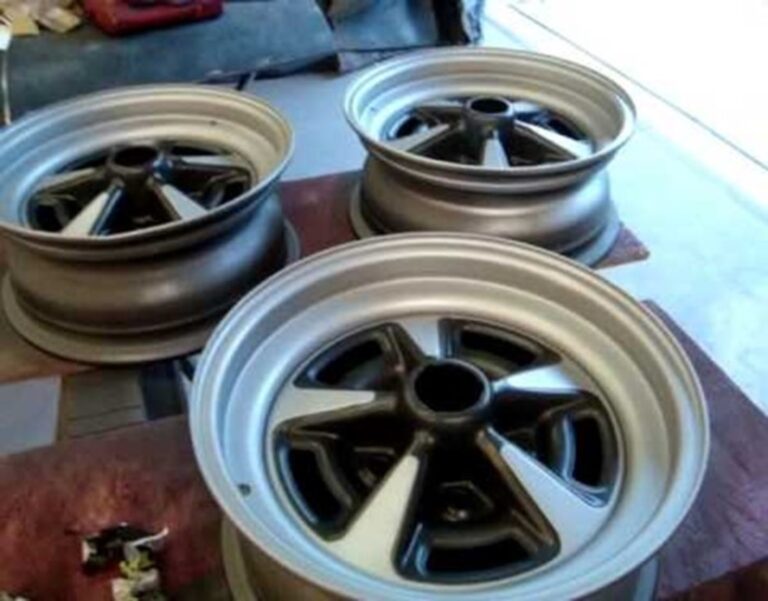
While this next section is about rally-wheels, any wheel can be brought back to life with a little patience and spray paint. The steps are the same, but it is up to you to pick the color and look you are going for.
Some of the rally wheels form the muscle era used two-tone paint schemes that have either faded with time or fell victim to someone else’s idea of an upgrade with a new custom paint job. Once you have figured out the correct color scheme to bring them back to original, it is time to mask off the separate section of each wheel and get them ready for paint. Fortunately, the proper paint part has been solved for you, as factory matched paint for most performance wheels is available from a variety of manufacturers depending on the make and model. Not only is the paint available but many of those restoration parts companies also sell masking kits for painting specific wheels. These kits are well worth it and take the guess work out where exactly the lines should be. A brand-new set of wheels for the cost of some masking tape and spray paint. It does not get much better when you realize how costly some restoration jobs can be.
The above are just a few ways that you can bring you old ride to a new level with limited funds. The end result will be a classic car that you will be proud to drive, while those who have seen the car before will wonder what is different about it.
Enjoy!
Jamie Pappas