Replacing wiring in a vintage car requires care, attention to detail, and adherence to safety standards. Your car’s electrical system is one of those things that you do not usually have to think about unless it is acting up. And when an electrical system acts up, it can mean anything from a non-functioning lamp or horn to an all-consuming electrical fire. It is therefore smart insurance to replace the wiring harness if you are performing a restoration, or if some dreaded previous owner has butchered the original, because the car you save may be your own.
Why Is Replacing Wiring Necessary?
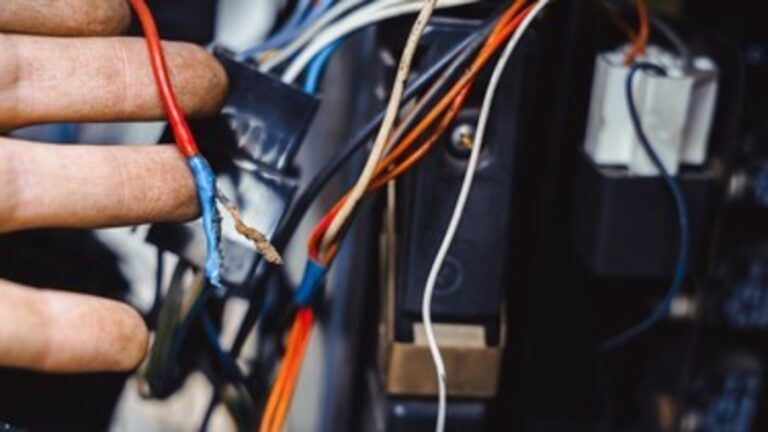
Before we begin, it is worth mentioning why you should take this drastic step. Like many classic vehicles of the period, you may find that you have numerous places where the insulation on the old harness was fraying and cracked. You may find that your vintage car wiring has already been sliced numerous times or has been replaced already with incorrect wires or the entire harness has been compromised. These are obviously fire hazards and need more than just repairing but require replacing the entire wiring harness.
Here is a step-by-step guide outlining the best method to replace vintage car wiring:
- Prepare the Workspace:
- Park the vehicle in a well-lit and well-ventilated area with ample space to work around it.
- Disconnect the battery to prevent electrical accidents and ensure safety.
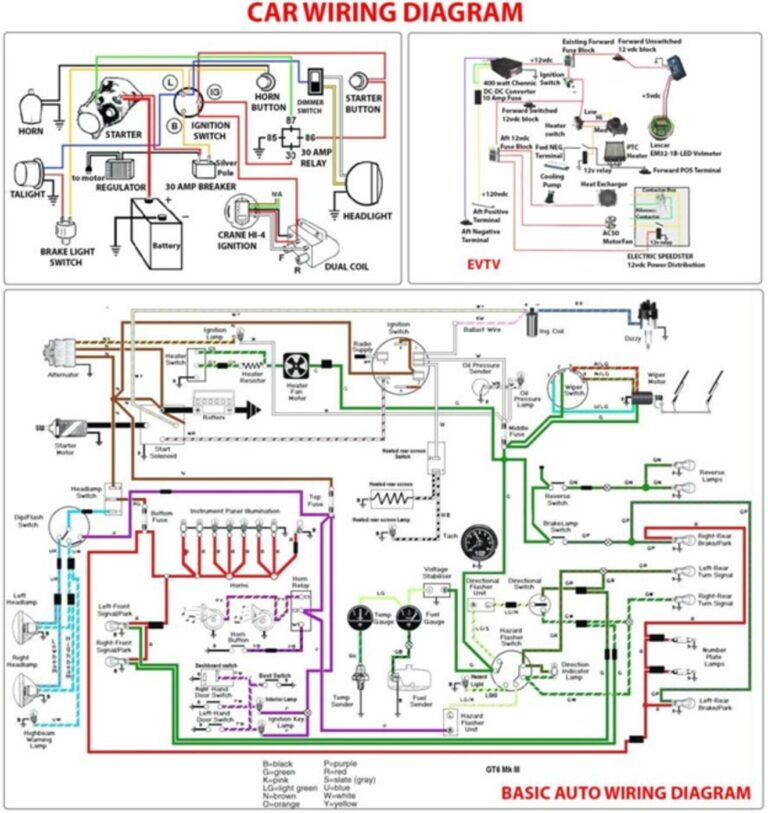
- A good wiring diagram is an absolute necessity.
- Gather Materials and Tools:
- Obtain a wiring harness specifically designed for your vintage car model and year. You may choose to use a pre-made harness or create a custom harness using individual wires and connectors.
- Collect necessary tools such as wire cutters, wire strippers, crimping tools, electrical tape, heat shrink tubing, soldering iron, and a multimeter for testing.
- Document Existing Wiring:
- Take detailed photographs of the existing wiring layout before removing any components. This will serve as a reference during the installation of the new wiring harness.
- Label (label, label, label) each wire or connector with masking tape and a marker to ensure proper reassembly later.
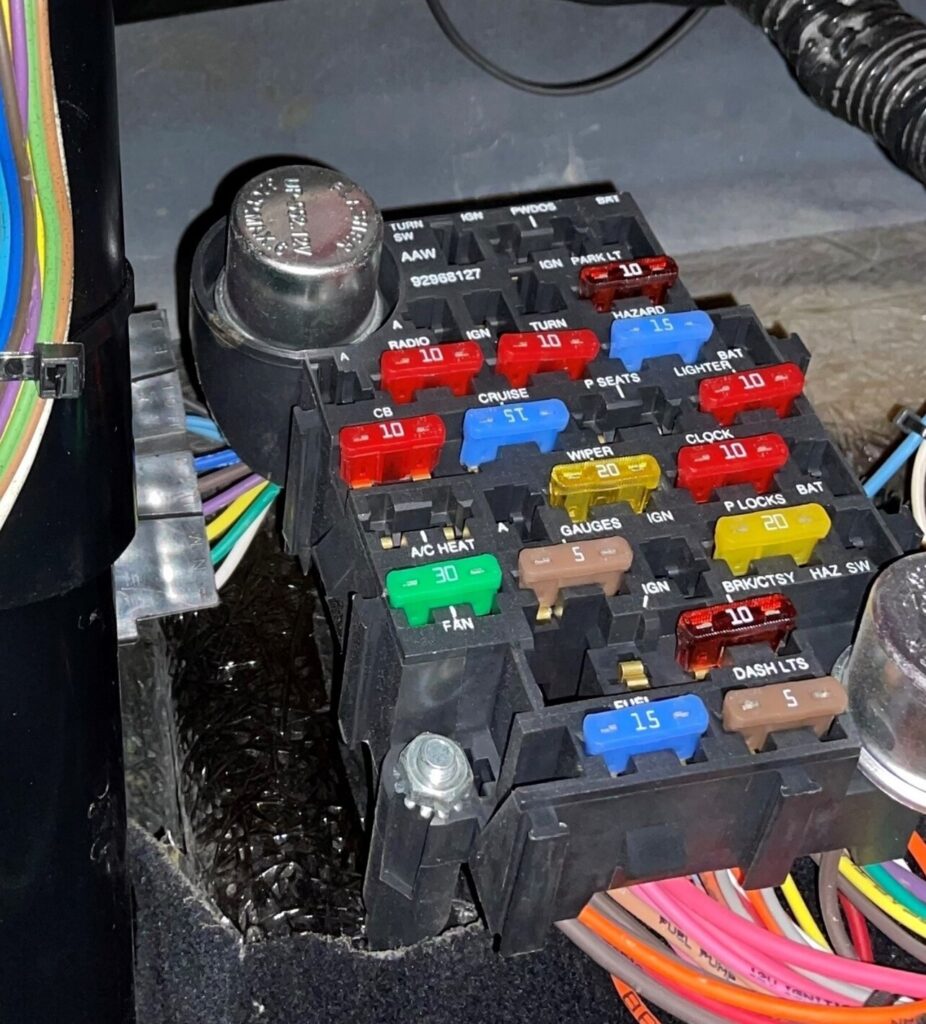
- Remove Old Wiring:
- Carefully disconnect and remove the old wiring harness, starting from one end of the vehicle and working systematically to the other end.
- Inspect the wiring for damage, corrosion, or wear and replace any damaged or deteriorated components as needed.
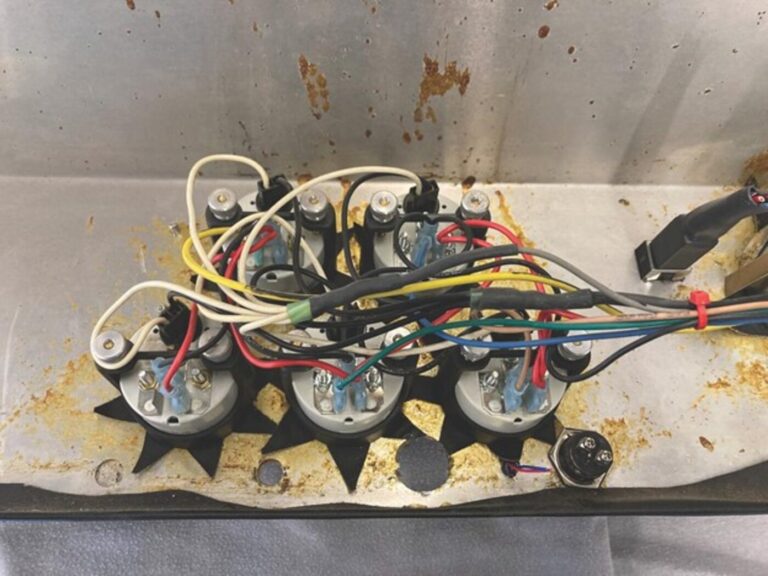
- Install New Wiring Harness:
- Lay out the new wiring harness in the vehicle according to the manufacturer’s instructions or the layout documented during the removal process.
- Route the wires neatly along their designated paths, securing them in place with clips or fasteners as necessary.
- Connect each wire to its corresponding component or electrical system using the appropriate connectors, terminals, or soldering techniques.
- Double-check all connections and routing to ensure accuracy and proper fitment.
- Test Electrical Systems:
- Reconnect the battery and carefully test each electrical system in the vehicle, including lights, signals, gauges, switches, and accessories.
- Use a multimeter to verify proper voltage, continuity, and functionality of each circuit.
- Address any issues or discrepancies promptly, troubleshooting as necessary to ensure all systems are working correctly.
- Secure and Protect Wiring:
- Once all electrical systems are confirmed to be functioning properly, secure the wiring harness in place using zip ties, clamps, or harness tape to prevent movement or chafing.
- Protect exposed wires and connections with electrical tape, heat shrink tubing, or loom to guard against abrasion, moisture, and heat damage.
- Final Inspection and Documentation:
- Conduct a final inspection of the wiring installation to ensure all connections are secure, properly routed, and free from any potential hazards.
- Document the new wiring layout with photographs or diagrams for future reference and troubleshooting.
Finally
By following these steps and taking care to properly plan, install, and test the new wiring harness, you can ensure a reliable and safe electrical system in your vintage car. If you are unsure about any aspect of the process, consider seeking guidance from a professional mechanic or auto electrician with experience working on vintage vehicles.