
Restoring a dashboard can be a rewarding project that enhances the overall appearance and functionality of your classic vehicle’s interior. Here are some general steps to follow for restoring a dashboard:
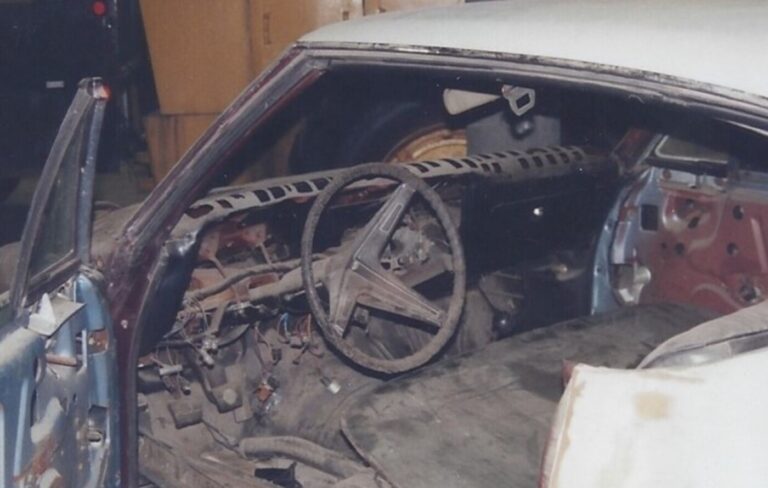
Assess the Condition Before Restoring a Dashboard
Begin by thoroughly inspecting the dashboard to identify any damage, such as cracks, scratches, fading, or peeling. Evaluate the type of material used in the dashboard, as different materials may require specific restoration techniques.
Clean the Dashboard
Before starting any restoration work, clean the dashboard to remove dirt, dust, and grime. Use a mild detergent or an automotive interior cleaner and a soft cloth or sponge. Avoid using harsh chemicals that could damage the dashboard’s surface.
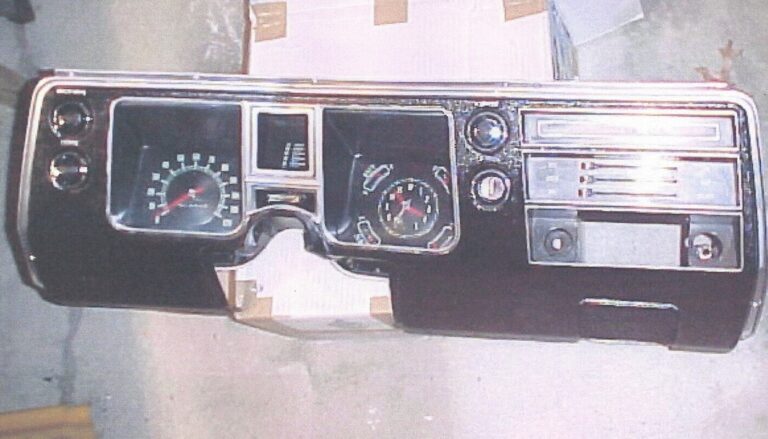
Repair or Replace Damaged Components
If there are any cracks or broken parts in the dashboard, consider repairing or replacing them. Small cracks can be filled with epoxy or specialized dashboard repair kits. For larger cracks or significant damage, it may be necessary to replace the entire dashboard or specific panels.
Restoring a Dashboard Color and Finish
Restoring the color and finish of the dashboard depends on the material used. For vinyl or plastic dashboards, you can use a dashboard protectant or vinyl dye that matches the original color. Apply the product evenly with a sponge or cloth, following the manufacturer’s instructions.
Refinish Wood or Metal Dashboards
If your car has a wood or metal dashboard, restoring its appearance may involve refinishing. Remove any existing finish or clear coat using appropriate sandpaper or stripping products. Apply a new finish, such as stain or varnish for wood dashboards, or paint for metal dashboards. Follow the manufacturer’s instructions for application and drying times.
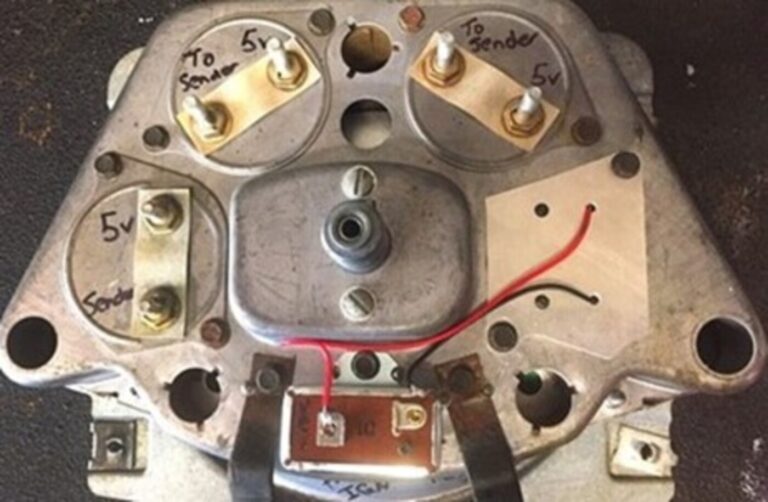
Address Electrical Components
If there are any electrical components on the dashboard, such as switches, gauges, or instrument clusters, ensure they are in working order. Clean the contacts or terminals and replace any faulty components as needed.
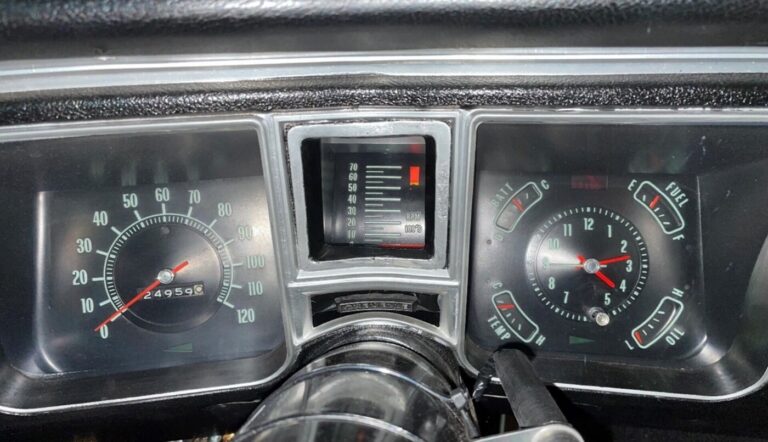
Reassemble and Install
Once the restoration work is complete, carefully reassemble the dashboard components, making sure everything fits properly. Take your time to align the parts correctly and secure them according to the manufacturer’s guidelines.
Regular Maintenance
To maintain the restored dashboard’s appearance, use appropriate interior cleaning products and protectants specifically designed for the dashboard material. Regularly clean and protect the dashboard to prevent fading, cracking, or other damage.
Finally
Remember that the specific steps and techniques may vary depending on the car model, dashboard material, and the extent of restoration needed. It is advisable to consult repair manuals, online resources, or seek professional advice for detailed instructions and guidance specific to your vehicle.