One of the best ways to freshen up the interior of a well-worn classic car is to replace the car’s interior carpet. If you have already tries to clean, repair, or even stain the exiting carpet without any luck then replacement is the next course of action. Replacing the carpet can be completed by most DIY mechanics or take it to a local car interior upholstery company.
Over time the interior carpet in any classic car or truck is going to begin to wear out, fade and become discolored from spills and wear and tear. Unless you never step foot inside your ride you will eventually want to remove and replace the interior carpet of your vehicle. Doing so is one of the best ways to revive the interior of your classic collector.
No two vehicles are the same, but we have some general steps you can follow to remove and install carpet in any classic car or truck.
Before Replacing the Car's Interior Carpet
Before beginning the project there are some general notes you need to be made aware of. Please note that some automobiles will have a catalytic converter shield mounted to the floor. Do not remove this shield, but rather install the carpeting over the converter.
Also carpets that come molded to you fit your vehicles interior are manufactured to be slightly larger than necessary. You will need to trim the carpet in order the achieve a perfect fit. Be sure that you have a sharp pair of scissors and a razor knife than can cut a clean edge. It is also imperative that you take your time with this project. From disassembling the interior, removing the old interior carpet, and then installing the new carpet takes patience and precision. Even an experienced pro can expect to take at least 3 to 4 hours to do a proper install. Always measure multiple times before cutting anything or you may find yourself buying replacement carpeting or living with a mistake.
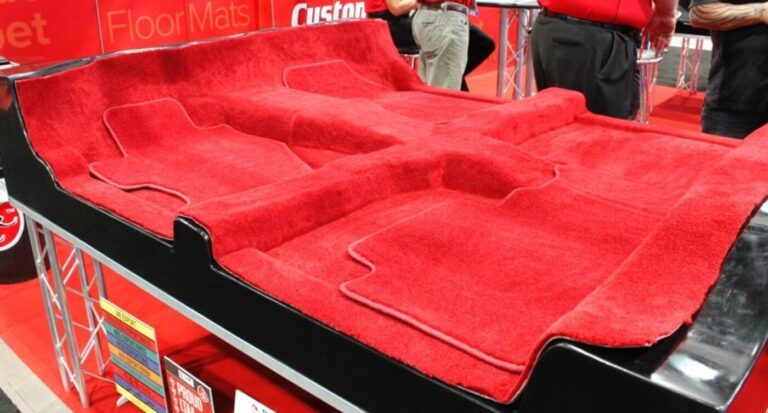
You can buy generic carpet but it is highly recommended that you buy a properly pre-molded and cut carpet specifically manufactured for your specific model car.
Purchasing the Interior Carpet
First step you need to accomplish is purchasing the correct carpet kit for your vehicle. There definitely is not a one-size-fits-all carpet so buying the right kit is imperative. There are plenty of online sites that can help you find the exact fit for your classic. StockInteriors.com, Auto-Interior.com, and JCWhitney.com are just a few of the many online stores that carry full lines of carpet kits not to mention the stores that feature a full line of restoration parts for specific car models. One of the biggest differences to be aware of is the difference in the fit for an automatic or manual shifting transmission. The same car will require a different carpet kit for each option.
When you receive your carpet, you will want to remove it from its packaging and unroll it in a warm area so that it can straighten out and settle into its natural molded shape. You can use your hand to help push any of the contoured areas into their normal shape and position. Do not worry if you see wrinkles in the carpet before you install it. Also, some of the contours may appear flatter than they should. This happens during shipping and is normal. Once the carpet in properly installed the molded shape will return and the wrinkles will disappear.
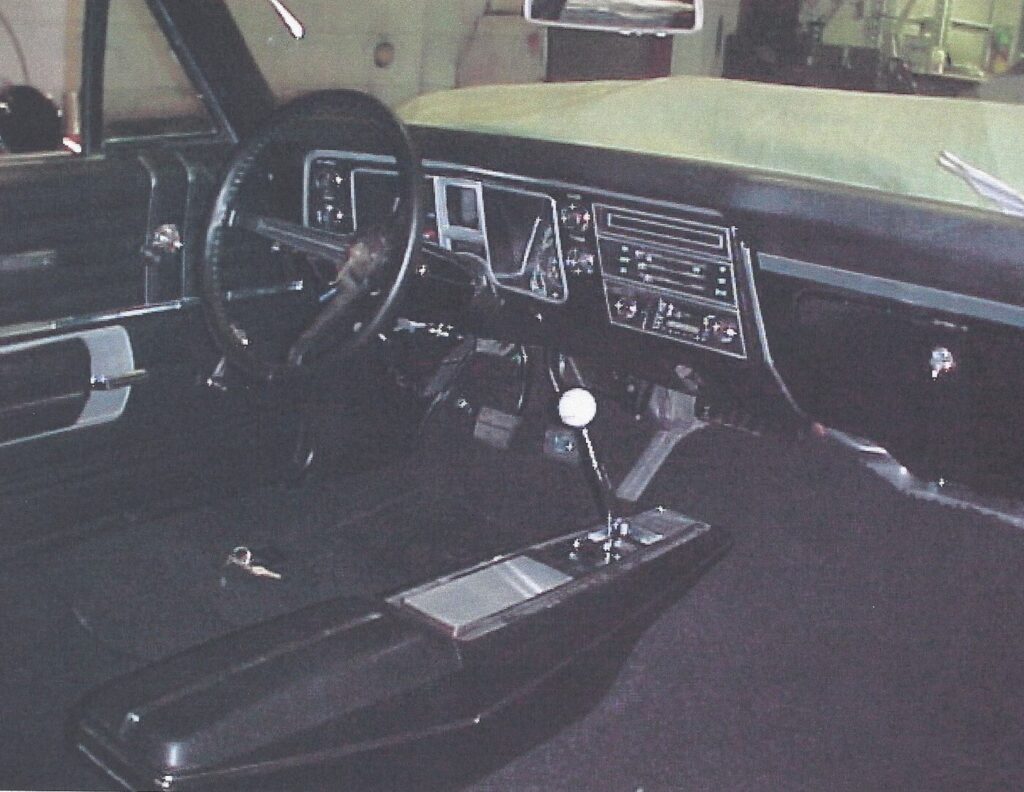
Interior Carpet Removal
The next step is to remove the old carpeting. In order to do this, you will need to remove all the parts that hold the carpet in place or that need to be removed for the carpet to come out easily. The front seats will certainly need to be unbolted and removed. It is a good idea to organize the bolts, screws, and other hardware you will be removing from your interior. Zip lock bags or an old tackle box can really make your life easier when looking for these pieces when re-installing these interior parts. Also make sure that you properly mark each bag or box of hardware to ensure that the pieces all go back together smoothly.
The sill plates on the bottom of the door thresholds need to be removed. Again, be careful to keep the screws in a safe place. Kick panels and other piece of the lower dash and console may need to be removed as well if it covers the carpeting. You will also want to remove the back seats and the rear consoles as well to remove and install the carpet.
If you need to remove or unplug any wiring, you need to disconnect the battery first to avoid a shock or damaging any of the circuitry. For example, any electrical seats will likely need to be unplugged to be removed. When removing the seats, you may find that the seat belt mounts are mounted to the floor which will need to be removed to total access. These mount brackets are often held on by a standard bolt, but you may need to have a torx or star bit wrench to remove them.
If you have a vehicle from General Motors that was made between 1958 and 1964 you can remove the gas pedal. This will make removing and installing the carpet much easier.
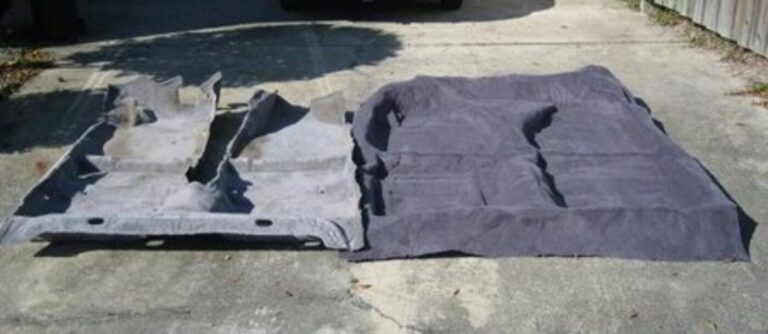
Now that all the necessary parts are removed you can take out the old carpet, but make sure you do not dispose of it yet. The best way to confirm that you bought the right new carpet kit is to lay the old carpet over the new carpet. Once you start trimming the new carpet you will not be able to return it if necessary. Make sure that the carpets match each other otherwise stop your installation and take the steps necessary to get the correct new carpet.
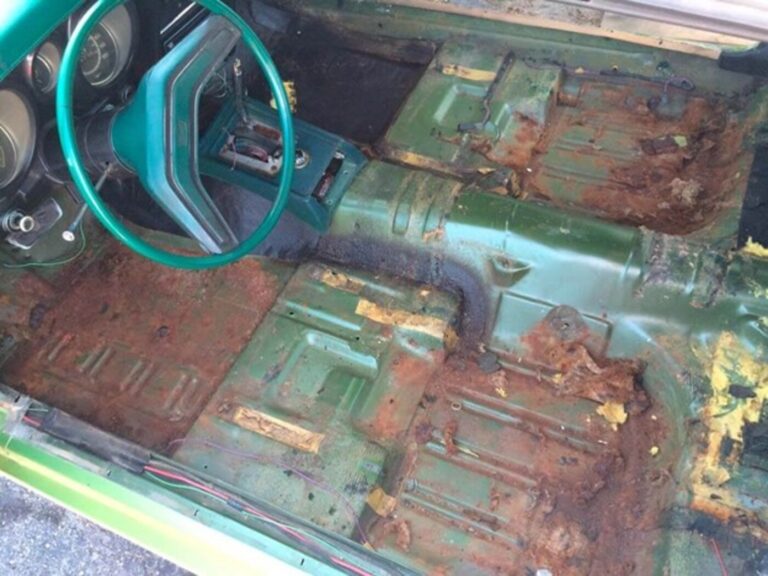
Remove the carpet padding but leave the body insulation on the floor. Remember to leave the catalytic converter shield attached if the car has one. At this point you need to clean all debris from the floor in preparation of putting in the new carpet. If there is any visible rust on the floor pan now is the time to take care of this matter before it becomes worse.
With the old carpet still laying on the new carpet you can mark the holes or any additional cutouts on the carpet with a piece of chalk as a guide for installation. Do Not Cut The Carpet Yet! Again, if you cut the carpet incorrectly there is now way you will be able to return it. A word of advice when you need to make a cut is to under cut the hole or section. The extra carpeting can be trimmed back, but you cannot undo a cut that is too large.
Installing The New Interior Carpet
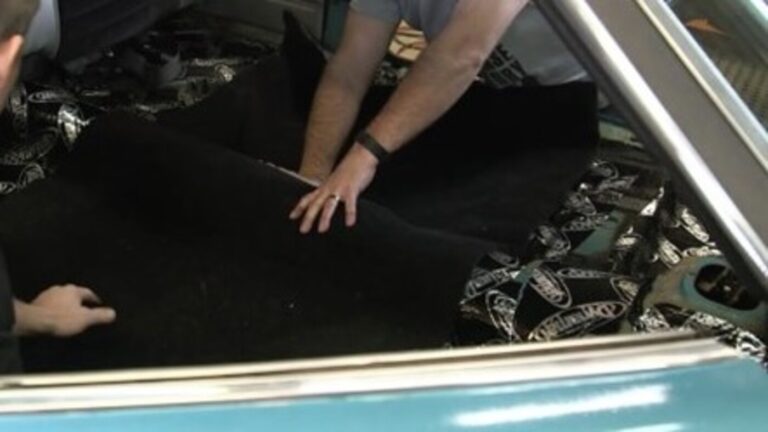
To place the new carpet into your vehicle you should fold the front of the carpet in half until it meets the edge of the rear of the carpet. Then lay the folded carpet on top of the transmission hump and do your best to center it just in front of where your front seats would go. Carefully unfold the carpet toward the front of the vehicle cabin and work it under the pedals. Again, do not make any cuts until you fully understand the carpets layout.
Do your best to match the contours of the carpeting to the contours of the floor. It is important at this point to make sure you position the heel pad under the brake pedal area. Once you reach the shift lever you should cut a small cross in the carpet just big enough to slide the shift lever through. If there are any additional shift levers you should repeat the process. Lift the carpet up just high enough to get all the lever through the carpet. Once the carpet is fully installed you can return to these areas to cut the proper fit around the levers.
With the carpet now catered over the transmission hump slowly work the carpet towards each side and pull the carpet tight to help work put the wrinkles. You may need to cut small holes for the seat belt bolts and a good tip is to screw in the bolt under the carpet to use as a guide where to cut. You can then remove the bolt after making the cut in the correct spot.
Continue working the carpet into position pulling it tight to remove and wrinkles. Some people will use a spray or brush on adhesive to help keep the carpet from shifting. If you decide to use an adhesive, make sure you have the carpet in perfect position before pulling it back to apply the adhesive.
Most carpet kits will have extra material on the sides to allow for any inconsistencies in the installation. Once you are positive that the carpet is in the right position you can begin to trim off the extra carpet but take your time and be sure you do not cut of too much.
Push the interior carpet down underneath each side sill plate and screw the plate back into place. Re-install the kick plates, seat belt brackets, back seat, consoles, and front seats. You will now know how much more, if any, carpet needs to be trimmed or cut too properly fit.
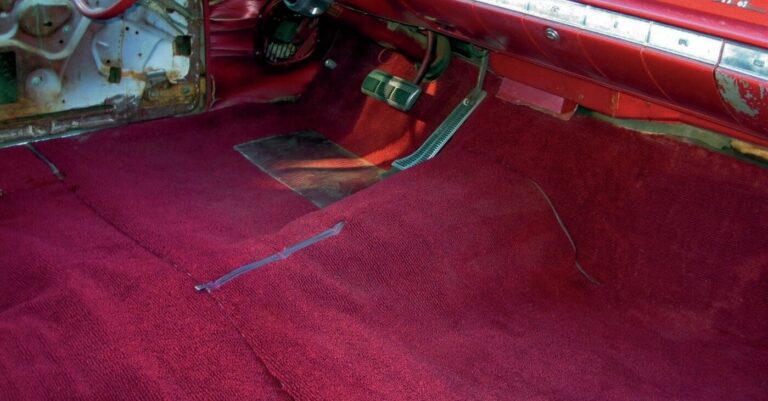
At this point your carpet installation should be complete. There may be additional cuts or trims you need to make for the steering column or other miscellaneous features. If you have taken your time to correctly fit and trim your new carpet kit, your classic car or truck interior should look like new… at least on the floors.
Finally
The car’s interior carpet replacement can be an easy DIY job for the home mechanic if you just bought an old car and want to freshen it up, or if you are selling a car that has seen a few too many coffee spills. And if you want to change the color — you know, give the car a little accent – that is up to you. Just get a set of good floormats, so the new carpet will last another … 25-50 years.