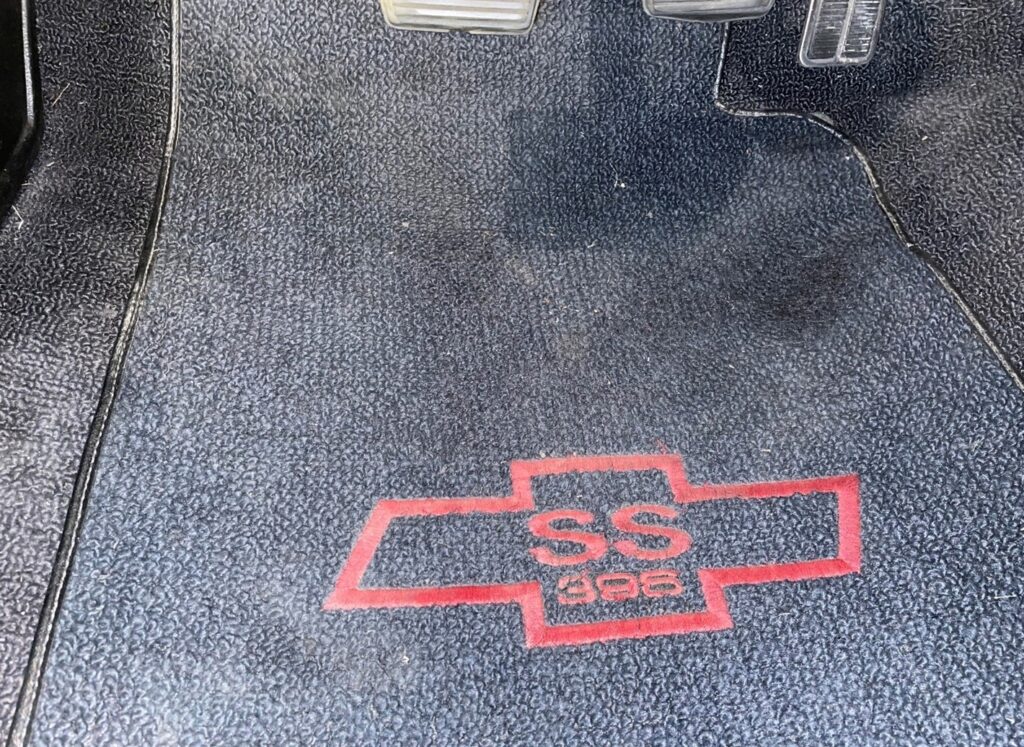
For a classic car owner who has put forth the time, effort, and money to restore a car wants it to stay in that just-restored condition for as long as possible. Additional detailing work is spent to try to maintain your car’s perfect condition even though we know that it will soon begin to suffer from exposure to the outside world. Beside the exterior paint another area that gets a lot of abuse is your classic car’s carpet. Unless you are going to take your shoes off every time you get in your classic car, you have the potential to drag in whatever you have been walking on that day. Of course, it can be vacuumed and cleaned but what if it is damaged in some way? Is the only recourse to replace it? For some car perfectionists that would be true, but there is another option: carpet repair can be your salvation in keeping your classic car’s interior looking new.
First let us start with the smaller carpet repairs that you can make as a DIY carpet repair project:
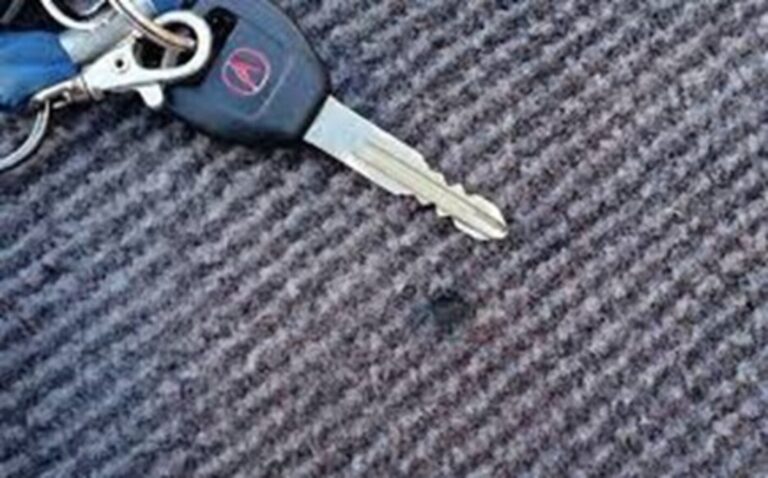
Cigarette Burn Carpet Repairs
Step 1
Vacuum the car’s carpet. Trim away the burnt carpet with a pair of scissors.
Step 2
Locate an inconspicuous area of carpeting, such as underneath the seat. Trim off some carpet fibers and place fibers on a plate.
Step 3
Spread waterproof glue on the hole. Pick up the carpet fibers with a pair of tweezers. Press the carpet fibers in the hole. Overfill the hole with the carpet fibers and place a paper towel over the area. Weigh down the paper towel with books or another heavy object and allow the glue to dry for several hours.
Trim the carpet fibers, so that they blend in with the surrounding area of the carpeting. Vacuum to fluff up the car’s carpet fibers.
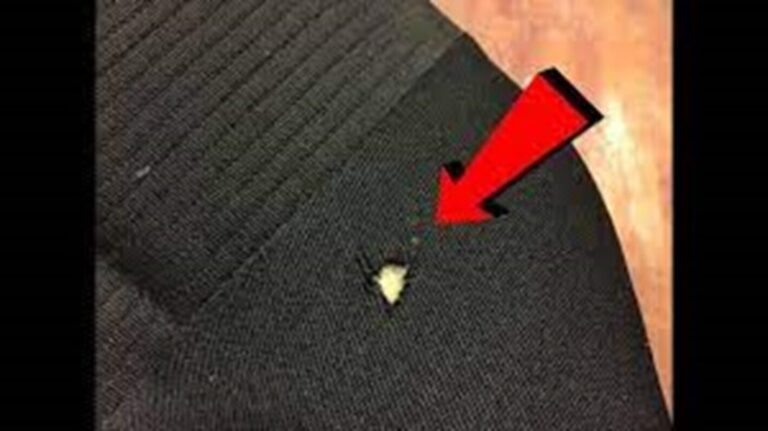
Repair for Carpet Tears
Step 1
Vacuum the carpeting carefully around the tear. Thread a needle with string that matches the color of the carpeting and knot it at the end.
Step 2
Press both sides of the carpeting together with one hand. Push the needle through the underside of one of the sides of the tears, so that the knot will not be evident.
Make a running stitch that goes from one side of the tear to the other, thus gathering the material and closing the tear. Make a knot when the tear has been sewn up and press the knot and underneath one of the stitches.
So now on to the larger carpet repair projects:
Carpet Repair for Larger Holes or Rips
Where do you get the material for the patch? Usually there is plenty hidden under the back seat or sometimes there is enough extra up under the dash. Most of these types of repairs are not large so there is enough hiding somewhere. By using an unneeded piece of the existing carpet, color and texture match is not an issue, so the entire process can happen much quicker than ordering new carpet and pulling everything out!
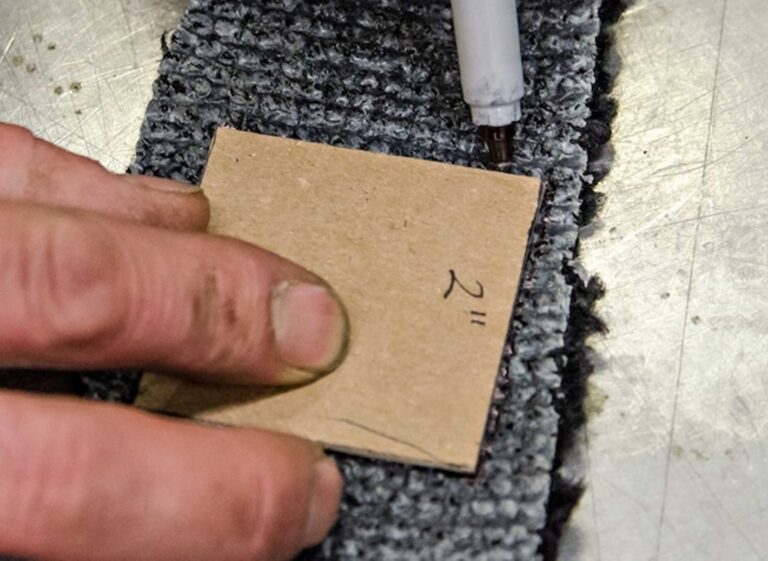
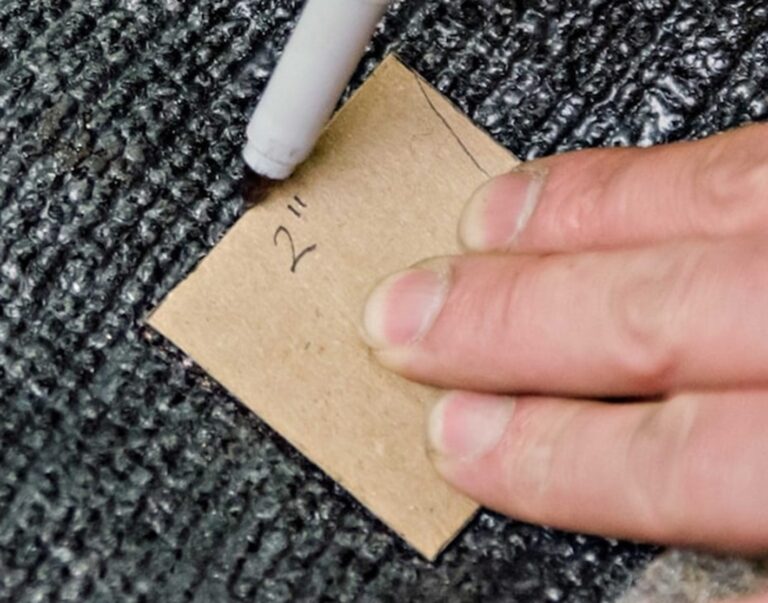
Start by cutting out a square from some stiff card stock large enough to cover the damaged area. You can use a fine Sharpie to draw around the card so they can get a more accurate cut. Note the linear pattern on the back of the carpet. Line up one edge of your square with valley of one of those lines.
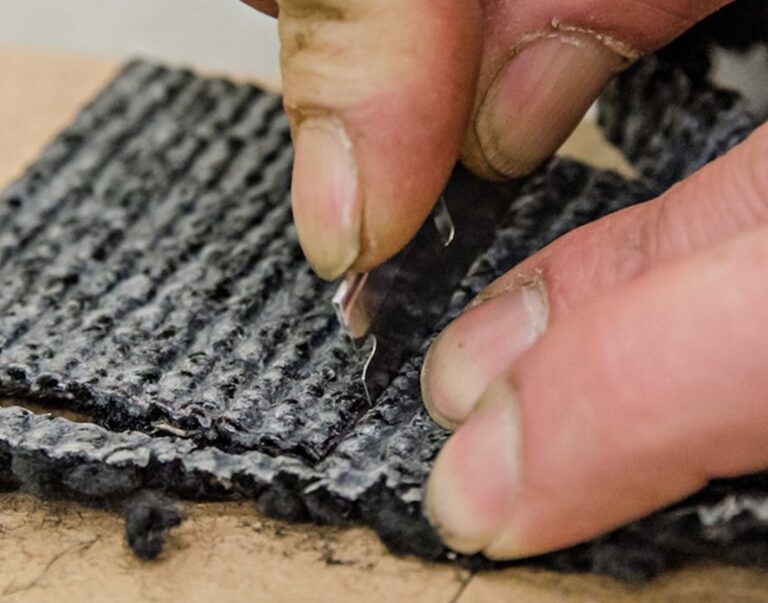
Use some type of razor blade to cut out the patch. Be as accurate with the cut as possible. The more accurate the cut the more the patch will blend with the rest of the carpet.
You will inevitably end up with some fuzzies and loose threads around the edges. Trim them without cutting any of the nap loops that are on the edge.
With the carpet folded over to expose the back side of the damaged section, cover the damaged area with the square, draw around it, and cut out the damaged area, again being sure to line up the cut with the linear pattern in the carpet backing. Put a backer behind the carpet so you cannot cut through and create more damage.
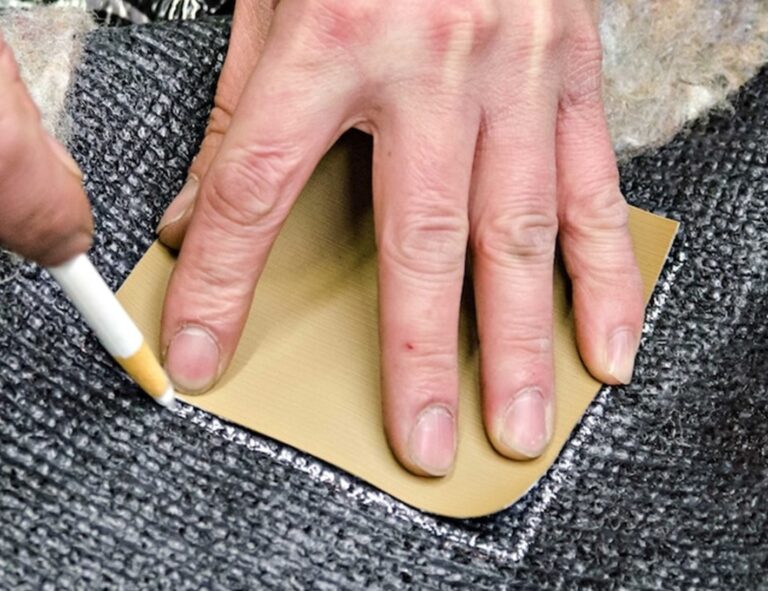
Still on the back side of the carpet, locate some cloth covered vinyl like a headliner or seat material and cut a piece at least a couple inches larger than the opening. Place it over the opening and draw around it to mark the area where you will be applying the hot glue.
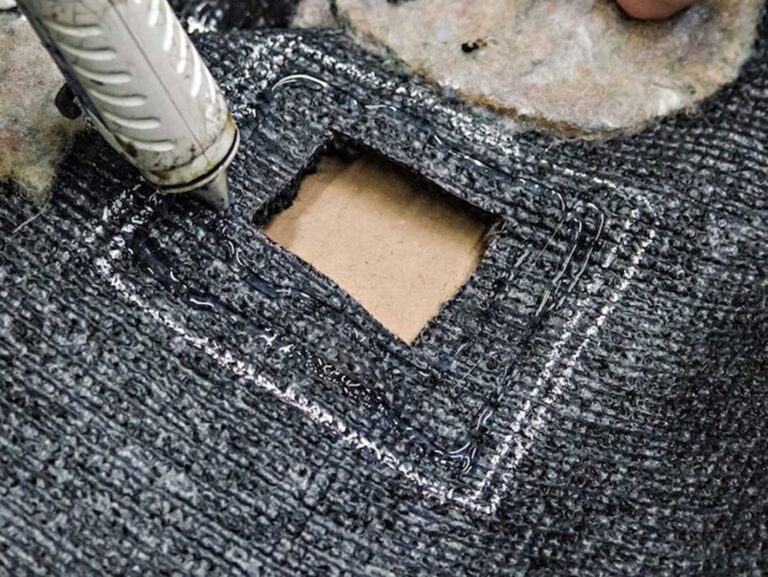
Apply a generous amount of hot glue to the area. Use a high temperature (~380 degrees) heavy-duty variety that has a considerably stronger bond than the craft store glue sticks.
Quickly press your vinyl, cloth side down, over the glue.
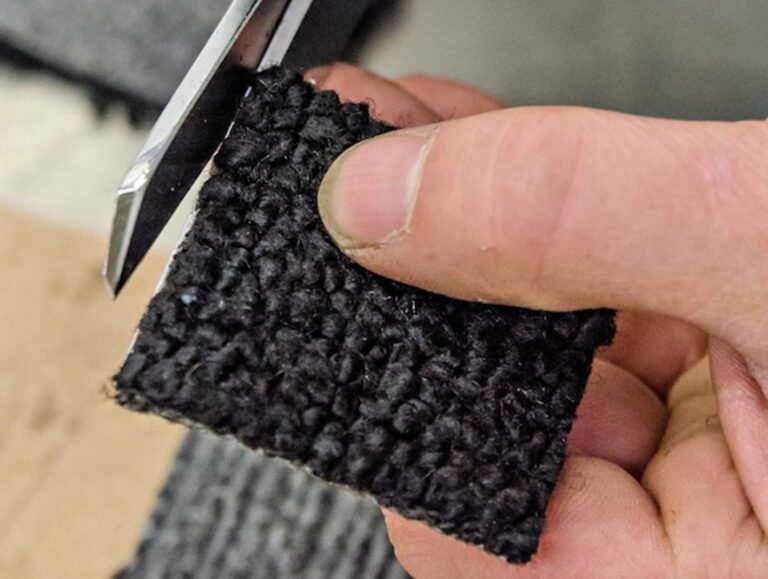
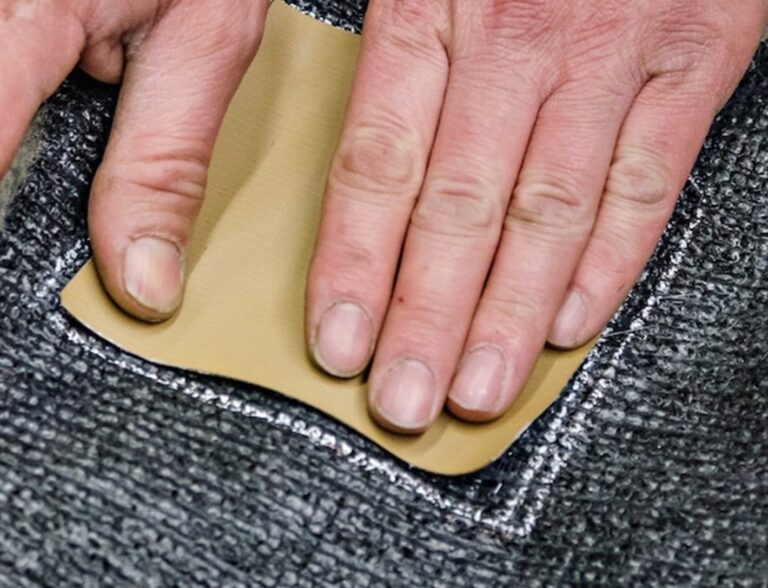
Test fit your patch. Be sure you have the pattern on the back of the patch running the same direction as the rest of the carpet.
If everything fits well, apply hot glue to the vinyl backer and press in the patch.
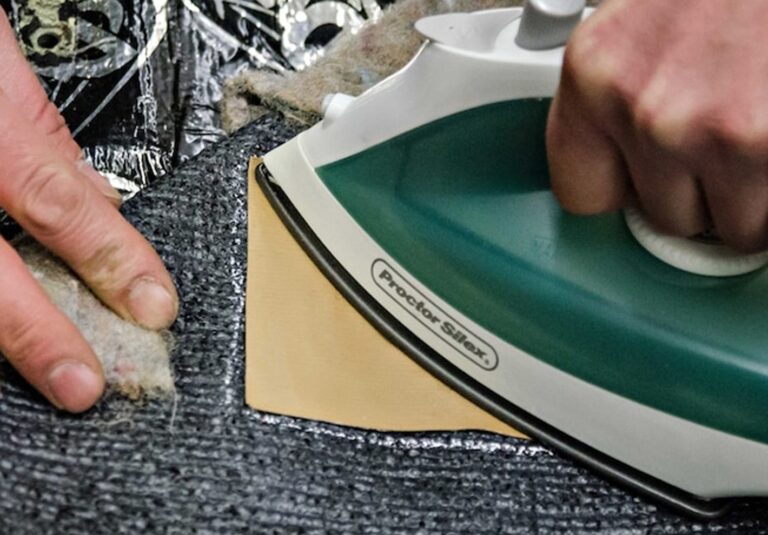
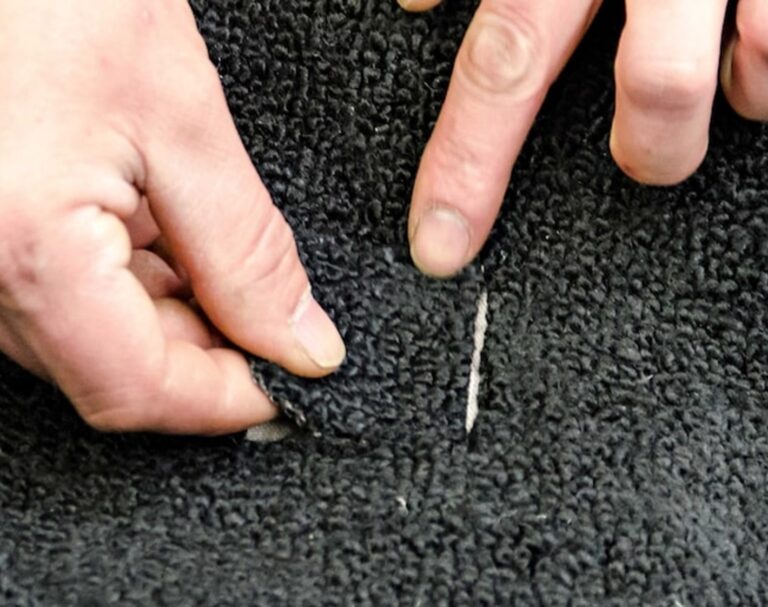
Flip the carpet back over again and with a hard backer behind it, press a hot iron (wool setting) onto the vinyl backer for about thirty seconds or so. The heat will re-soften the glue while the pressure from the iron will spread the glue and press it firmly into the carpet back.
Scratch around the edges of the patch with your fingernails to blend the nap and it should pretty much disappear.
Finally
As you can see, carpet repair in your classic car can be a simple and attainable goal. It is also cost-effective instead of a full-scale carpet replacement.