Battery relocation in a classic or vintage car may not be a topic most people think of, but there are reasons for moving your battery to a location other than next to the engine at the front of the car is important. Relocating a battery may be required due to space limitations under the hood or even due to the mounting tray deterioration. For those who use their vintage car for road racing or drag racing the need to move the battery to the trunk is key to weight transfer or balancing the car weight.
Most cars and trucks have the battery located within the engine compartment. This places it close to the starter, shortening the cables, thereby reducing the drop in voltage often caused when long cables are used. However, this is often not possible in early hot rods that have small engine bays or in vehicles with extremely large engines.
This makes it necessary to place the battery in the trunk or in a box attached to the inside of the frame rail. Installing the battery in the trunk is the preferred option because this provides better access and protects the battery from the elements. The process is simple as long as a few basic mounting practices are followed.

Battery Weight
When driving most classic cars it becomes very clear the weight in the front far exceeds the rear half of the car as most classic cars are decidedly heavier in the front than in the rear. That should come as no surprise to anyone who has tried to slalom course drive their American rear drive vehicles. With the engine and all the heavy components up front, a muscle car can often have as much as 65 percent of the weight on the front axle. Not only is not that good for cornering, but it is also not great for rear tire grip when under forward acceleration and cornering.
Reviewing the under-hood features of an American muscle car, the question becomes, “what can we relocate under here that would make a difference to the weight bias of our car.” Unfortunately, the answer is “not much” except for that 50+ pound black box we call a battery. In testing it has been proven that moving a battery from under-hood to the trunk can change weight balance 1 to 2%. That is a huge improvement.
Lead acid batteries can weigh as much as 70+ pounds and as we have seen with some pure race factory offering like lightweight 1968 Dodge Hemi Darts (1968), the factory not only moved the battery to the rear but installed a super heavy weight battery to help with traction. That is not a bad idea especially when you consider that a battery in the trunk with high cranking amps is important to overcome the increased length of the battery cables that will be required to activate the starter five times the length of the factory cabling.
The Battery Relocation Process
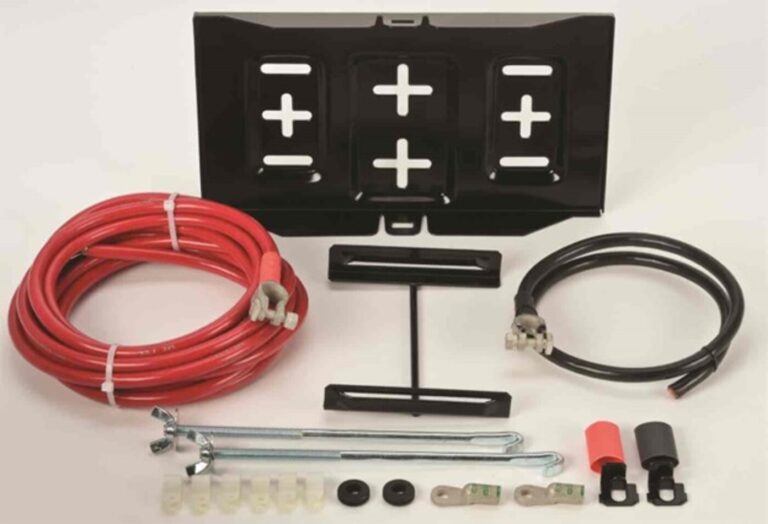
The parts shown here were pulled together from a variety of sources, but kits for battery relocation can be found from a variety of vendors from places like Summit Racing and Classic Industries. For most DIY mechanics getting a battery relocation kit for your specific car is the wisest choice to simplify the installation process.
This is a very simple modification that can be completed within a few hours if you have all the components. You will need simple tools and a hole saw to cut through the sheet-metal to allow the cabling to pass through from the front of the vehicle to the rear. So here is how it’s done:
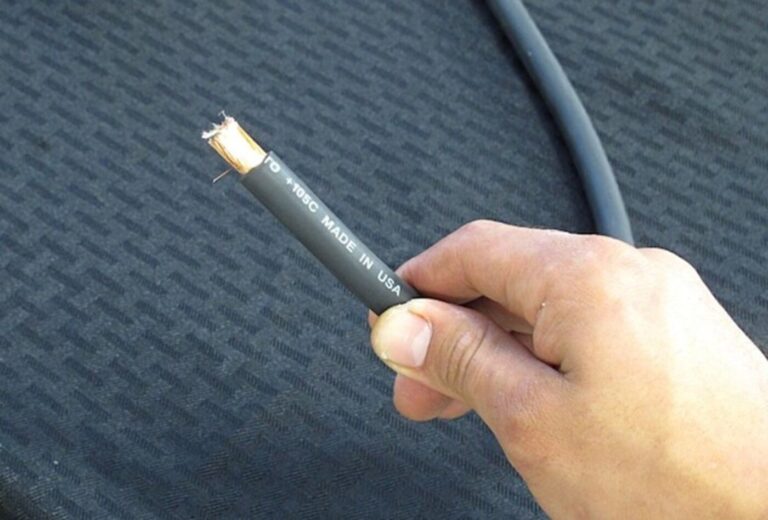
Using #1 gauge wire to handle the power transfer from the soon-to-be rear mounted battery to the engine components and negative ground point.
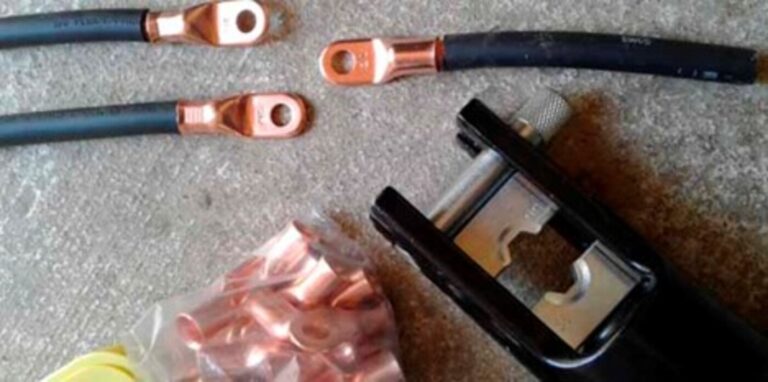
With the wire covering stripped off enough to fit into the eyelet, crimp the eyelet in place with a crimper. The eyelet must be tightly in place when finished so make sure it does not pull off when this step is complete.
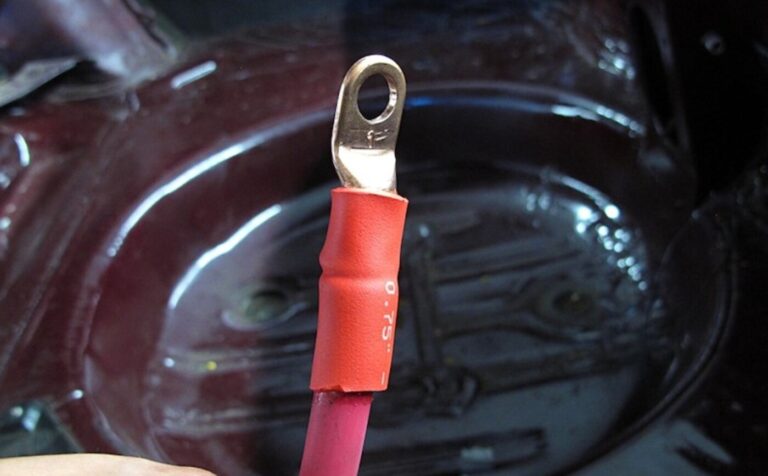
Finish the wire end off with a piece of heat shrink tubing for increased safety.
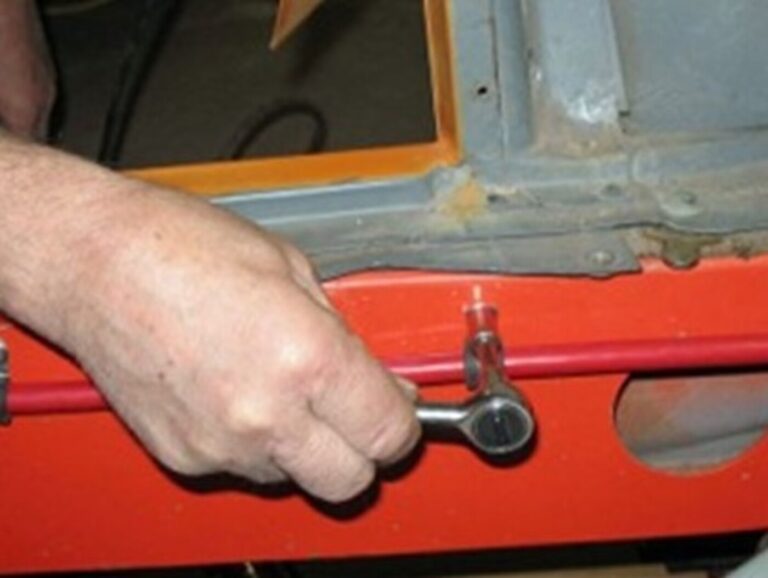
After rough measuring the length of cable needed for both positive and negative connections, feed the wires through a hole in the chassis above the rear wheel well on the driver’s side of the interior. Then the power cable was bracketed to the frame and routed forward along the inside of the frame rail. Holes were drilled in the frame rails to accommodate the self-threading hex-head cap screws used to mount the insulated brackets that hold the cable in place. Insulated brackets were placed at intervals along the inside of the frame rail supporting the cable and offering a solid point to attach the wiring harness to in the future. The important factors to consider are placing the battery box in a secure and accessible location and keeping it For cars with a starter that is located on the right you may want to route the battery cables and place the battery box on the right side of the To guarantee a solid ground a separate grounding cable needs to connect the engine/drivetrain to the frame.
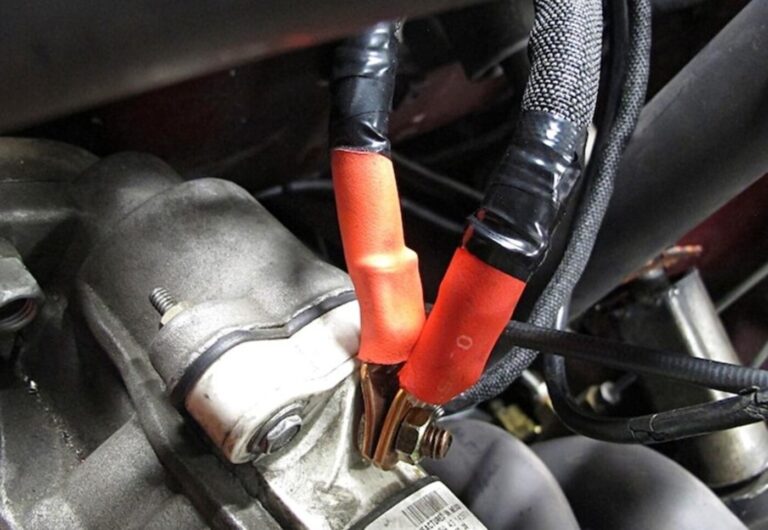
The positive cable attaches to the starter solenoid avoiding any exhaust parts or moving components. You should add an additional covering over the cable exterior and sealed it from heat and moisture with black electrical tape.
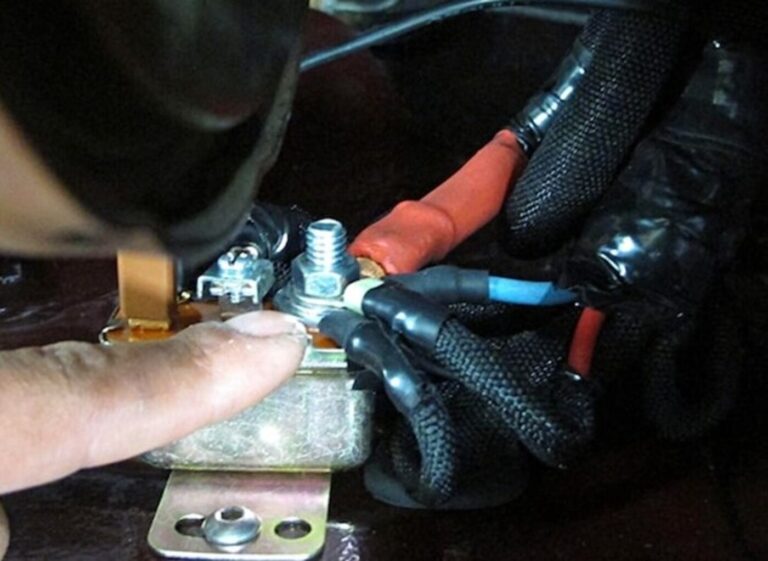
All the electrical connections were sealed in the same way as previously noted. This Voltage Regulator connection is clean and efficient.
Mount a new battery tray in the trunk with four bolts that come with the relocation kit. Make sure not to cut any holes in the gas tank, fuel lines or suspension parts which lie under the trunk flooring. Using the same care exhibited when drilling the holes for the battery tray, drill holes in the floor for the positive and negative cables.

Using a sanding disc remove any sheet metal flashing left by the hole saw.
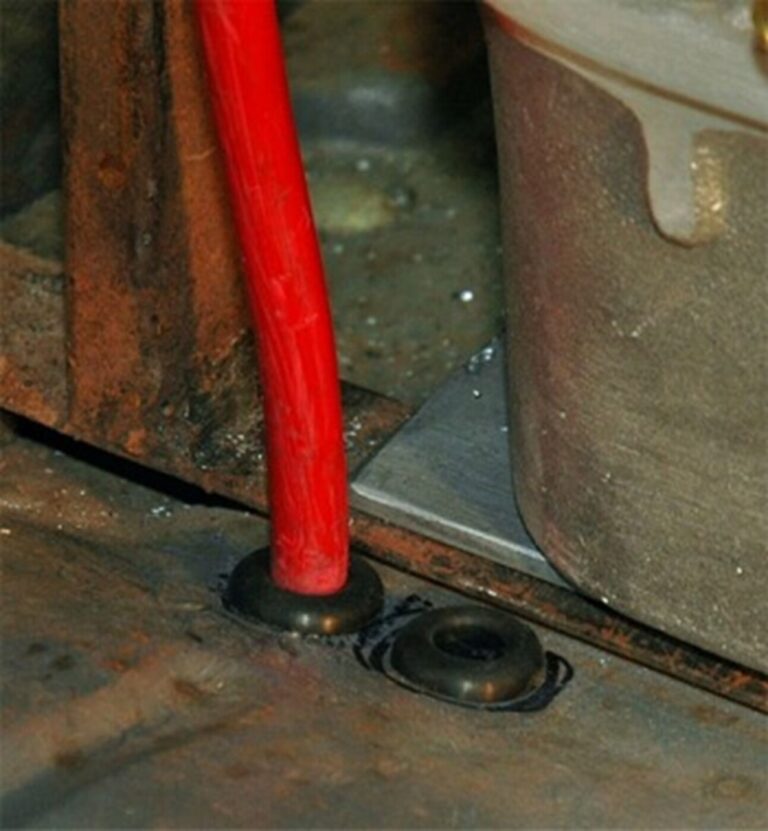
To avoid any possibility of the sheet metal flooring cutting through the cable and grounding out the battery charge, insert these grommets to provide a cushion between the metal and cable casing.
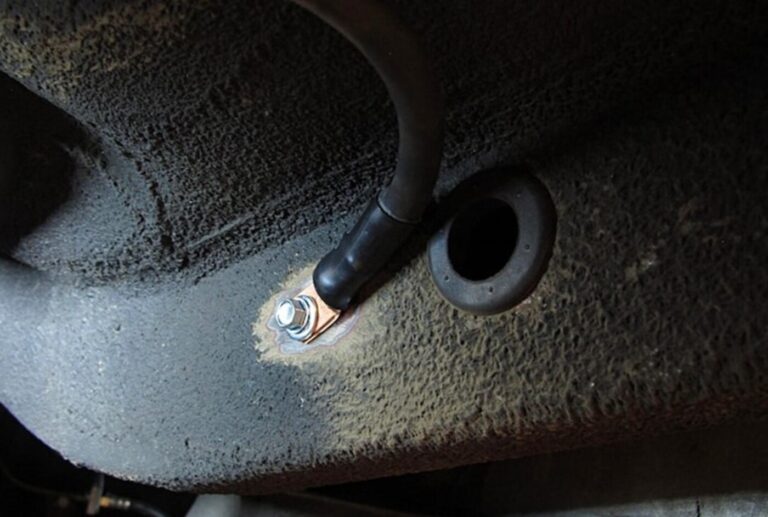
After using a Dual Action grinding wheel to remove the underbody coating and reveal a raw metal surface, the negative battery cable is bolted to the frame.
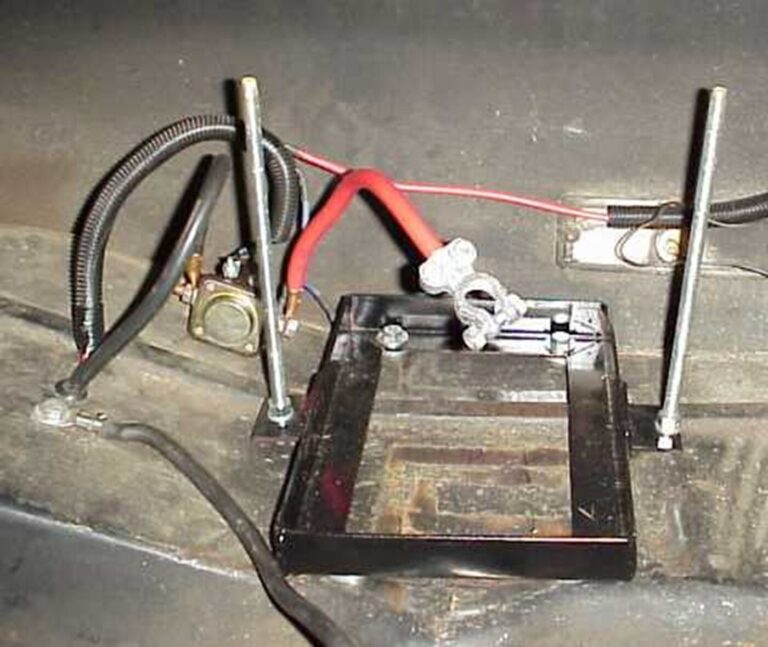
Many options are available when fabricating a mount for the battery box. The important factors to consider are placing it in a secure and accessible location and keeping it level.
Finally
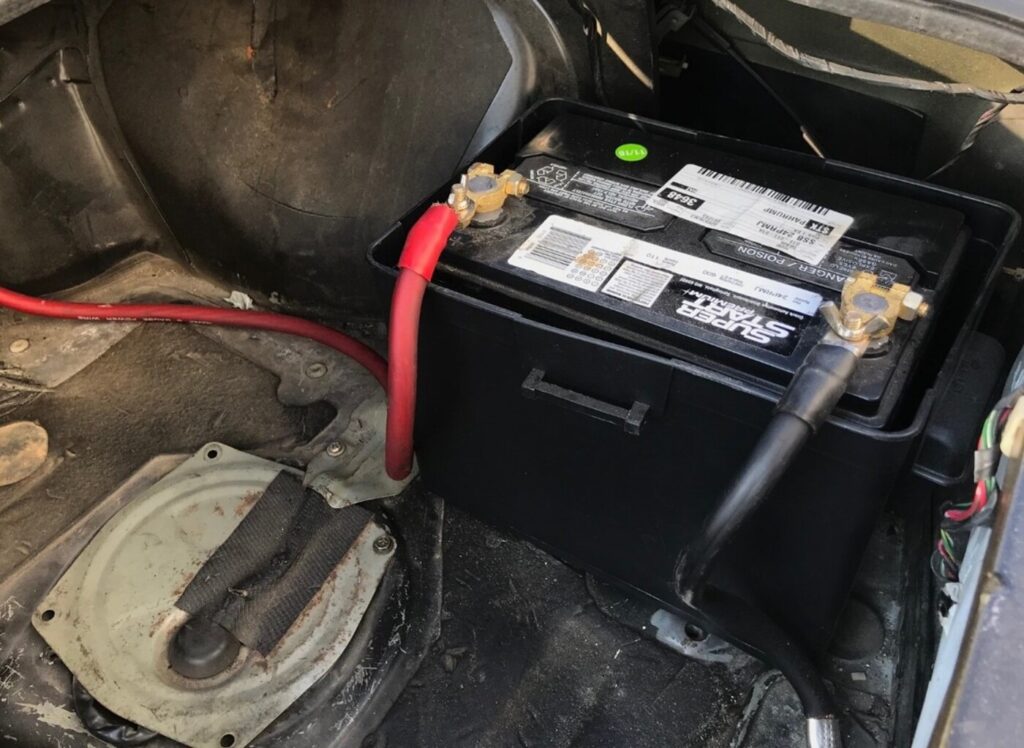
A battery box must be used to isolate the battery from any other items in the area and it should be securely mounted to the floor or on a platform within the trunk. With lead/acid batteries it is important to mount them level and make sure that they are vented properly. The new sealed Spiral Cell lead/acid batteries like the Optima do not have to be mounted level and do not need the venting but still should be isolated in a battery enclosure of some type.
Cables from the battery to the starter need to be of a bigger gauge (01 usually) to compensate for the voltage drop created from the longer run. A short ground cable of the same size can be run to the frame, but another short cable of the same size should run from the engine to the frame to complete the ground circuit.
Remember no matter where you locate your battery to regularly inspect and maintain your battery to avoid premature battery failure.