As the driving season in the northern climates is beginning to wind down classic car hobbyist begin the process of storing their cars for the winter. We have previously discussed the winterization process or for some how you can use your favorite classic even during the colder seasons. One of the important components of your classic car is the battery no matter storing it for the winter or even during those weeks or months of sitting maintaining your battery is key to trouble free driving. A trickle charger provides a more sustainable charge than a quick jump start. Learn about the benefits and best practices to using a trickle charger.
What is A Trickle Charger
A trickle charger is a car battery charger designed to be attached to a car for an extended period to re-charge the battery. It slowly adds the charge to the battery and does not allow for the normal depletion of charge that batteries commonly have. There are differing opinions of how long a trickle charger can be left on a battery and for that reason, several types have been manufactured.
Some trickle chargers can be left on a battery indefinitely. These would be used on a vehicle that is not used all the time or is stored away for the winter or the summer. A trickle charger built specifically for this is attached if the vehicle is needed in an emergency or other unexpected situation. It keeps the battery from being depleted from non-use.
Difference Between Battery Charger and Trickle Charger
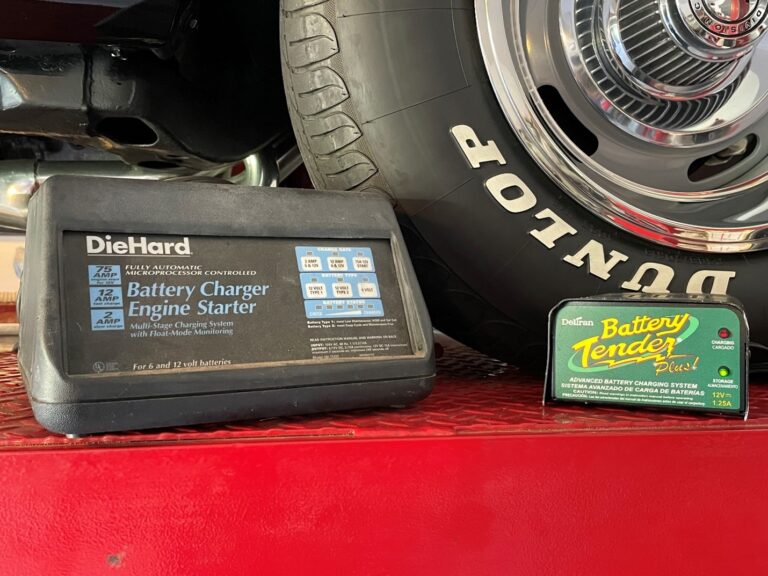
The difference between a trickle charger and a battery charger is that a trickle charger constantly applies a charge, whether the battery is fully charged or not. A battery charger, on the other hand, has circuitry that monitors the battery and charges only when the voltage has dropped below a preset level, thus preventing overcharging and damage.
When it senses the voltage has dropped, a battery charger will resume charging. Because of this a battery charger can be left connected indefinitely. A trickle charger, on the other hand, because it keeps applying a charge, should be disconnected, and reconnected occasionally, probably used for charging once or twice a month for a day.
How to Use a Trickle Charger
Trickle charges employ the use of a battery regulator to regulate charging rate and prevent overcharging, charging your vehicle’s battery at a rate like the rate at which it self-discharges to maintain full battery capacity. Charging at too fast of a rate or overcharging can cause damage to the battery.
Using a trickle charger is quite easy. Most trickle chargers consist of a simple box (where the “guts” of the charger reside), a power cable and two alligator clips. Before connecting everything, be sure to set the voltage and amperage appropriate for your battery. Check the switches and buttons on the charger box and set them prior to connecting the charger to a power source.
Ensure Battery Is Ready for Charging
Before you begin attaching your charger, it is important to ensure that all safety precautions are taken. First, it is important that your vehicle is parked in a place free of rain, and well ventilated. The charging process can produce excess hydrogen gas, and if allowed to concentrate in an enclosed structure, an explosion or fire can occur. Make sure the ignition of the vehicle is turned off and the key is removed, and that your charger is unplugged.
Locate a Suitable Ground Location
Finding a suitable location to attach the negative terminal of your charger is the key to safe and effective completion of your trickle charger circuit. Ideally a spot of bare metal on the frame, or a large bolt attached to the chassis or engine block should be used, but if one cannot be located, a section of the frame that is free of excessive dirt, grime and oil will suffice. The negative terminal on the battery should never be used, as it can cause an explosion or fire.
Attach Trickle Charger Cables
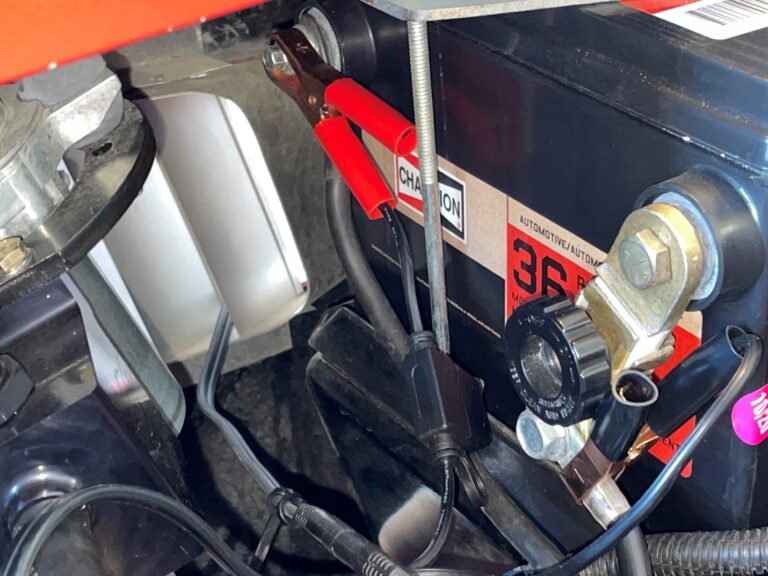
Connect the alligator clips. There should be a black clip and a red clip. Take the red or positive cable and attach it to the positive terminal of the battery to be charged. Once you have ensured you have a solid connection, connect the black, negative wire to your ground location located in step 2. It is important to ensure that this negative wire is solidly attached before plugging in your charger. Do not touch the wires while the charger is plugged in and turned on, as serious shock or injury may occur.
Once everything is in place, connect the trickle charger to a power outlet.
Turn on Charger
Once your connections have been made, ensure that all the proper settings are set as per the manual’s recommendations for the type of battery you’re charging. Plug in your charger and set it to the “On” position. Most battery chargers have an amp meter that will read higher on a dead battery, and lower to zero on a fully charged one. If this meter reads low, your battery may not need a charge, or your ground connection may not be adequate. Turn off the charger, unplug it and retry the connection if this problem occurs.
Trickle Charger Helpful Hits
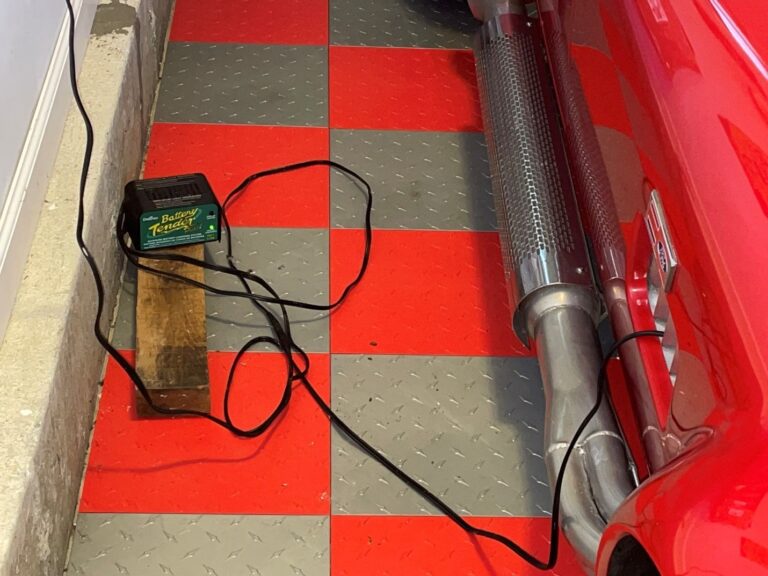
- Run the wires out the bottom of the engine compartment or thru a side vent so that you can completely close the hood and install a car cover
- It is preferred to place the charge on a shelf or wood block off the floor and not on the car this will help to prevent paint damage or electric problems if water gets on the floor
- Most trickle charge manufacturers sell extender cables to provide plenty of reach between the charger and the battery so take advance of using these low voltage cables
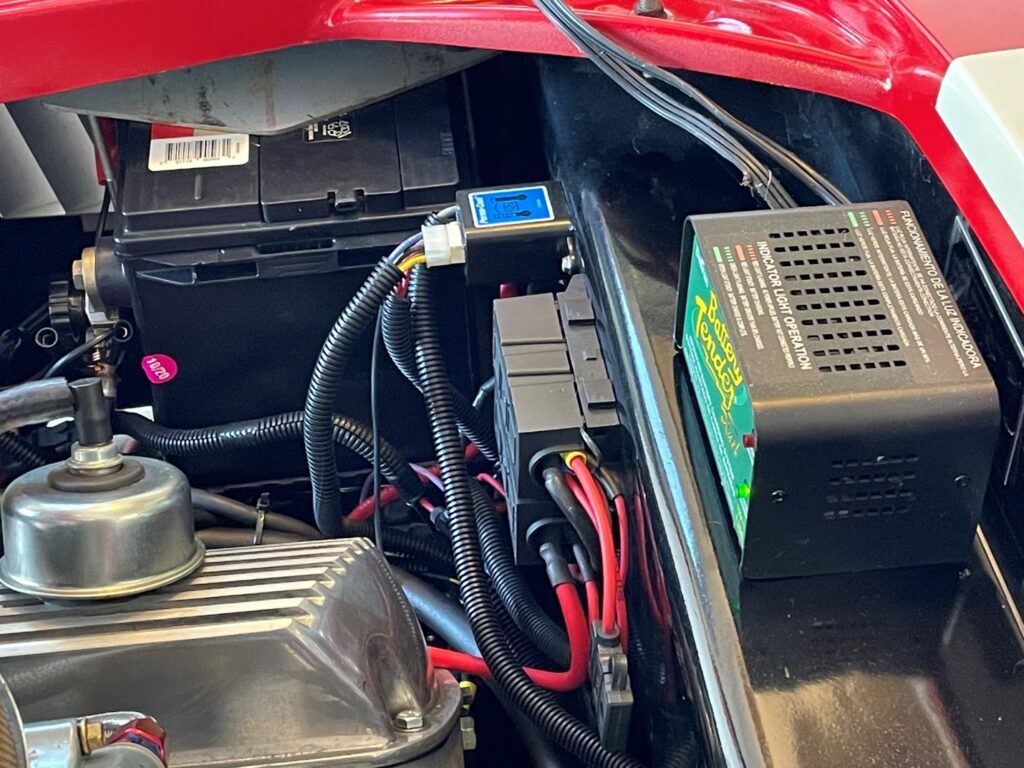
- Place the charger in a location so that you can easily see the charging light indicators for quick checks on your classic car
Finally
Check the charger’s display to make sure it is charging properly. If it fails to begin charging after a few minutes, your battery is mostly likely dead and beyond recovery. Otherwise, keep the battery charging until it is full.
Some trickle chargers can safely be left connected for months without doing harm to your battery, providing an easy long term battery maintenance strategy. Others may only be left connected for a few days at most. Be sure to check your trickle charger’s manual for details and correct charger operation.