
Applying touch-up paint to a car is easy. Applying touch-up paint and working it into the old finish so it looks like no paint touch-up has been done is truly an art. Touch-up paint is designed to fill the nicks and chips that are left when the paint on a car suffers what you might call “trauma.”
There are a million causes of minor paint damage from stones and gravel to road debris. It pays to take care of small chips and scratches in your collector car’s finish right away. If left exposed to air and the elements, breaks in the topcoat that extend down, past the factory primer, can become a great problem which will allow rust to take hold. That is why touching up such damage is essential. We have discussed in a previous blog how to address rust on the car body.
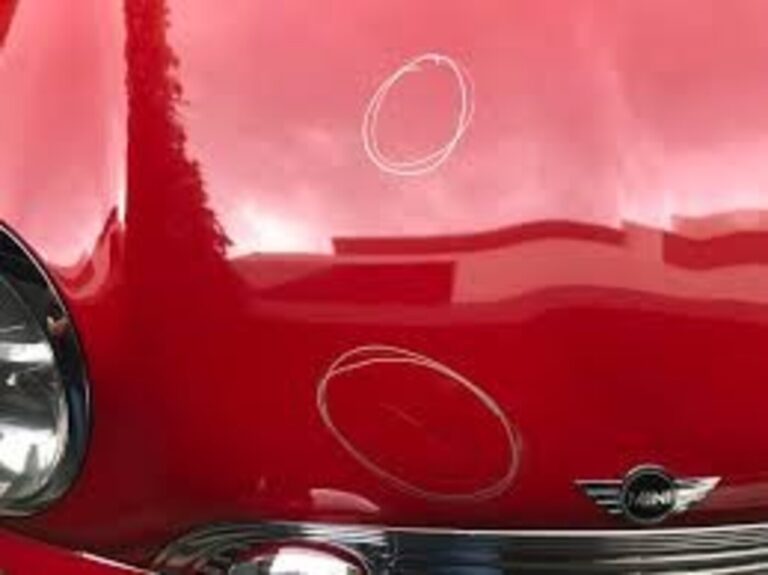
If a break in the topcoat leaves the primer under the paint intact, the damage will be purely cosmetic. If the automotive paint barrier is broken, bare metal will be exposed, and rust will start to set in. In certain areas of the country, this can happen quickly. Small chips seem to turn into rust seemingly overnight.
Paint touching up seems easy, but it can be a tricky procedure, especially on a collector car with older, original paint. Do not rush or skip any steps. Blending new paint in to match the old paint around a chip is a job that requires close attention to detail, especially if the car has its factory finish.
Start The Paint Touch-up Process by Sanding
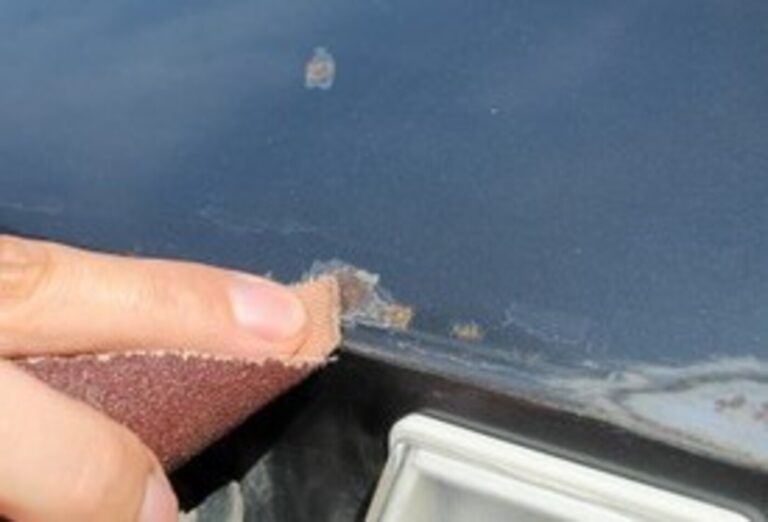
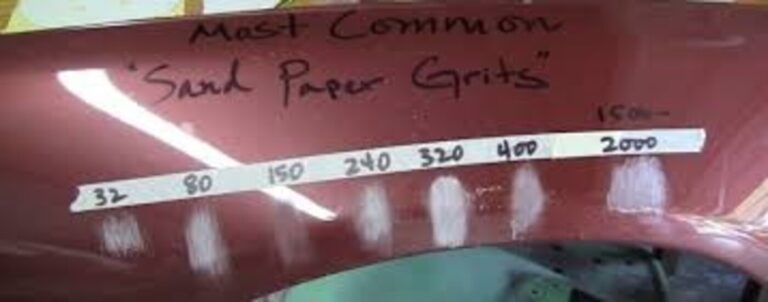
Start by sanding the chipped area by hand with 80-grit wet sandpaper. Get rid of any surface rust by sanding until all the metal is shiny. There are tools designed to press the sandpaper against the damaged area, but your finger will do the same job just as well. Go back and forth or round and round or combine the two techniques. Sand a small amount of the paint surrounding the chip to provide “bite” for your primer and touch-up paint. They will not adhere well to a waxed surface.
Paint Touch-Up with Primer First
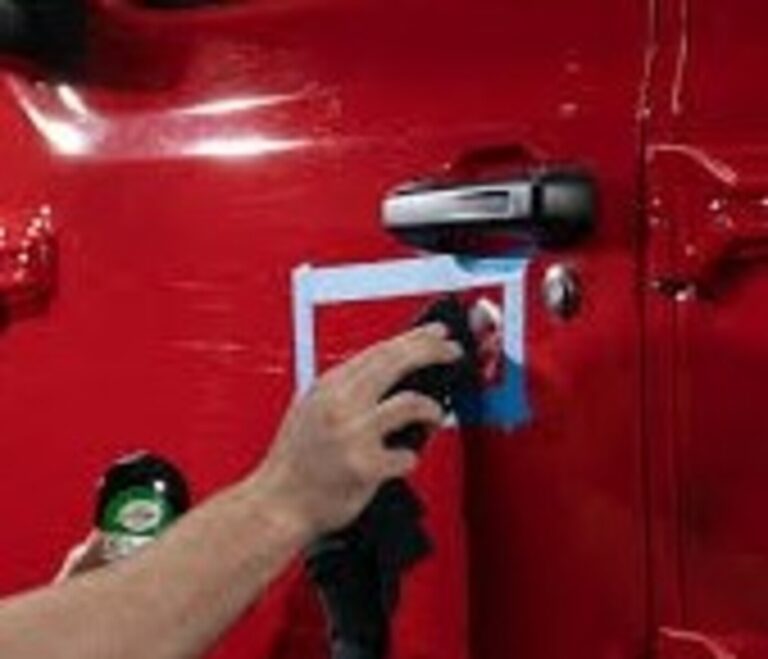
The area around where you sanded must be exceptionally clean. Paint will not adhere to oily or dirty spots. Clean all around the chip with a solvent and use a tacking cloth to remove sanding dust and other dirt. Now you are ready to prime coat the area. You can make a paint screen with cardboard. Punch a hole about twice the size of the area you want to apply primer to into the center of the cardboard. Do a test to see how much paint sprays through the hole you made. The idea is to hold the screen a few inches away from the damaged area, so that it will allow the primer to reach only the chipped area. For larger scratches, masking the area around the scratch with masking tape and sheets of newspaper may work better.
After the primer dries overnight, dress the repair area lightly with fine 400-grit wet sandpaper. Keep in mind that you are not trying to remove the primer and sand all the way down to bare metal again. The goal is to scuff the surface up very lightly so the paint will adhere to the primer. After you are done scuffing the surface up, re-clean the repaired area with your solvent and tack cloth.
Adding the Touch-up Paint
At this point, you can topcoat the repaired area with your touch-up paint. If the car you are working on is newer, you should be able to get the proper touch-up color from a car dealer or a body shop supplier. Auto parts stores and the automotive department in a discount store also carry touch-up colors, but these sometimes seem to be a little “one-size-fits-all” in nature. If you are looking for a top-quality repair, these paints may leave something to be desired.
To buy the perfect color match for your vehicle’s factory paint, you will first need to find the classic car manufacturer’s paint code. It can be in a variety of places on the body, in the engine compartment or trunk, or other places. Use either of these online resources to find instructions on how to locate your paint code: automotivetouchup.com or duplicolor.com.

Color matches for both new and old cars are provided by a number of paint manufacturers so do a little research for your make and model to locate the correct supplier and put them in a custom-filled spray can or touch up bottle for you.
Hopefully if the vintage car was restored at some point the shop provided extra paint that will match the current color on the car. If not, try to reach out to them as they may still have some in their inventory.
After you buy the proper color or have it mixed up, spray several light, thin coats of the paint over the damaged area. Work through the hole in your cardboard screen. Allow each coat to dry completely before adding a new one. The longer you allow it to dry, the better your repair will be.
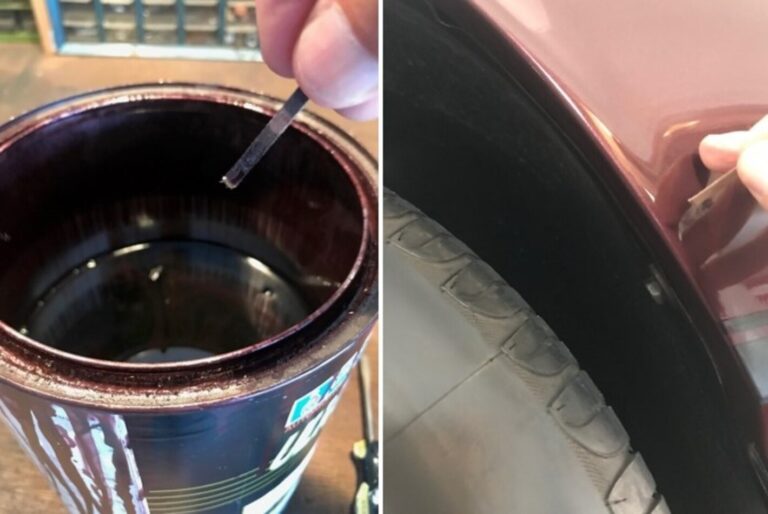
For small paint chips that do not require sanding you can use a fine tipped paint brush or even a carboard matchstick to apply the paint.
Larger Paint Touch-up Projects
When you are working on a larger area and mask the area off (instead of using a cardboard screen) leave the masking tape and paper in place for several hours. Do not be too quick to remove these materials and see how the repair came out. Being overanxious can reduce the final quality of the repair.
When finished, remove your masking materials, and allow at least 48 hours for the paint to dry. Some paint cans say 24 hours, but 48 hours will give better results. Be careful though. Some automotive paints require 72 hours to dry completely.
Blending In the Paint Touch-up
After allowing proper drying time, you will still have to “work” the paint to blend it smoothly into the old finish. Use a small amount of automotive rubbing compound on a soft, clean moist rag to “rub out” the repair. Rubbing compound is an abrasive paste that goes on like wax but works like a very fine sandpaper. Use it very carefully and do not rush the job.
Dip a soft folded cloth or foam pad into water, wring it out and dip it into the rubbing compound. Now rub the compound on the repair with a back-and-forth motion. Do not use a circular motion! Patiently use the compound’s abrasive qualities to “feather” the new paint and old paint together until the repair is imperceptible. Do not rub too hard because rubbing compound removes the finish. Stop when the border between the old and new paint can hardly be seen. Wipe off any remaining rubbing compound. Then, wax the car.
Some car paint companies offer specialized paint chip repair kits for touch-up repairs. They are claimed to make the paint on touched-up areas resemble the factory texture of the surrounding paint. You may want to experiment with these kits if you are trying to preserve an old car’s original factory finish so the car can be shown in the “Historic Preservation” class.
Other Helpful Paint Touch-up Hints
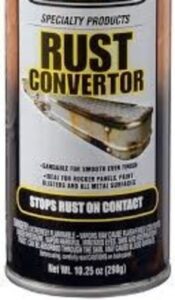
Before you can do a good touch up you have to use a rust preventative product that will prevent corrosion from reoccurring under new paint.
Anyone working on car bodywork was taught the importance of sanding damaged paint smooth before adding a new topcoat.
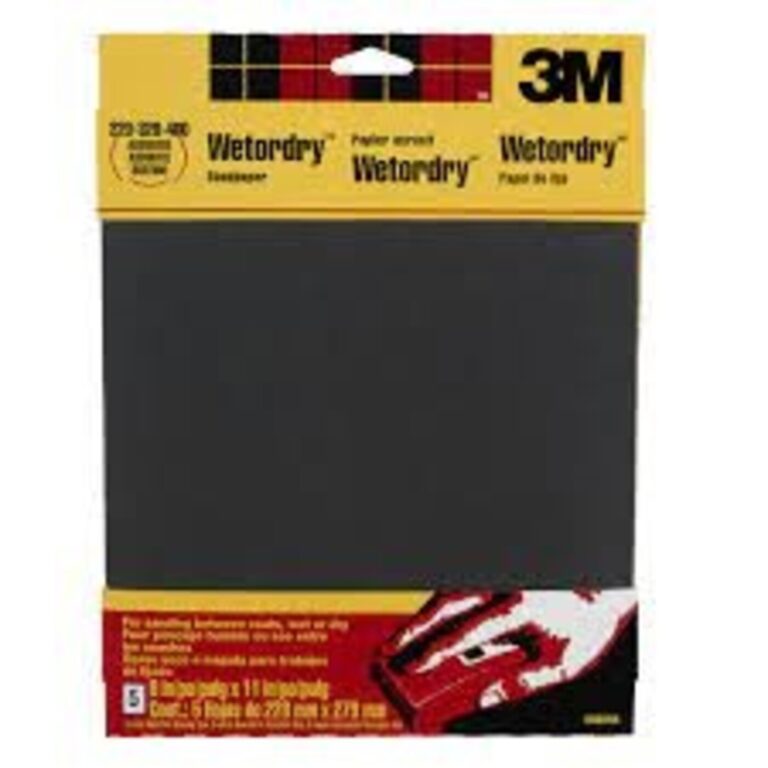
You will want to have a good supply of sandpaper in many different grits before beginning any touch up work. Especially using sandpaper that is designed for use with water as a lubricant so you will not leave deep scratches with dry sanding.
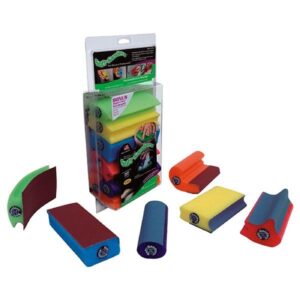
Many innovative autobody tools. Such as these soft sanders, are being introduced to help you get better results when making touch ups.
Finally
Simply touching up the paint on your classic car can be extremely easy but doing it right so that it blends in so that the paint impaction is not noticeable takes time and patience. The main point of this is to work slowly and carefully to make sure that the paint work comes out the way you want as it is not complicated. Also, any touch up paint you have you should do a sample area or on a separate surface to make sure you have the correct color match.
It’s good to know that masking paper is necessary for larger paint touch-ups. I noticed that my car had been bumped in the parking lot last night and no one left a note. I’d like to take it to an auto body shop this week to get it touched up.