It is not only about having the right tools. These tool tips for the DIY home mechanic can show you when, where and how to use them. Sometimes that means using them for tasks for which they were not designed. Check out this collection of mechanics’ tool tips—you are bound to find a couple to help you.
Proper Way to Torque Lug Nuts
Did you know there is a right way and a wrong way to tighten lug nuts? Most people think tighter is better. Not true. Overtightening lug nuts is the No. 1 cause of warped brake rotors (called “brake rotor lateral run-out”). Warped rotors cause pedal pulsation and can increase your stopping distance. Overtightening can also break wheel studs. The stud itself does not cost much, but the labor to press out the old stud and insert the new one can cost as much as $75. Spin the lug nuts on by hand. Never coat the stud with grease, oil or anti-seize. Lower the jack only enough to bring the tire into contact with the road. Tighten each nut to half the specified torque. Then lower the vehicle completely and tighten each nut to full torque.
Adjust The Torque on Your Wrench
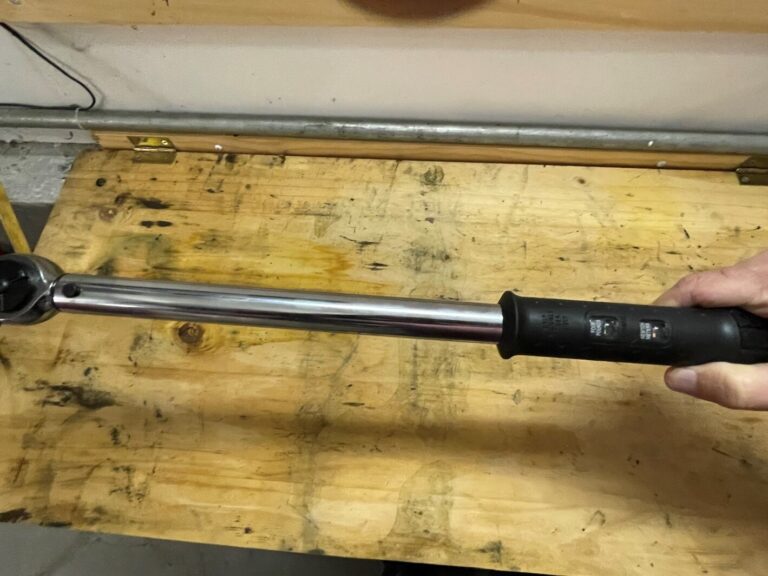
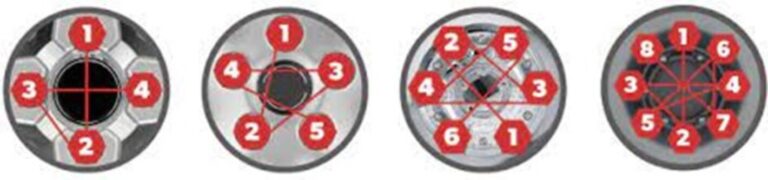
- Consult your owner’s manual or a shop manual and set your torque wrench to one-half the recommended torque specification. 2. Reset the wrench and tighten each nut to full torque. Move the socket from one nut to the next in a star-shaped sequence
Listen To Your Vehicle
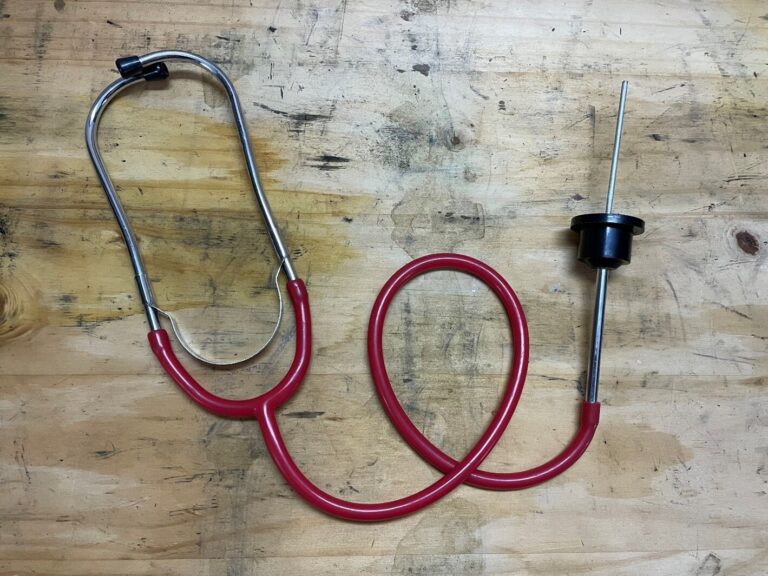
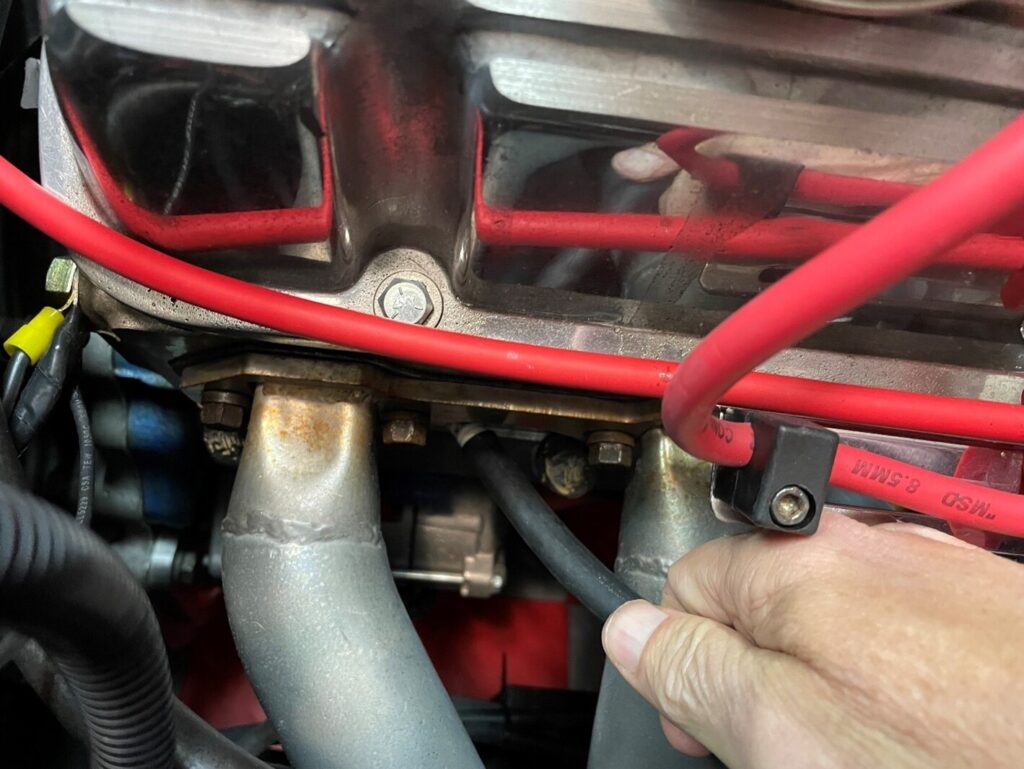
Diagnose chirps and squeals with a stethoscope Caption to go with image: Touch the scope’s metal probe to the nonrotating part of the suspect component. If it is worn, you will hear an unmistakable metallic sound.
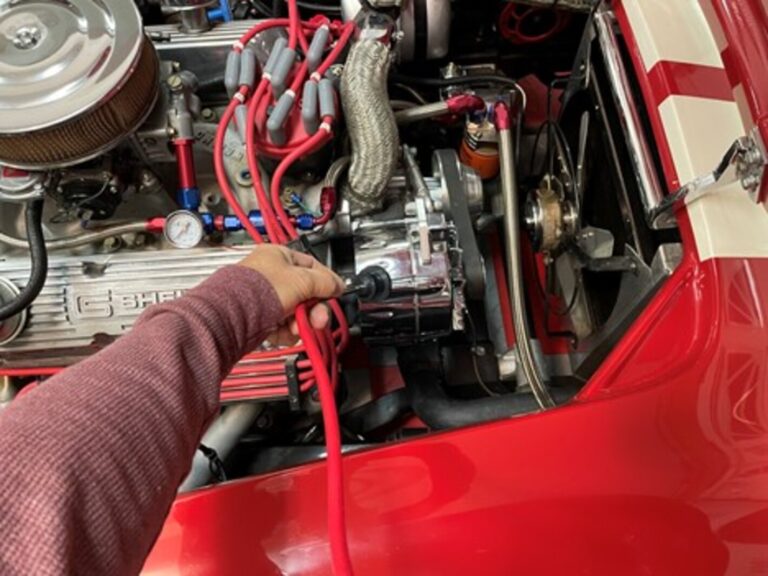
Save Your Back with A 20-In. Extension Bar
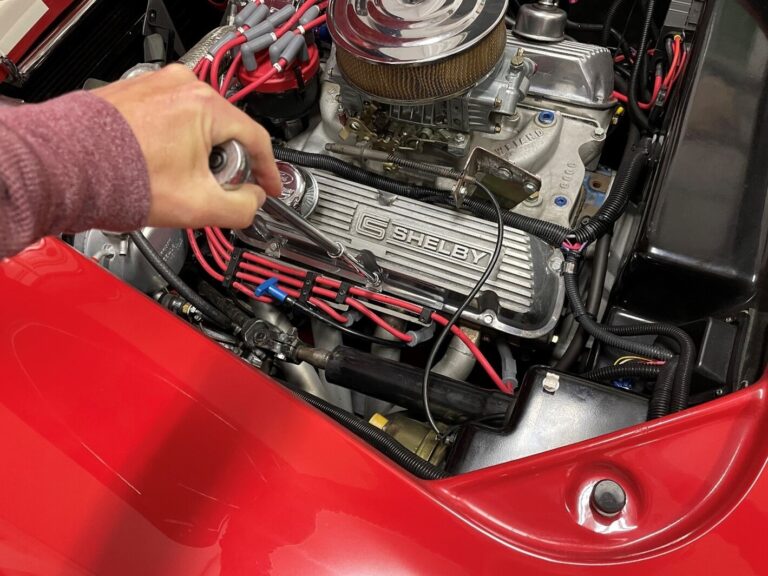
When you are leaning over the fender and elbow deep into a tune-up, the tool you want is a 20-in. extension bar or combine a couple of 10-in. bars. It will save your back every time. Just snap your socket onto the end and ratchet away—while standing.
Great Way to Store Used Oil
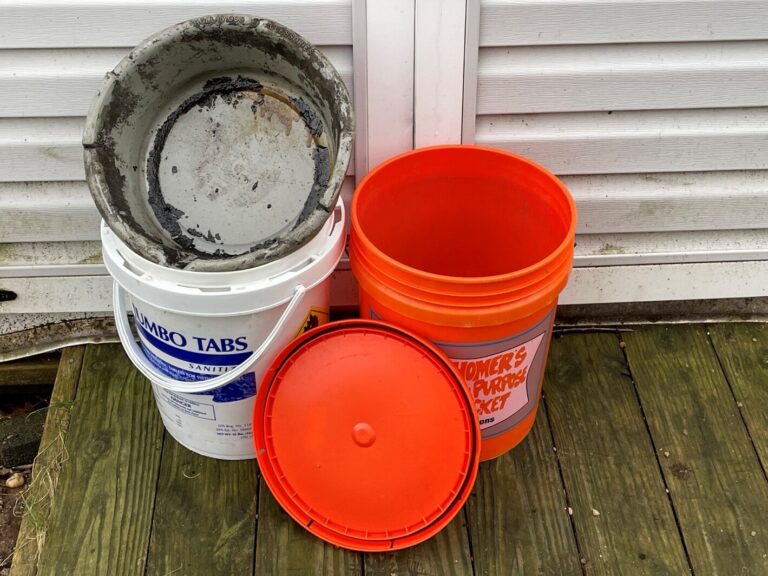
Storing used motor oil is a hassle. Here is a tip: Restaurants order liquids such as cooking oil and soy sauce in 5-gallon jugs. Next time you are out to eat, ask if you can have a few empty jugs. Rinse them and use them to store several changes’ worth of used oil between trips to the recycling center. One of my favorites was the pickle bucket from White Castle. Other buckets can be found from using pool chemicals or even at home supply stores.
Six-Point Vs. 12-Point Sockets Q And A
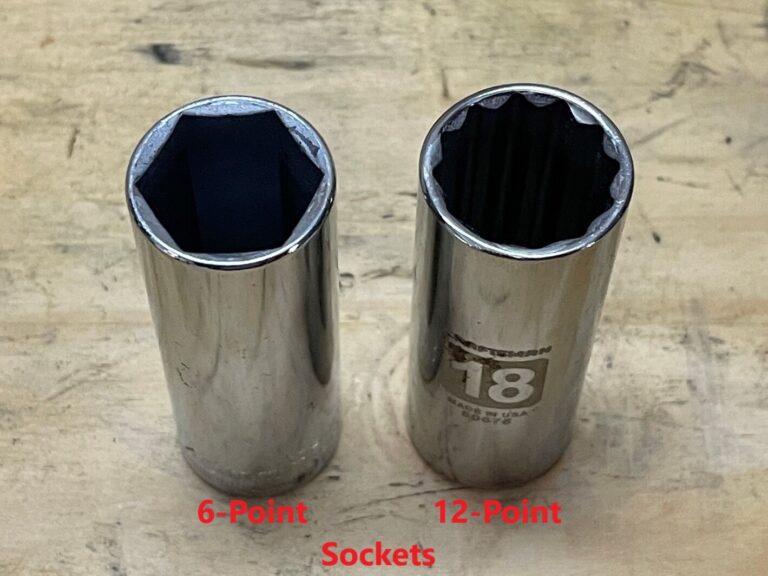
Q: My gearhead neighbor keeps telling me I should quit using my 12-point sockets and buy a set of six-points. Is this necessary? A: A 12-point socket is fine for most lightweight repairs, but heavy wrenching calls for a six-point socket. A six-point socket is much less likely to slip off a stubborn fastener or round over the corners. Here is why: (1) Six-point sockets have thicker walls, so they are less likely to flex. (2) A six-point socket is designed to contact the head of a fastener well away from the corners, so contact is made on the thickest part of the socket and the flattest part of the fastener. This dramatically reduces the likelihood of slippage and rounding over the corners. And (3), the edges of a socket are angled back a few degrees to allow the socket to slide easily over a fastener. The angle on a six-point socket is less than on its 12-point counterpart, again providing more contact area inside the socket. One last point. Most high-quality sockets are chrome plated to prevent rusting and make cleanup easy. How-ever, after years of use, the chrome finish can flake off. Do not use a socket if the chrome is peeling. The chrome will be as sharp as a razor blade. Any reputable tool company will replace a tool that has peeling chrome.
The Simple String Alignment Trick
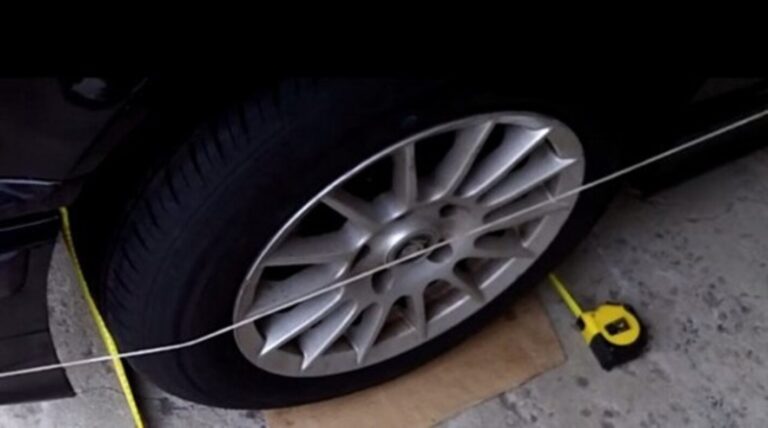
Electronic alignment machines are an amazing advancement, but most people do not know that race car owners and pit crews have been aligning cars for decades with little more than a ball of string, some jack stands, a tape measure, and a plumb bob — and it works, really, really well. Commonly known as “stringing a car,” this technique is easy for anyone to understand if they can handle basic geometry and have a healthy amount of patience. The more detail oriented the aligner is, the more precise that suspension will be, and this “outdated” style of aligning a car can be done by virtually anyone. While there are more complex ways of going about this, the approach in the video is easily the simplest and most popular way of doing it and can be used on virtually any car, regardless of how old or new it may be.
Rubber-Band Bolt Holder
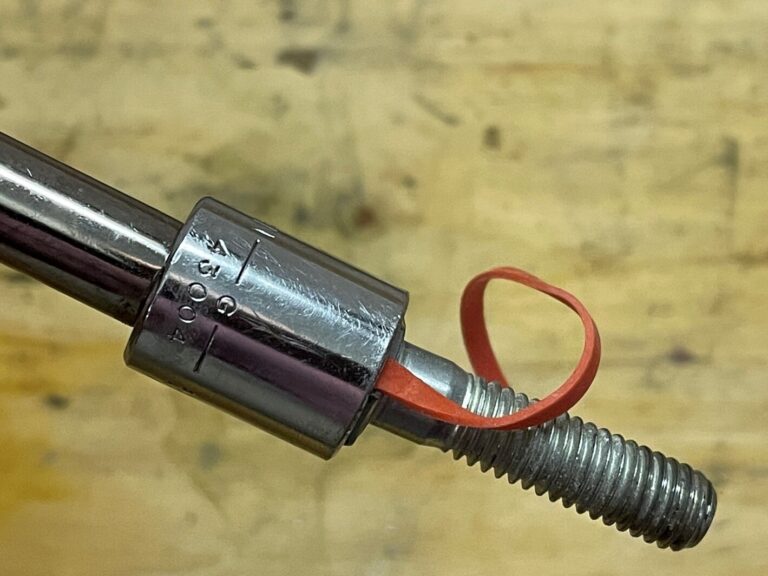
Mechanics often use special magnetic inserts in sockets to prevent the bolt from falling out while they try to thread it into a tight spot. You do not need to waste money on those gadgets. Simply cut a rubber band into strips and lay a strip across the opening of the socket. Then insert the bolt head. The rubber band will wedge the bolt head in the socket, allowing you to start threading without losing the bolt.
Finally
As we have done a few of these posts on tool tips for the DIY home mechanic we keep finding more helpful hints to work in your home garage.