
Over the years and generations any working on cars find tricks that work to save time and in many cases skin off your knuckles. At home in your garage working on a classic car the following are some old school repair tricks to help overcome various problems you might encounter:
Adding gear oil into your transmission or rear differential case
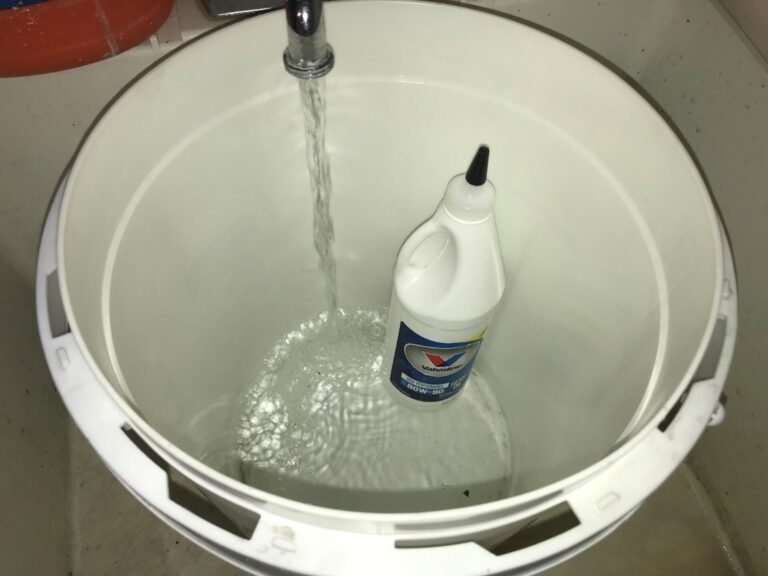
Adding fluids to these cases can be a bit tricky; so, my method is to put the oil into a container that I can easily fit in the area next to the fill opening. The container has a screw on nozzle to attach a hose.
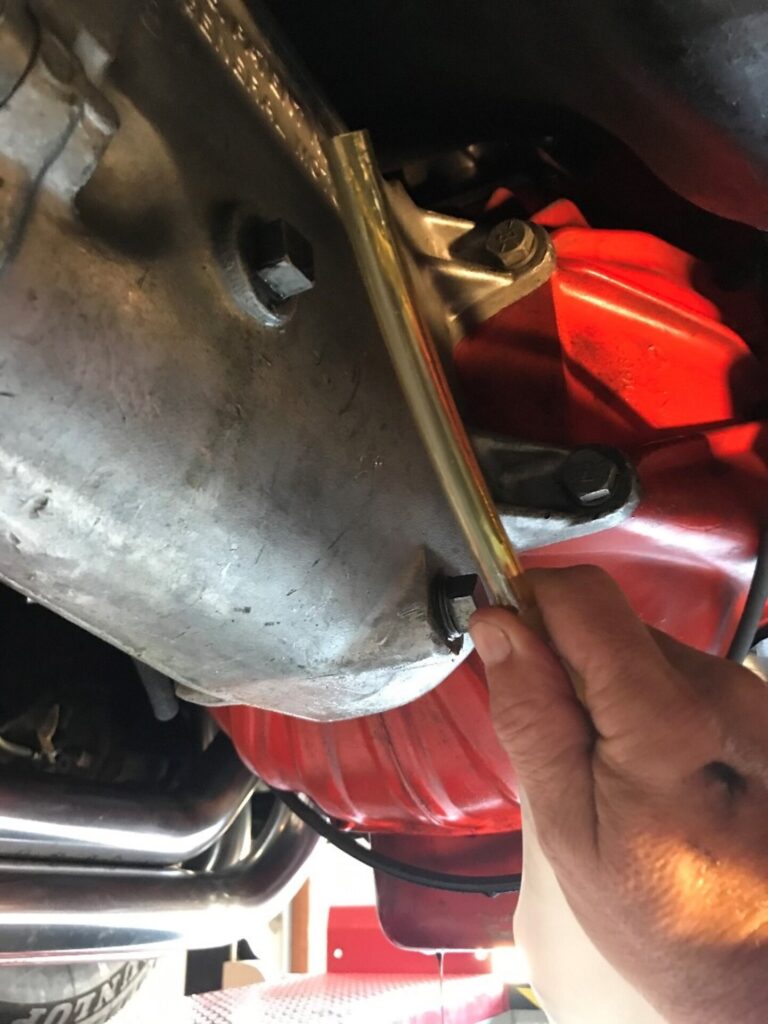
I put the container of gear oil into a bucket of hot water for about 15-20 minutes to warm up the oil so that it will pour easier.
Once the oil is warm, I then take the whole container with hose and insert the hose in the fill opening and the container either next to or above the opening (if possible) and squeeze the oil out of the container into the case. It is a good idea to hold the hose with your other hand to avoid the chance of getting an eye full of gear oil. Warm oil is easier to squeeze from a container than cold. Periodically check the level so you do not overfill and make a mess on the floor (Even though I frequently do). This method works even if you cannot get the container above the fill opening.
Make sure you reinstall fill plug when finished.
The simple string alignment trick
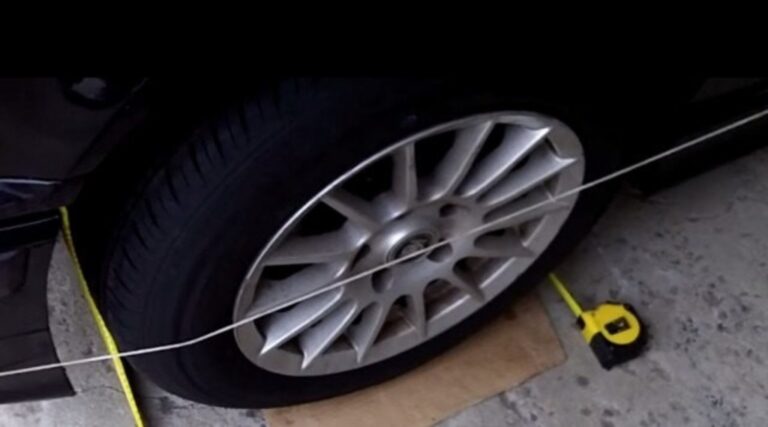
Electronic alignment machines are an amazing advancement, but most people do not know that race car owners and pit crews have been aligning cars for decades with little more than a ball of string, some jack stands, a tape measure, and a plumb bob — and it works, really well. Commonly known as “stringing a car,” this technique is easy for anyone to understand if they can handle basic geometry and have a healthy amount of patience. The more detail oriented the aligner is, the more precise that suspension will be, and this “outdated” style of aligning a car can be done by virtually anyone; run a string from in front of the front tires to behind the rear tires. You will need to make sure that the car is sitting with its full weight on all four wheels/tires. Make sure the steering wheel straight you will be able to see in the string if the tires are not properly aligned. Using a tape measure, measure the distance to the outside of the rear of the tire and the outside of the front of the tire.
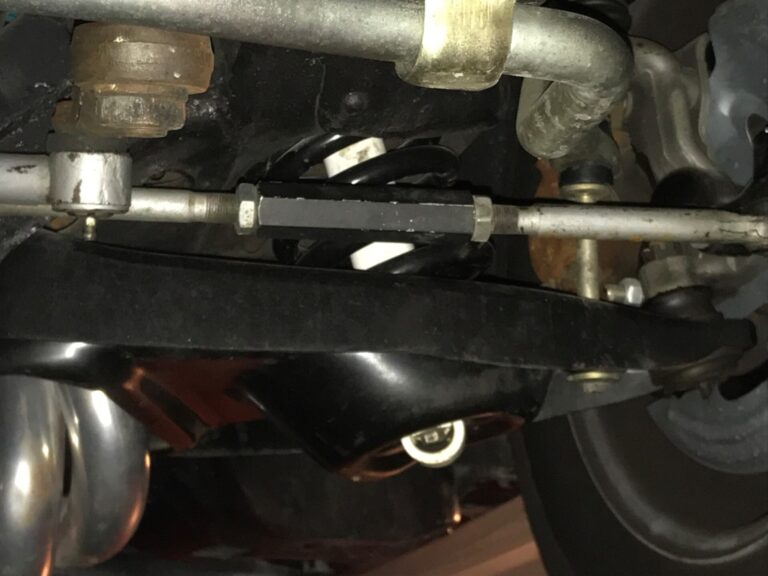
You can then adjust the steering coupler to move the tire angle until both tires are parallel, it will help to have the tires on some cardboard so that they will move a bit easier. While there are more complex ways of going about this, this approach is easily the simplest and most popular way of doing it and can be used on virtually any car, regardless of how old or new it may be.
Simple storage containers for disassembly
I grab a handy large soda bottle to cut apart.
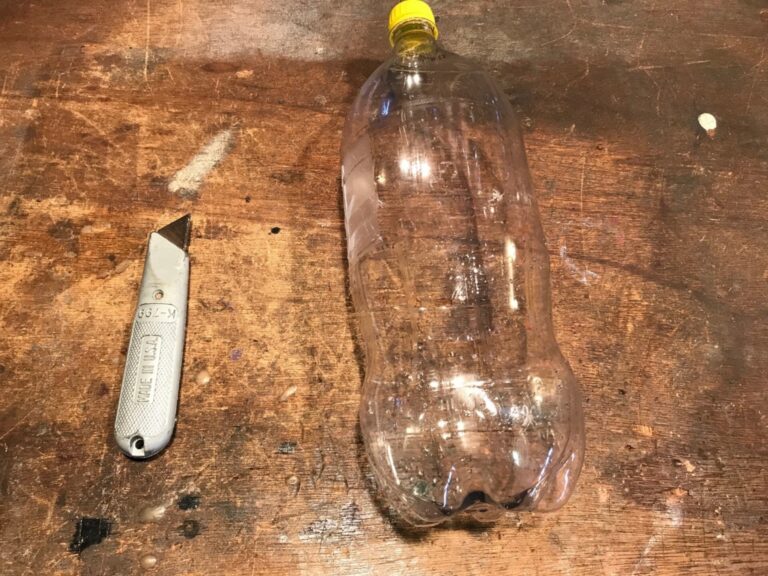
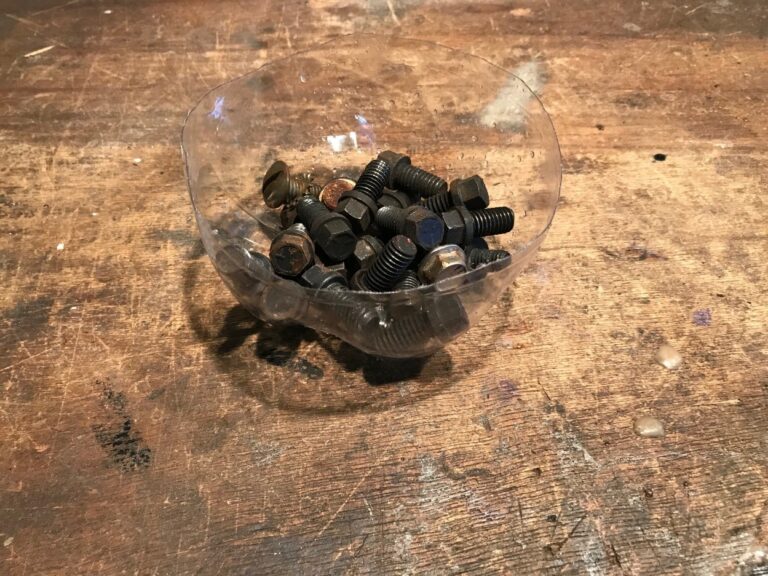
Cutting it into 3 pieces gives me a container for small parts.
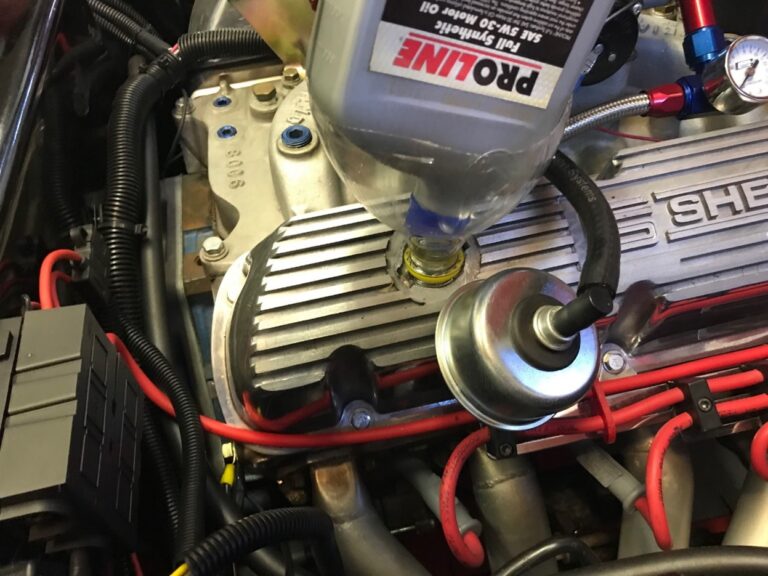
And a handy funnel.
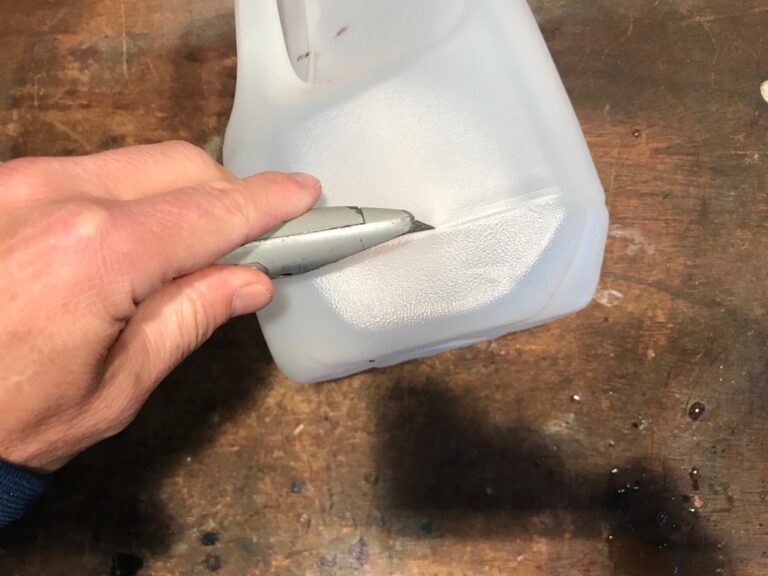
If I need a larger tray, then I cut the bottom of a 1-gallon water or milk container.
Even better these containers can be labeled with a marker as to the contents, then thrown away when finished.
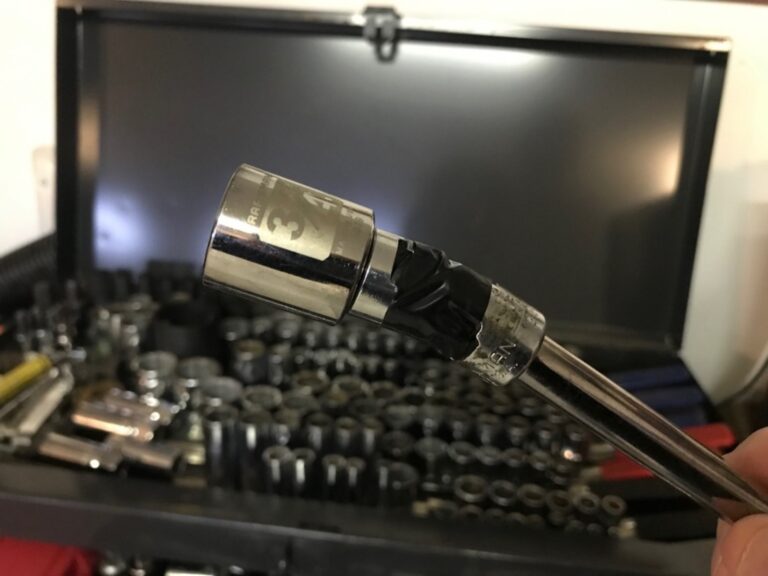
Universal socket joint support
We all use universal socket joins when working on our classic cars. A common problem is getting the socket onto the bolt or nut as the join always seems to flop over creating an added level of difficulty especially in tight areas.
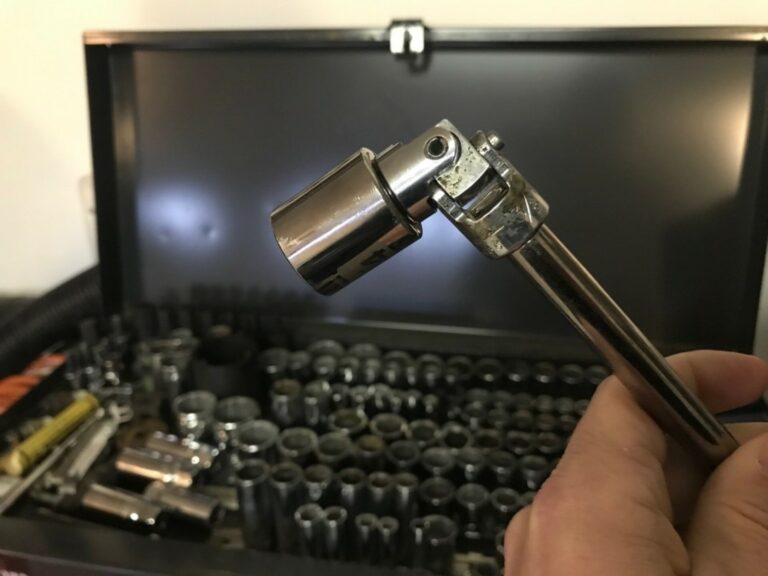
A simple fix it to wrap one layer of electrical tape around the joint tightly to add support for the joint. This way the joint will not flop over but the tape will still allow it to function properly.
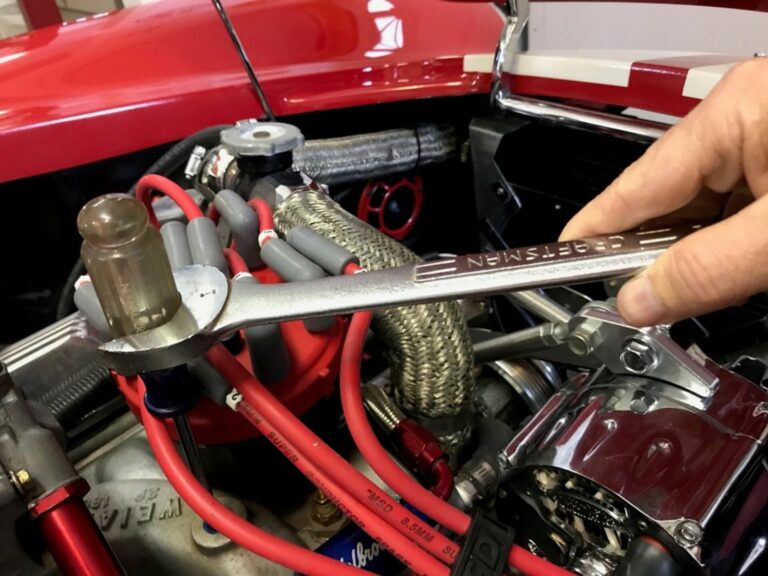
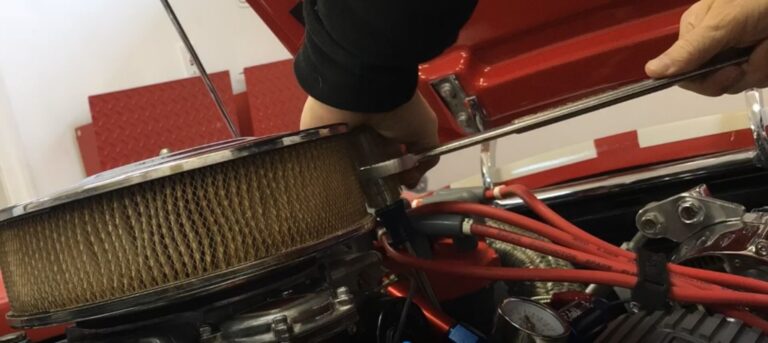
Wrench extension for leverage
Getting leverage when wrenching is the key for an easier job.

There are times when the space is limited and a box wrench is the only way to get to a nut/bolt, but then you are limited on the length of the wrench which will cause a limit on the leverage you can use. A way to address this is by locking the box end of another wrench onto the open end of the wrench on the bolt, and carefully press on the extend wrench against the interlocked wrench as shown.
Spark plug helper
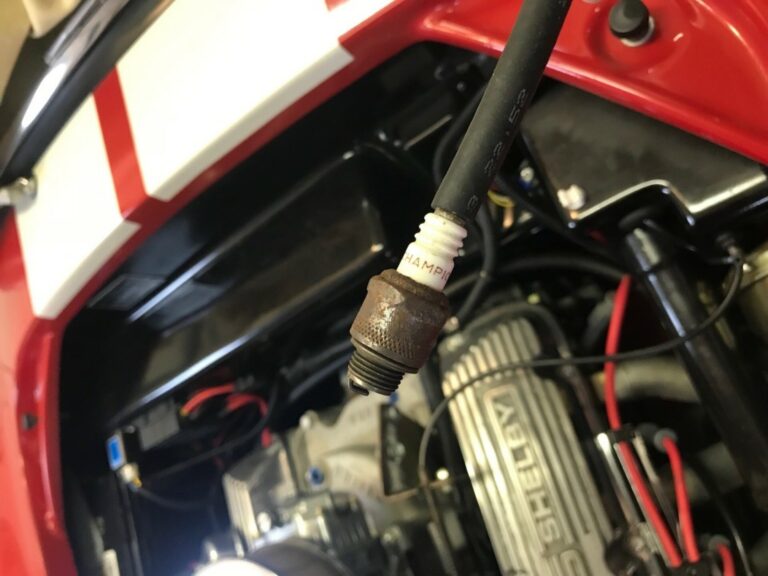
The best way to start spark plugs in any car is by hand. For many cars getting access to the spark plugs with your hands can be difficult. An easy method for starting the spark plug threading is to use a piece of vacccuum hose on the top of the spark plug to extend your reach to get the plug in place. Twist by hand the hose until the spark plug has started to turn onto the threads easily. To avoid any chance of cross threading turn the plug on by hand a few revolutions. Remove the hose and then you can use your socket and wrench to finish the job tightening the spark plug.
Added leverage for screwdrivers
Unless you have an impact screw driver to losen up those stuck screws you will need some other form of leverage.
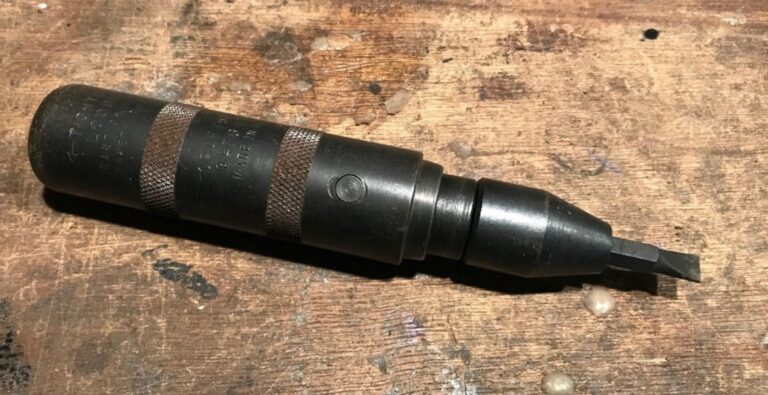
To gain that leverage I use an open end wrench with the screw driver.
By putting my weight on the top of the screw driver with one hand I use the wrench to turn the screw driver.
Fun with coins
There are times on the side of the road without tools that simple issues become major hurdles. If you have a nut that is put on “hand tight” and just cannot seem to get it to turn.
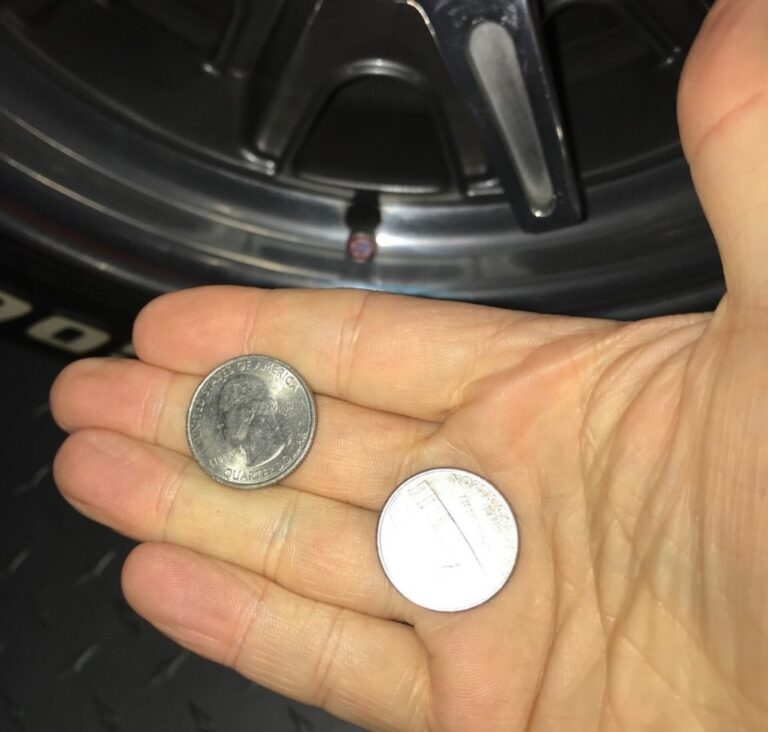
I have used 2 quarters to add a bit of grip on the situation to overcome the slip of the fingers.
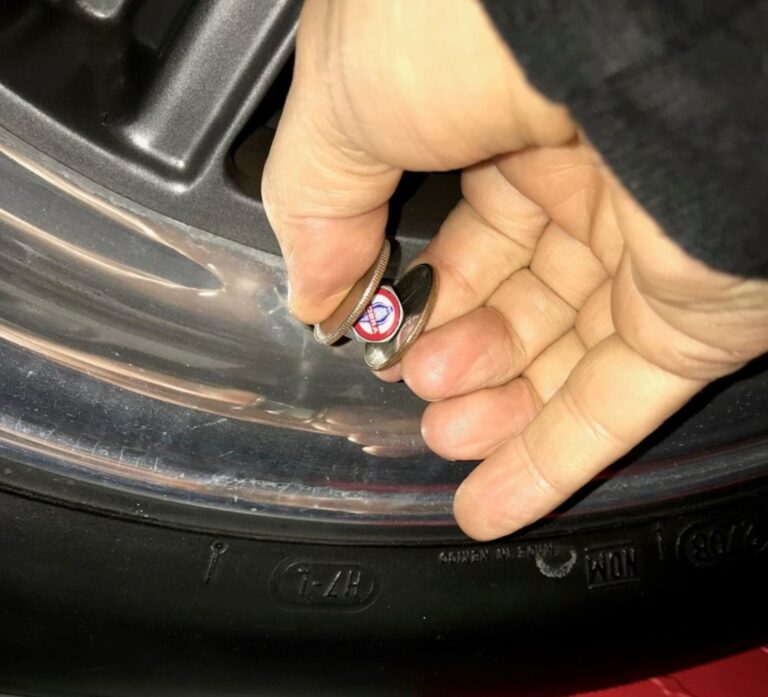
Many know the “old school” method of checking tread depth of your tires, but I could not help but add this one in.
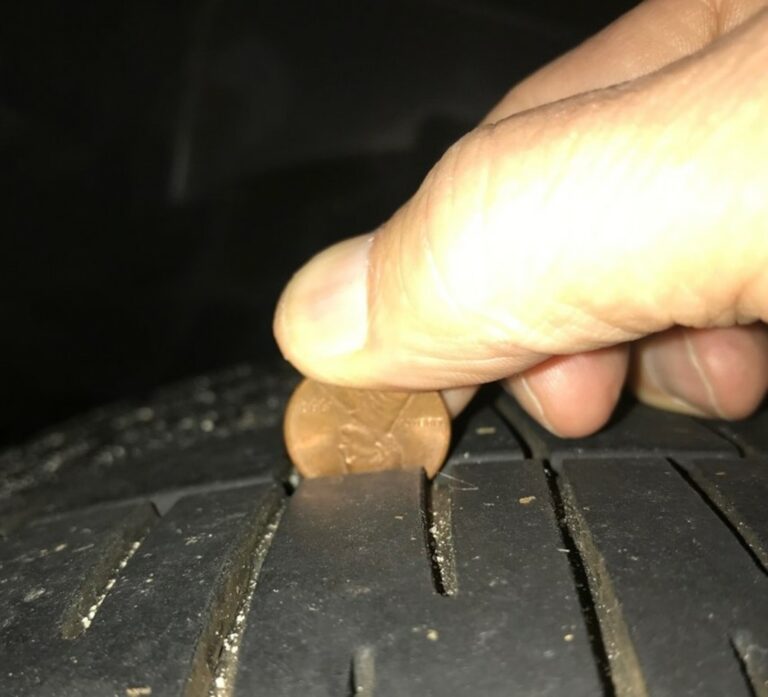
Inserting a penny into the tread groove with the top of Lincoln’s head down you can check the wear. If you can see ALL of Lincoln’s head from the side, then the tire needs replacement as the tread has worn down to its limit.
Keep your bolts and nuts in the socket
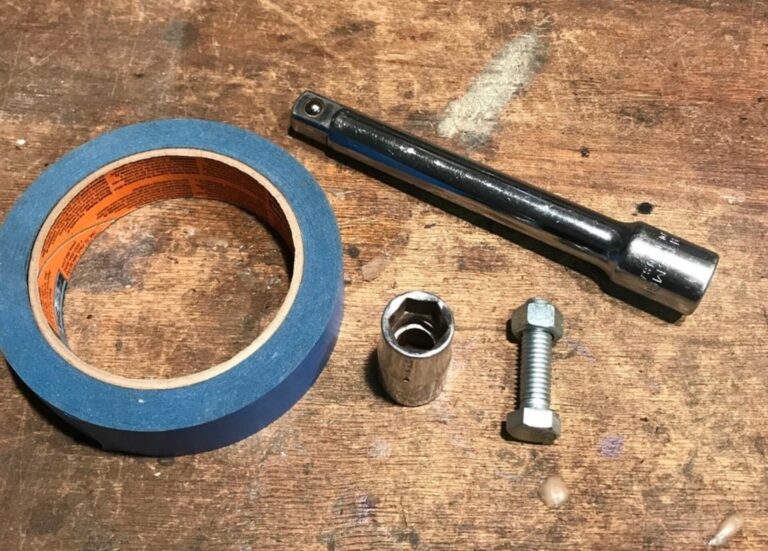
This trick comes in handy when your socket is not magnetic to hold it in place by using a piece of paper at the end of your socket to hold the bolt or nut for reinstallation.
Take a piece of paper, paper towel, or blue painter’s tape and rip off a piece slightly larger than the socket size.
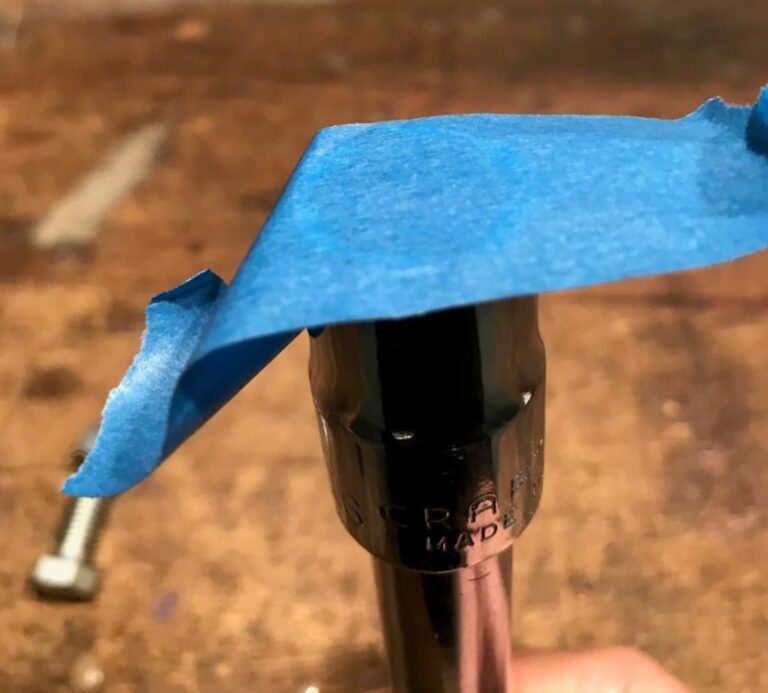
Holding the socket vertically push the paper/tape into the socket where your bolt will go. For tape, sticky side toward the socket. Put the bold or nut inside the socket like you normally would. Now, push it into the paper/tape and feel how tight the socket grabs the bolt.
Flip the socket upside down and confirm the paper/tape is holding the bolt/nut into the socket.
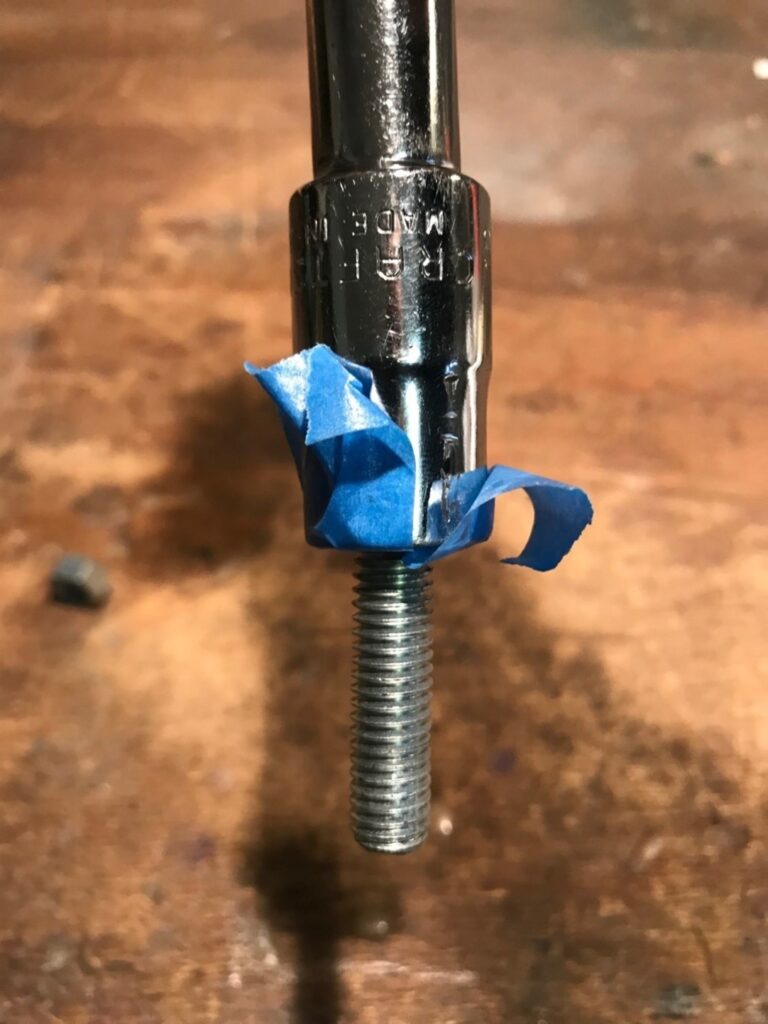
Install the bolt/nut and pop the socket off like normal. Retrieve the paper, or do not worry about it, a small piece of paper will likely blow away and cause no harm but just be careful about allowing the paper to fall into an engine of mechanical component.
As a note some old school mechanics even use heavy grease to hold the bolt in place, but some added cleanup is required.
These are just a few of the “old school” mechanic tips and tricks to working on your classic car. We will get to others in future posts.
This post contains a lot of information and I really want to thank You for sharing it as it has been very helpful.