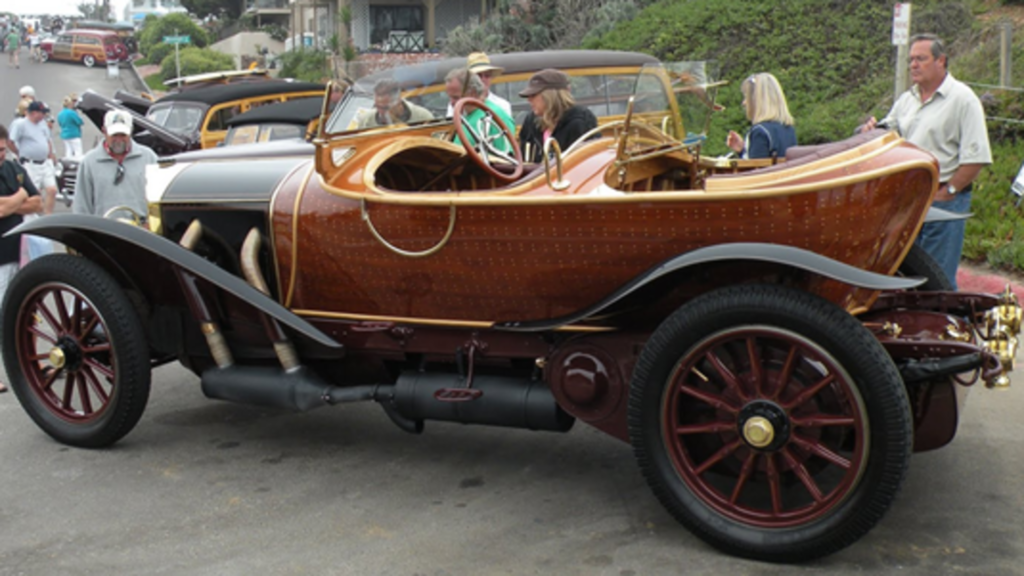
When most people think of a car, they think of steel, maybe aluminum and in terms of today’s more modern cars, a lot of plastic but rarely do they think of wood. It is amazing to think that at one time wood was the primary ingredient in the building of a wooden car or “Woodie”.
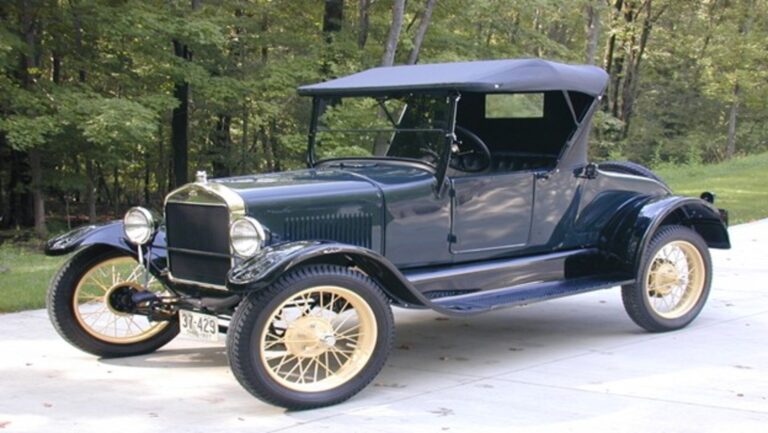
Wood was so prevalent in building cars that Henry Ford became a woodland owner to support the production of his cars. The Model T revolutionized American travel and almost everyone has heard of the classic “Woodie” wagon. For these reasons Henry Ford managed hundreds of thousands of acres filled with valuable hardwood in Michigan. It is here that he grew his own timber to be used in the production of his automobiles.
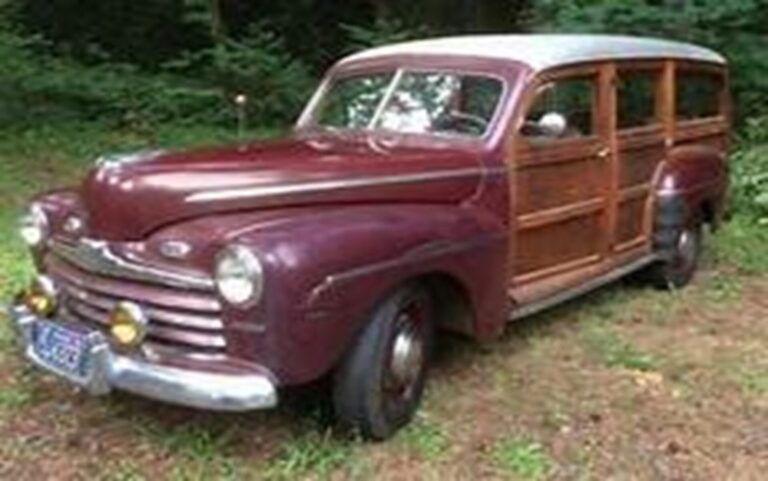
In 1936, Ford built the village of Alberta, named for the daughter of his Upper Peninsula operations manager, to support his workers and their families in the remote northern forest. In its heyday, the town was a thriving community with a visitor center, three school buildings and a state-of-the-art, steam-powered sawmill. These were surrounded by 550,000 acres of Ford timber lands. Demand for the wood produced there was strong. Each Model T used more than 250 board feet of lumber. The popular wooden car “Woodie,” a station wagon produced by Ford from the early 1930s until 1951, featured a rear body and interior constructed with wood.
While a great material to build a car out of, the wood in these cars needed to be maintained, protected, and preserved.
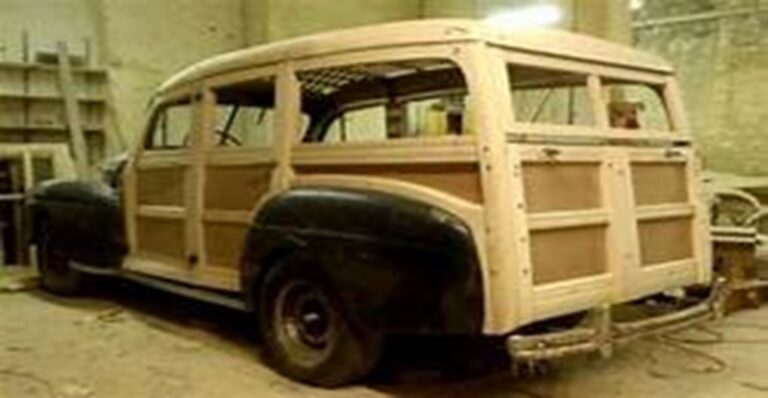
Although many of us were born after the age of wood-bodied cars had come and gone, the Woodie wagon remains an icon 60 years after its demise. Long before stick-on vinyl wood grain simulation replaced real wood in America’s automotive landscape, these wooden cars’ original buyers valued the beauty and craftsmanship of a well-constructed piece of carpentry. Then, in the chrome-drenched 1950s and ’60s, you couldn’t give away a wooden car. The dirt-cheap price appealed to the surfers giving the wooden car “Woodies” a new identity. Today there are few wooden car “Woodies” left. The survivors have become unbelievably valuable, and if they are in bad shape, professional restoration is prohibitively expensive. But that does not mean you cannot rebuild a Woodie at home.
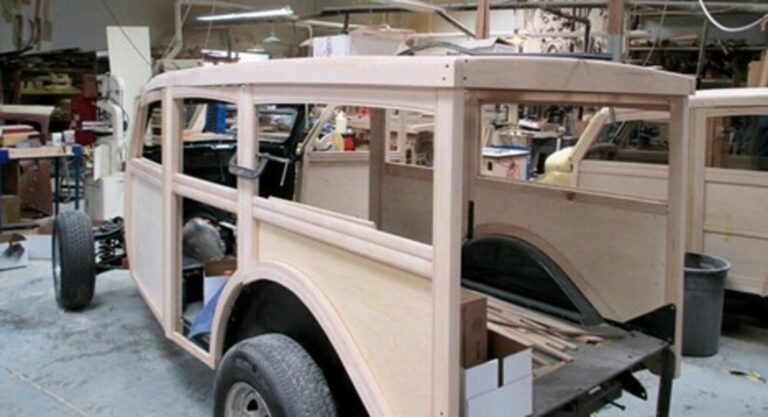
All you need to build your own wooden car body is a dry space for work and storage, a decent set of wood working tools, and lot of time and patience. Building a wooden car body is something a skilled cabinetmaker could do with relative ease, but it is not impossible for the rest of us.
But what if you neither have the time, patience, or skill to restore the wood on your classic car yourself. Depending on the degree of restoration you need, there are different options.
With every new project, the first thing to do is research.
- Take a woodworking class.
- Find out what kind of wood and materials you need.
- Familiarize yourself with your particular car’s layout and design.
Mastering the background information will go a long way when you start doing the work that counts. Seek out others who have restored or are restoring a wood-bodied car. Learn from their mistakes to minimize your own.
Refinishing Wood
If the wood in your project is in great well-preserved shape, all it may need is refinishing. This is a project that most do-it-yourselfers can take on themselves. Similar to stripping, re-staining and refinishing wood furniture, this is a more forgiving project to do on you own.
I would recommend purchasing samples of the type of wood you will be working with to practice. This is the perfect opportunity to not only fine tune the skills you need for the best outcome, but it is also a great time to test stain colors and finishes to ensure that you are happy with the end result before taking your new skills to your project.
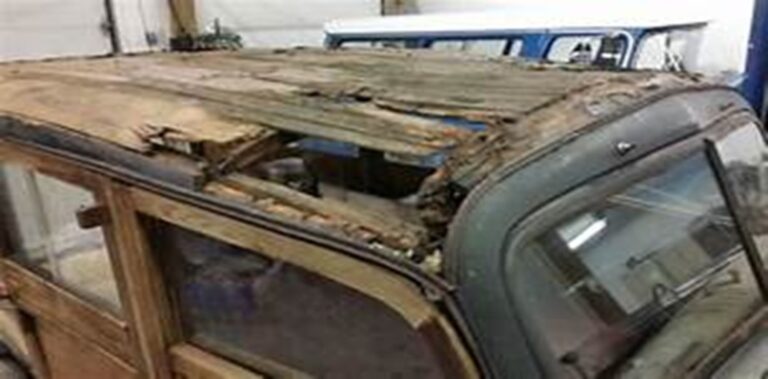
Most original finishes deteriorate, due to the effects of sunlight and condensation, and in some cases, they tend to develop white streaky patterns. Grain filler, which was inserted to fill the pores of the wood may have bleached back to its natural color. Decide whether you will go the whole hog, and refinish all the woodwork in the car, or whether you will merely clean it, and wax it, to retain the slightly weathered look which some people associate with the older vehicles.
If you should go the route of complete refinishing, it is recommended that you remove all the woodwork from the car before starting to refinish it. Where there are electrical items like lights and instruments such as within the dashboard mounted through the wood, you must address the added step of protecting the instruments and the wiring that goes to them. While it is possible to strip and refinish a dashboard without completely removing them, there is the real danger that a paint stripper used to take off the old varnish will drop some spots on to the instruments and the wiring, and possibly set up a lot of future trouble. If you decide to do the work with the instruments still hanging on their wires and pipes, I would advise covering each instrument with a plastic bag and taping this back as far through the dash as possible to protect everything from the paint stripper.
Many of the panels will be covered with veneer, and this is almost literally paper thin. If you try to remove the old varnish dry with a scraper, there is an excellent chance that you will cut straight through the veneer. Almost any paint stripper will remove the old varnish successfully but be wary of the immensely powerful ones which might contain the chemical called lye. This can be very harsh on those thin veneers. There are many brands of stripper which will do an excellent job without the risk of further damaging the wood.

Before going any further, though, you must attend to any repairs which are necessary. These may range from quite major gluing operations (where alternate damp and heat has dried out the old glue on sections formed from several pieces of wood) to scratches and cigarette burns. Where the wood is solid, use a cabinet maker’s scraper, and glasspaper, to get rid of scratches and dents. Where any damage has cut into the veneer, the only feasible method of repairing it is to insert a new section. Veneer to match most types of grain can be obtained from craft shops and on-line. It is not always easy to match the color of the wood when it is dry, as the color deepens considerably when you apply varnish. Wetting the wood can give you a good idea of the final color following the varnish step.
I would recommend using a modern resin woodwork adhesive. It is also a good idea to use a waterproof adhesive, as other adhesives may get soft when they come in contact with the elements.
On top quality wooden cars, all the woodwork and veneer should have been matched for color by the manufacturer when assembly was in progress; but on cheaper cars, and on some others where solid wood was used rather than a veneer, you may find when the old varnish is stripped off that the woodwork may look rather streaky. In some places it could be a fairly deep brown, but in others it may be almost white. If the manufacturer was not too careful in the choice of solid wood, particularly with cheap mahogany, you may even find that there are light or white colored streaks running in the grain of a single piece of wood. These are all things that can be addressed with wood stain prior to varnishing but will take time and practice to get it right.
With more “simple” repairs and refinishing as described above and with a lot of research and patience, it is certainly something that can be done at home in your garage. As with any project, it is about the preparation and research.
Wood Trim Repair
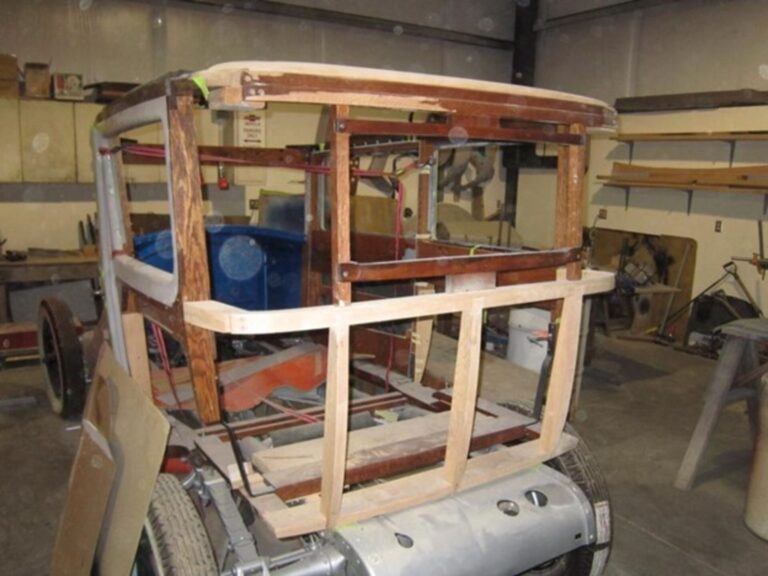
If sections of the wood trim are beyond simple refinishing, this could require a more significant repair of the original trim or, in some cases a re-creation of the original part. Depending on your wood working skills, even this is something that can be taken on by the do-it-yourselfer.
Maybe the re-creation of parts of the trim are beyond your skills. If this is the case, I would research local furniture and wood workers in your area. For a skilled woodworker, the re-creation of a particular part of the trim, should be a relatively easy accomplishment. Of course, this may depend on whether or not there is enough of the original part available to be copied. Even the use of the same part from the opposite side of the car will assist in the re-creation of the damaged part.
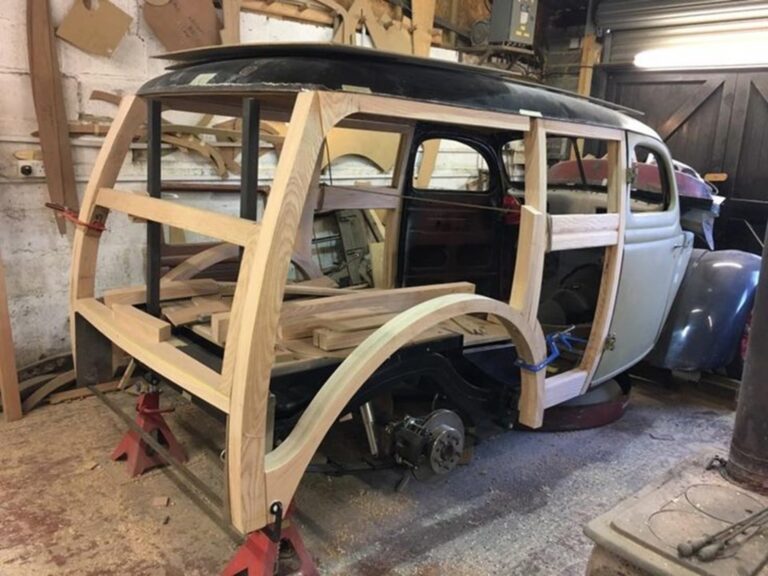
A Woodie rebuild is like any classic car restoration: You have to complete tasks in a certain order. Drawing up an outline for how you want to proceed will help keep your project free from major hiccups. Hang on to all the old parts, even bad ones you would otherwise throw away, until your project is completed. Keep them labeled and organized because you might need them later.
Then there is an old wooden car “Woodie” that needs a total reconstruction from top to bottom! While the finished project may command a high sale price when completed, for the do-it-yourselfer it may be better to select a project wooden car that meets your skill, time, and budget. The initial outlay may be greater, but you can avoid taking on a project that will never be completed or will become an unhappy experience rather than the fulfillment of a lifelong dream.
Woodie Restoration Specialists and Kits
If you have chosen a vehicle that turns out to be beyond your resources of time and skill in completing the project on your own, do not lose heart.
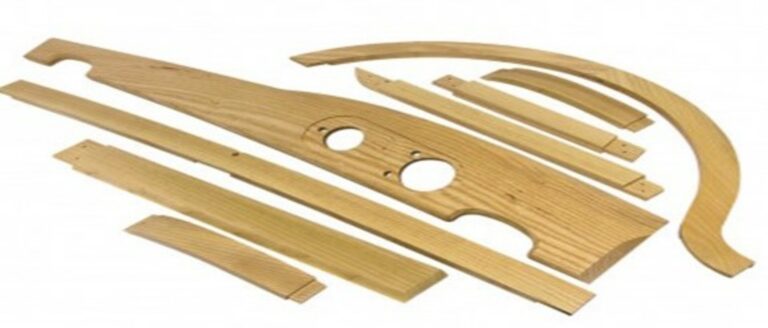
There is quite a market for replacement wooden parts to repair these vehicles. Most ground-up restorations of these cars will require replacement of some or all of the original wood pieces, both for structural integrity of the chassis and exterior appearance. There happens to be quite a few wooden parts manufacturers (craftsman) who can supply you with just the right parts you are looking for. Their inventories include pre-cut kits or individual pieces, and many can custom make a single part when samples can be supplied, or original plans exist.
Kits and parts are available for all makes and models, including the following:
- Chevrolets
- Fords
- Willys
- Buicks …
Many of the specialists that create these kits also perform full restorations on those vehicles that they specialize in. While this can be costly, you are guaranteed to end with a vehicle that, when completed, is exactly as it would be the day it rolled off the line. These restorations can take several years so the same patience you need to perform the restorations yourself may be needed as you may wait for your dream car to be completed by someone else.
Like so many cars with a strong following there are car clubs everywhere so that people can get together and share their love and passion for a particular car and the Woodie is no different. While a search may be able to locate the club closest to you, the Woodie also has many national clubs to join.
Below are just a few to look into:
- aacalibrary.org/collections/national-woodie-club
- oldride.com/clubs/281/national-woodie-club.html
- http://www.nationalwoodieclub.com/index.php
- http://woodiesusa.com/
- http://www.petersen.org/
- https://www.woodies.clubexpress.com
As always “measure twice and cut once.”
Jamie Pappas
i have a 49 ply woody wagon need to repair drive side door and back window and what to use to clean the wood up im upstate ny i can send pictues of this if ou can help me out or get me stated be a big help ty
Patrick; we direct you to some possible shops to help in your restoration:
Radlley Enterprises (518) 860-9423
Hensler 888–436-7537
B&C Auto Restoration & Paint (585) 265-0041
Hope these ill provide some help. Tbanks Bob