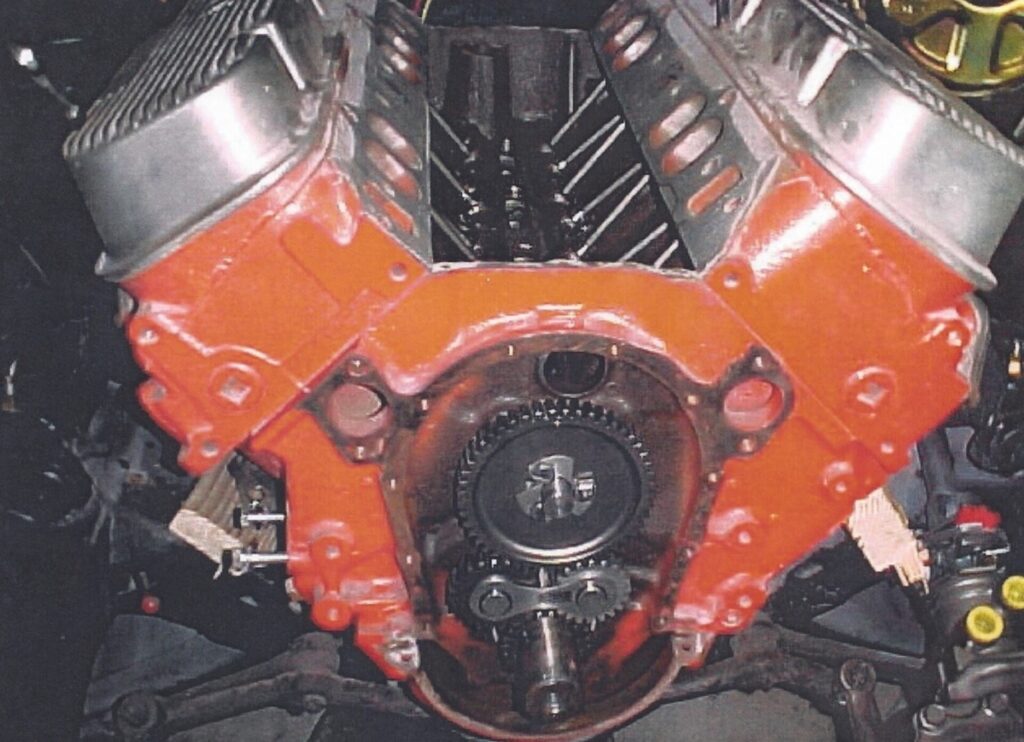
For anyone who has undertaken any repair of any multi-piece car part we have to deal with two phases of the project: the disassembly and the reassembly. Having disassembled a shaft or some other multi-piece component for maintenance or repair. We have fixed and/or cleaned the pieces and now we are looking at a pile of parts and trying to decide how to put all the parts back together. Swearing to ourselves that we would remember the order, direction, and orientation, but low and behold we cannot recall.
Struggling with reassembly of transmission gears, alternator parts, rocker arm sets, electrical components… this scenario happens all the time, even to the best of us. Not to worry, however, because we have a few simple tips to help you avoid this headache and frustration.
Step 0
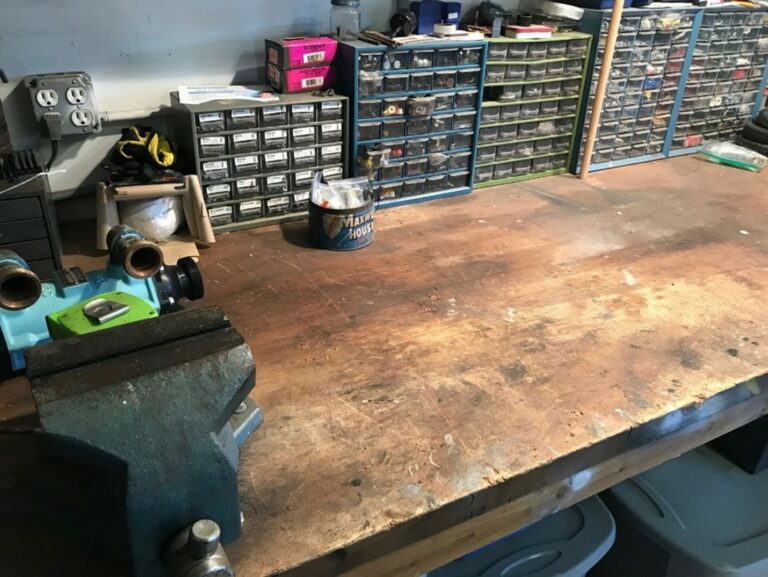
Make sure your garage is well organized and that you have plenty of space to work on and sort all the parts of the project. It is also very helpful that you have all the tools necessary to complete the project handy, because one of the causes of disorganization is when delays occur in the work and parts become misplaced due to delays.
Step 1
First, it is a really good idea to take photos prior to disassembling and during the disassembly process. Smartphones are small, lightweight and can take hundreds of images. It can prove to very useful to reference an image of the finished puzzle put together so you can visually confirm how and where the parts are supposed to be.
Photos are not always going to provide you with every detail necessary. For example, did that gear face left or right? Did the spacer go in front of this piece or behind? Sometimes it can be hard or impossible to tell from an image alone depending on the part.
Step 2
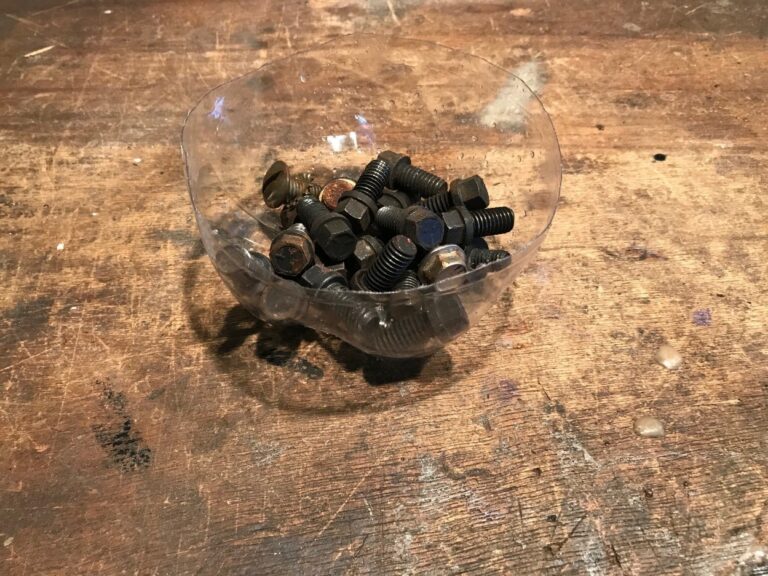
One of the best tricks for keeping parts in the right order and orientation is to use a piece of coat hanger or sturdy wire. As you are taking an assembly apart for cleaning, thread each piece, in order and the proper orientation onto a sturdy wire. Also, sorting and labeling parts into small containers or zip lock bags will also help keeping things ready to put back together.
Step 3
Be sure that you give the parts enough space between pieces so a proper cleaning can be performed. Lastly, do not forget to tie the end of the wire together to prevent the parts from sliding off. If necessary, use a piece of masking tape on the first part of the assembly sequence to remember which will go on first.
Finally
There you have it. The simple ways to help you put your project parts back together on your classic car or truck and keeping track of how to put it all back together.