As any classic car enthusiast knows, maintaining the quality and finish of your car’s paintwork is vital. Even a miniscule scuff has the potential to drive you mad, and do not even go there with door dings. Car polishing is a key tool in the arsenal of anyone seeking to maintain their vehicle in tip-top condition, to preserve both its value and their own sanity, but when polishing your car, you need to make sure you do the job properly.
Why Polish Your Car?
Despite your best efforts to look after your vehicle, it will naturally lose some of its shine and reflectivity after a few years. This is completely normal for all cars driven regularly as well as those classic cars that are not on the road often.
There are two main reasons why the finish of your car grows dull over time — scratches and contamination.
It is easy to spot the big gouges and scuffs, which appear white and rough on the surface of the clear coat. But even if the clear coat is looking just fine at first glance, we can assure you, there is a whole range of defects on the microscopic level like marring, spider webs, and hazing. You can see these small areas under the bright sun or an inspection light — tiny scratches that you cannot feel with your finger, but they distort the reflections and an overall dull finish.
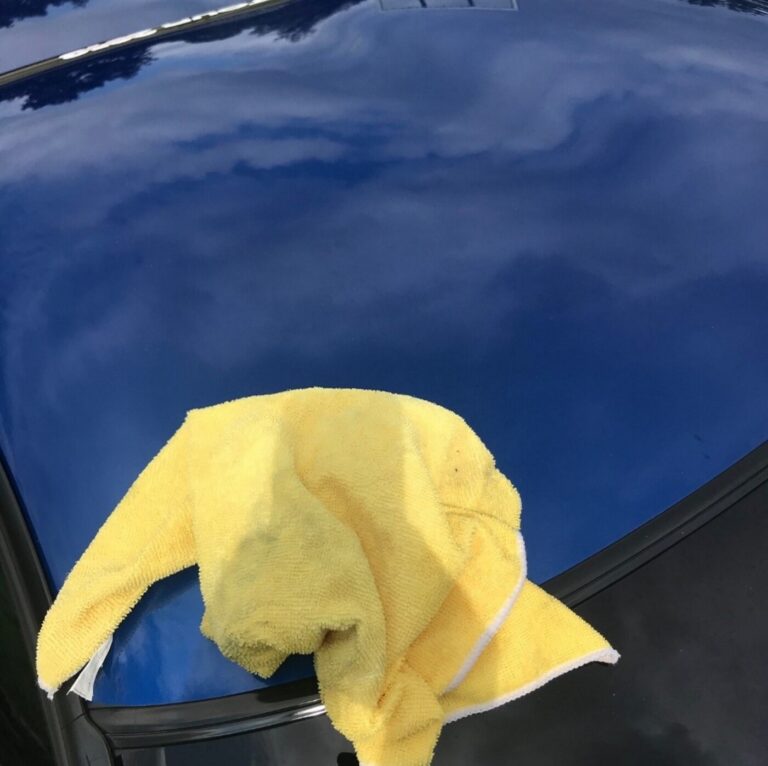
Any time you touch the clear coat with anything other than a pristine microfiber cloth, you add scratches.
- Flying stones, sticks, and other debris on the road
- Parking bumps, scrapes, and paint transfer
- Dragging boxes and other items from the hood or roof
- Bad cleaning – yes, cleaning can and will scratch your clear coat
- Bad detailing – similarly, improper techniques will scratch the finish
Supposedly, you can avoid any scratching of the paint. However, there are still all sorts of contaminants in the environment that will bond to the clear coat or even react to it chemically and etch the surface. Here are some of the common ones:
- Mineral deposits from hard water
- Salt, sand, and ash used in the winter to de-ice roads
- Tree sap, bug splatter, bird droppings
- Iron shavings from the braking system on every car
- Road tar and cement
- Paint over-spray
You cannot wash these with regular car soap. And while there are specialized chemicals to strip them down, they only work on the surface of the paint.
Examined under a microscope, the clear coat is basically a rough collection of peaks and valleys. Many of the contaminants are small enough to get in and lodge themselves in the pores. Once they settle in and solidify, they become an integral part of the clear coat and are collectively called bonded contamination.
You can clean and wash as much as you want, but you will never remove bonded contamination completely… unless you polish the paint.
What is Car Polishing?
Car polishing is an abrasive operation that scratches away and removes a fine layer of material to level out scratches and remove bonded contamination.
The concept of polishing is very similar to sanding. However, its orders of magnitude are more delicate, using much finer abrasive products and materials.
You can polish by hand or with a machine, and there is a plethora of polishing compounds and pads on the market. In fact, often the most difficult part of the job is picking out the correct equipment.
Using the incorrect tools, products and techniques will have an adverse effect on the finish of the vehicle, producing unsightly defects like holograms, haze, and even more scratches.
Polishing is not the be-all and end-all of paint correction. Simply polishing the surface will not remove deep gouges and most stone chips, since they penetrate through the clear coat and affect the underlying color and primer coats. You’ll need more advanced paint correction techniques to repair these defects.
That said, polishing is always performed as a finishing operation. Car polishing will practically remove 100% of bonded contamination and many light scratches, swirl marks, orange peel, and other surface defects.
Every car, even new ones rolling out of the factory, will look better after thorough car polishing.
Car Polishing or Waxing
Waxing is just applying a product on the surface of the clear coat. Traditional carnauba waxes can melt into the surface and fill in some of the scratches, therefore making them less noticeable. Car waxes also produce a glossy finish with a golden warm shine, making the vehicle much more beautiful.
However, waxing does not cure the actual surface defects, it simply covers them out of sight. The next time you wash your car with stronger soap, the wax will break down and reveal all the imperfections.
Other coatings like paint sealants and ceramics will not even conceal the scratches. Furthermore, contamination on top of the surface will compromise their longevity and cause them to fail prematurely.
The only way to repair scratches and bonded contamination is to polish the clear coat.

Preparing The Car for Polishing
As with every other detailing operation, surface prep is critical. You do not want to smear any of the contamination and unwanted particles onto the clear coat while you are polishing, so you must remove them before you begin.
Regular Car Washing
Just wash the vehicle with regular automotive soap, clean water, and a wash mitt. Use the same products and techniques you are used to. Just remember when car washing to use a straight line, not circular motions.
Washing in circles is the main cause of swirl marks!
If you are not rinsing off your wash mitt or sponge frequently enough, or the surface is heavily soiled, tiny fragments of dirt can lodge themselves in between the vehicle’s paint and act like sandpaper, scratching the surface.
The reason swirl marks are so dreaded is that you can see them from any angle and orientation. In contrast, straight-line motions can still scratch the surface but are less noticeable and easier to remove.
If there is a ton of dirt and grime on the vehicle, you want to perform a preliminary touchless wash. Foam up the surface with a foam cannon or a pump sprayer, let it soak in and loosen the mud, then rinse the vehicle.
Washing will remove a big portion of the loose dust and mud from the surface. So, make sure you do not skip this step before getting down to the car polishing.

Steps For Car Polishing
- Start by washing your car by hand in a shaded area. Rinse the vehicle thoroughly but do not dry it.
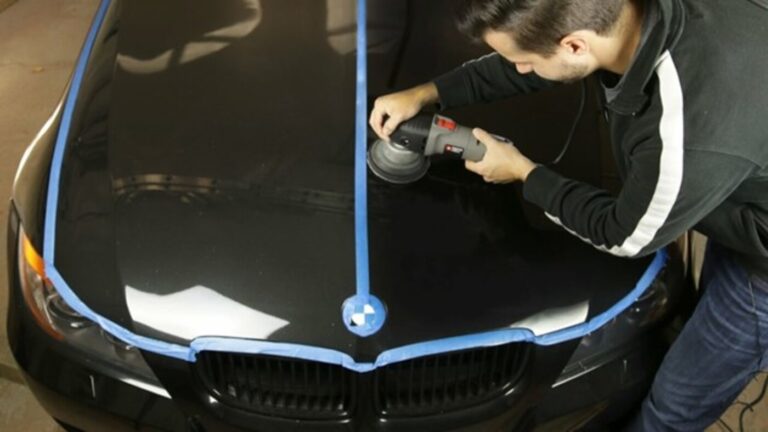
Technique Tip: Wheeling is a messy process, so cover items (such as other cars, pets, and nearby walls) that you don’t want to clean afterward. Use softer pads and polishing compounds on dark-colored cars, as they are especially sensitive to swirl marks. More-aggressive compounds and pads can be used on lighter hues.
- Place a clean, slightly damp pad on the polishing wheel and put a moderate amount of compound on one body panel. Spread the polish with the wheel, using a medium speed. The key is to keep the spinning pad parallel to the car’s surface to avoid swirl marks. Apply constant pressure and work back and forth over the entire surface of the panel. As the clear coat heats up and the paint becomes warm to the touch, scratches will begin to disappear. When the compound and water are thrown aside and absorbed by the foam pad, the brightened finish will become visible. Stop. Move to the next panel and repeat.
Technique Tip: Keep the area wet and use just enough polish for each panel.
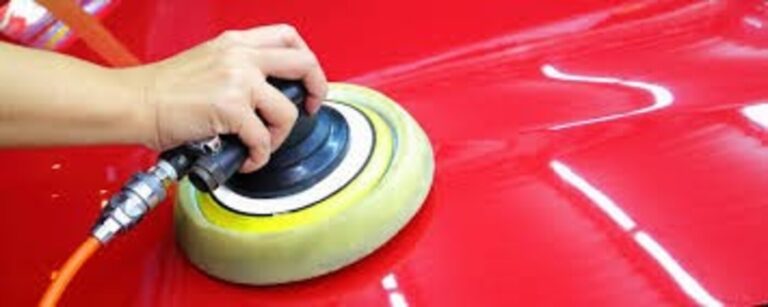
- As necessary, stop and rinse off the foam pad with a hose or a power washer to prevent it from becoming saturated or gummed up with compound.
Technique Tip: The outer edge of the pad moves faster, generating more friction than the center, and it usually carries less polish—a recipe for a burned finish. So be especially careful around intricate trim areas, such as washer nozzles, mirrors, emblems, and complex bumper contours that can be polished using only the outer edge of the pad.

- Wash and rinse the car again by hand when finished, including the door, trunk, and hood jambs. Dry thoroughly.
- Applying a coat of wax to the paint will help mask swirl marks and cover up most remaining surface imperfections. Mount a soft foam pad on an orbital sander and apply an approximate 60:40 mix of paste wax and a fine finishing polish onto the pad. Use the sander at a medium speed to spread the wax onto the vehicle in a back-and-forth motion and with light but steady pressure. Leave just enough of a waxy haze to be visible when dry.
- While the wax is drying, clean the other areas of the car (windows, interior, etc.) and then remove the wax with a microfiber towel—bath towels or rags may mar the surface. Apply touch-up paint to chips and any lingering scratches as needed. Move the car into sunlight for a final inspection.
Finally
Keeping your car’s finish looking new does not require a ton of equipment or a professional detail shop. “Wheeling”—i.e., polishing a vehicle with a rotating wheel, just like a pro detailer would—works by temporarily heating the paint’s clear coat until it softens into a viscous liquid that fills in and dissipates blemishes. To prevent permanent damage to the paint, limit this method of polishing to once a year and wax your car every couple of months or less for those cars not often driven. Follow these steps, and your car will have a like-new shine in a matter of hours.
By understanding the difference between waxing and polishing and what they each do for your car, and by keeping the tips above in mind, you will be able to achieve a grime-free paint job with a luster to match.