For those of us who regularly drive their vintage cars the constant vibration on the old suspension will predictably cause various car components to come loose. Regularly inspecting your classic car is important to keeping it on the road trouble free. One component that you normally hear the condition before seeing it is a loose window.
It is inevitable that as vehicles age, just like people, things start to fall apart. For classic cars and trucks, it is very common for windows to come loose from the mechanisms. A loose window comes off the track making it look uneven or misaligned uneven when rolling up and down if it will even move at all.
Most classic cars will have similar window mechanisms that will lift and lower the glass that sits within a track at the bottom of the window inside the shell of the door. If you are going to attempt to fix a window on a newer car, we suggest seeking the help of a professional unless you really know what you are doing.
Why Is There a Loose Window
For owners of classic cars, the most common reason your window has come of the track is due to the integrity of the window adhesive that holds the glass in place. Over time the adhesive will deteriorate, and the adhesive will eventually lose its “stick” and the glass will separate from the track.
What you are left with is a window that probably will not operate correctly. If you only take your car out for a spin on dry, sunny days and park in in a garage otherwise then this might not be an issue. However, if you are trying to have a show car or be confident your window will work when needed then you might want to consider getting it fixed.
With older classic and vintage vehicles, you can most likely fix this issue yourself with minimal tools and cost as long as the only issue is the adhesive and no other significant problems with the window mechanisms. Follow these seven simple steps to get your window to work again.
Removing The Door Panel
Classic American cars are much easier to work on than their modern-day counterparts and foreign friends. You will not need any fancy hex wrenches or torx screwdrivers to get the job done. To reset the adhesive for your car door window the only tools you should need are the following:
- Phillips-Head Screwdriver
- Flat-Head Screwdriver
- Binder Clip or Clothespin
- Heavy Grease
- Automotive Amazing Goop
- Glass Cleaner
- Towel
The door panel on every car is going to be attached in its own unique way. You will need to assess your door panel to see how everything is removed and what order it should be done. It is a good idea to have a container that you can place all the screws and small trim pieces into, so they will not get lost. You may also want to record the steps you take to remove the panel with a camera or on paper if you think you might have a hard time remembering how to reassemble everything.
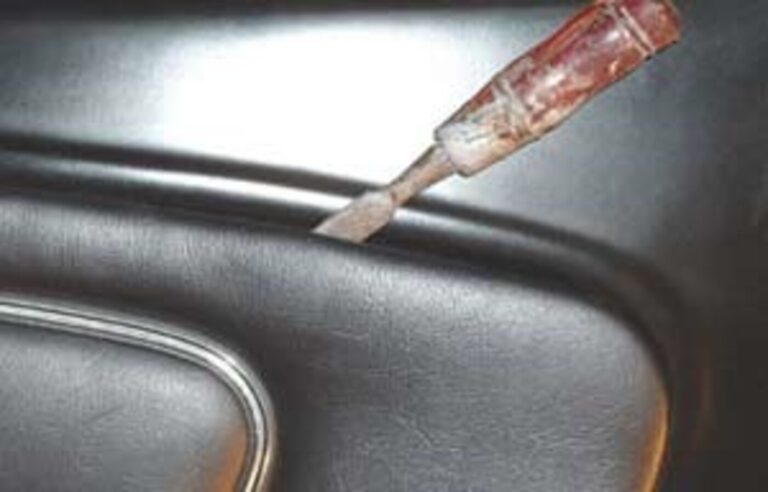
For many older cars the arm rest will be the first thing to remove. There are typically two to four screws used to attach the armrest. Locate all the screws, which may be covered by trim pieces that can be carefully removed with the flat head screwdriver, and remove each screw and set aside for safe keeping. It is common for the door handle to be part of the arm rest assembly. Removing the armrest might require you to angle the door handle to be able to remove it completely.
The next thing that you will likely have to remove is the window crank (unless you have power windows). There is often a C clip used to hold the crank onto the winding mechanism. You can use a flat-head screwdriver to remove this but be careful not to scratch the crank or the door panel. There are some tricks you can use to remove this in these videos on YouTube.
If there is a speaker in your door you should try to remove the speaker now rather than trying to disconnect the wires on the backside when you remove the panel. Leaving the speaker attached creates an awkward moment when you try to unplug it while handling the door panel. There is a good chance you could damage the wires, the panel or both. Remove the speaker cover carefully and then unscrew the speaker from the door. You may want to consider marking the terminals on the back of the speaker so you can remember which is positive and which is the negative terminal. They may very well be different sizes or marked already but take our advice if they are not.
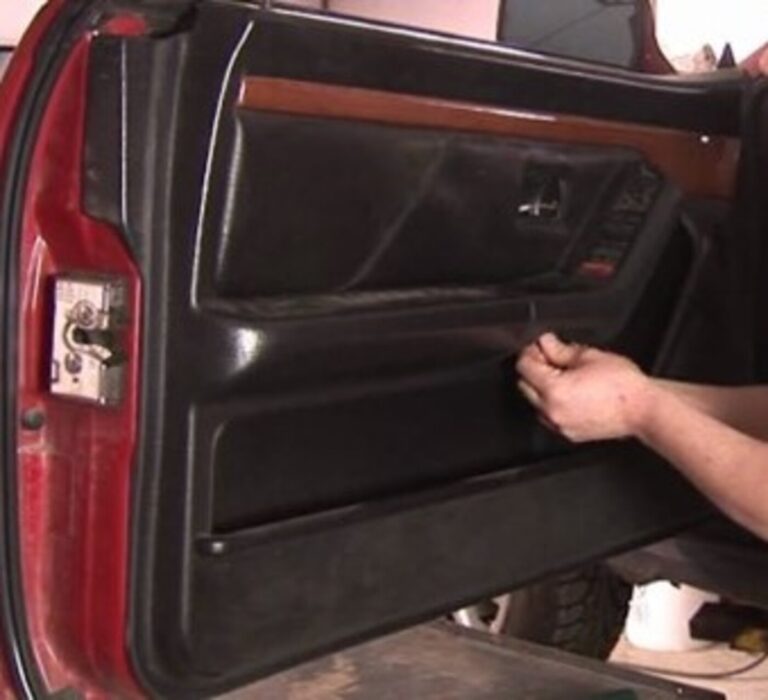
Look over the rest of the door panel and make sure there are no more screws and once you are confident you can begin removing the spring clips that hold the edge of the panel to the door. With the window all the way down or as far down as it will go), start at a bottom corner of the panel and take your time removing each clip so you do not damage the clips or the panel. There are a variety of clips used to attach a door panel, so take extra time with the first one so you know what you are dealing with. After you have removed all the clips, slowly lift up on the door panel as you pull it away for the door itself and place the panel in a safe place until it is ready to be reattached.
Find the Loose Window Issue
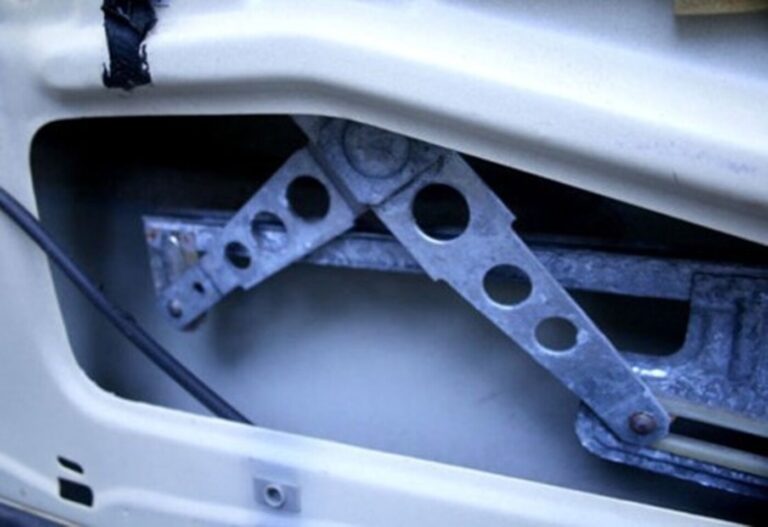
Behind the panel may be a plastic liner or a foam insulator attached to the door shell. Lightly pull back the liner and use a smooth binder clip or clothespin to clip the liner to the top of the door so that it remains out of your way for the rest of the project. Place the crank back onto the winding mechanism, but do not worry about fully attaching it with the C clip. Slowly start winding up the window and watch the bottom of the glass to see if it is attached properly to the track. If it is indeed still attached in the track, then you probably have a different issue like a broken track and may want to consider seeking professional help unless you feel confident that you have the skills to replace it.
Chance are though that the track and the glass have become separated. If you see the glass, come loose from the track as you are rolling it up and down then you have identified the issue. Try to roll the window all the way up so that the glass is sitting in the track and leave it there for the next two steps.
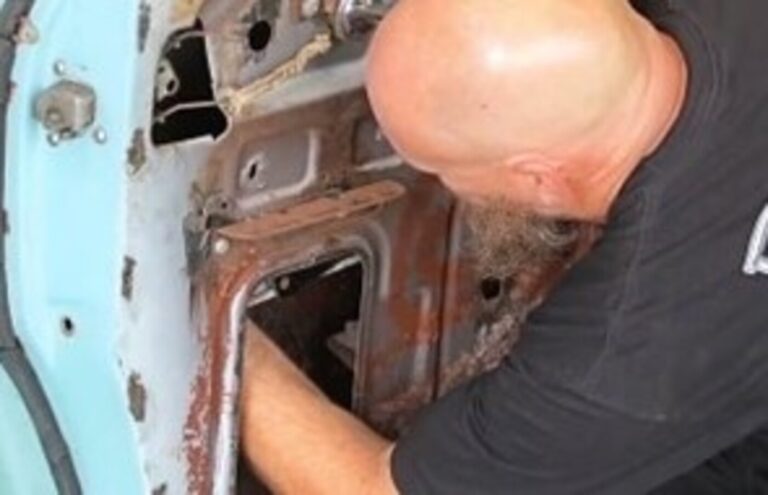
Grease the Window Winding Mechanisms
Since the door panel is off and you have access to most of the guts of the door, take advantage of the easy access and re-apply grease to the moving parts and joints in the window mechanism. Doing this now can save you the time of having to remove the door panel again in the future. Look for any small signs of rust in screw holes as well and add a small dab of grease to those as well. This can help slow the rust down and protect those vulnerable areas. Roll the window back down to make sure you have reached all the joints and parts that need new grease.
Apply Adhesive to the Window Track
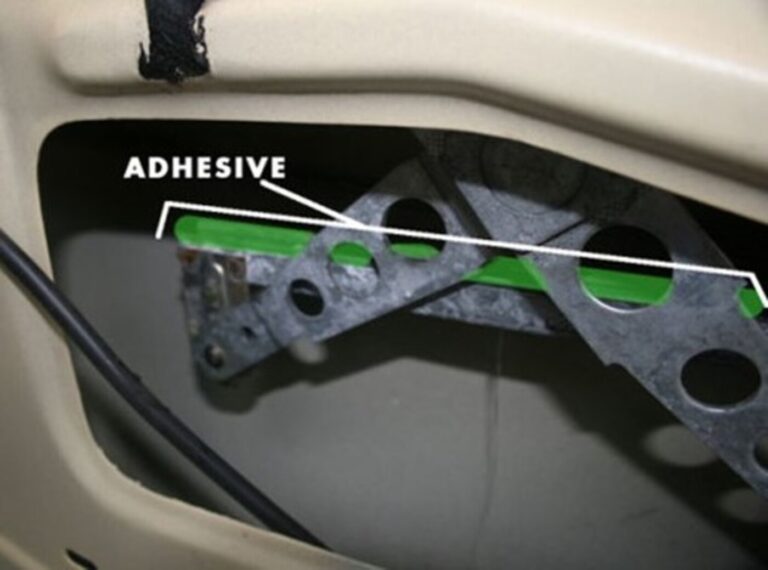
This step can sometimes require an extra set of hands to hold the glass out of the way while you work on the track. You can use a small rubber wedge as well, like the Wobble Wedge, to help hold the window up as well. Now you can clean out any loose dirt or grime out of the window track. Do not worry if the track is not perfectly smooth inside as most adhesives prefer a rougher surface to stick. Apply a bead of adhesive along the inside of the track. Only fill it up about halfway to avoid it spilling over when the glass goes back in the track. Read the glue label as most adhesives (like Automotive Amazing Goop) require the glue to set up a few minutes before it is ready to make contact with the glass.
Place the Window Back into the Track
This is a step that is easier to complete with two people. Holding the window level, the door low enough to be seen inside the door, guide the track upward with the crank until it seats itself around the glass. Then apply firm pressure to the track for a few minutes while the window is settling into the track and adhesive. If adhesive spills out it is wise to use the towel to wipe it up as soon as possible.
Roll the window up to make sure that it fits into the door and rain gaskets properly. If it is not, try to make the necessary adjustments to get a tight fit. Once it is fitting snug be sure it is rolled all the way up and leave it there. Adhesive needs a few hours to dry but should be left alone at least 24 hours to make sure it is set.
Reassemble the Door Panel
If satisfied with your window work you now need to put the panel back on the reverse of how it came off. Remember how to do that? Good thing you wrote down the steps or took pictures! You will likely need to clean up the door panel since you’ve been working with grease and adhesives.
Finally
We cannot stress this enough. Leave the window alone and give the adhesive plenty of time to set before you attempt to roll the window down. Some even suggest waiting to put the panel back on until they are sure their window work is a success. Either way this is a straightforward DIY job that almost anyone can tackle with a few simple tools and with roughly $10 in materials. If the loose window has caused light scratches in the window glass, there are methods to get these scratches out as well to get your classic car back to its original condition.