So, you have been tinkering with your classic car for years and now you want to graduate from oil changes to serious car repair. Welcome. But before you tear anything apart and find yourself in over your head, tackling that first big classic car repair tips may help so take these tips to heart.
You Are a Capable Weekend Car Mechanic
You have engine building basic tools and skills. You have mastered oil changes and tire rotations. But when a big repair comes along, it is decision time. Take it on yourself, or call in a pro?
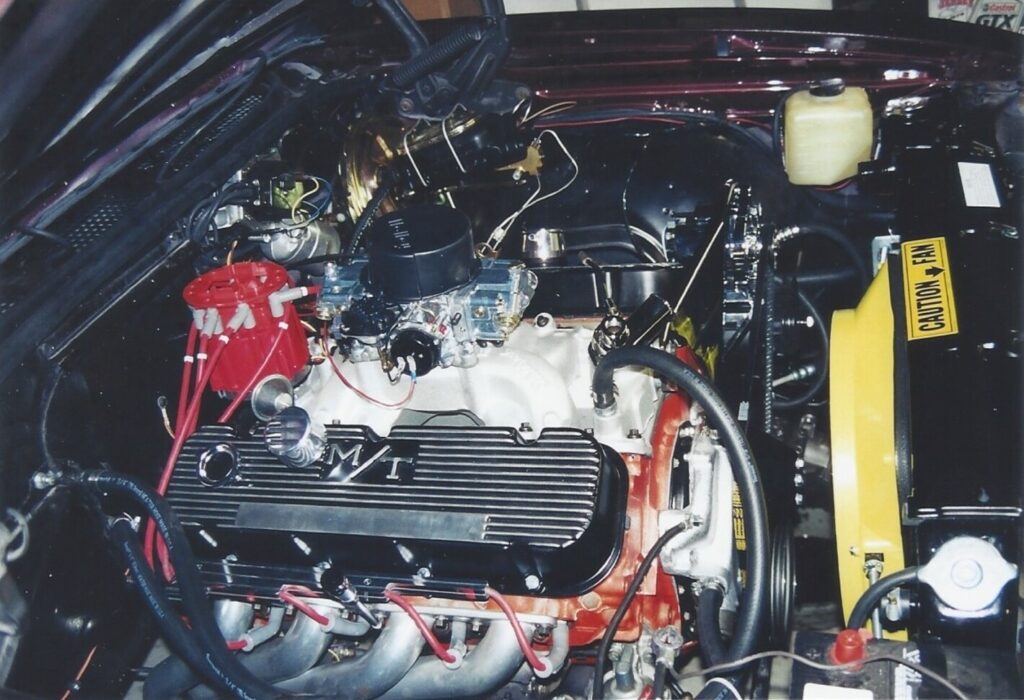
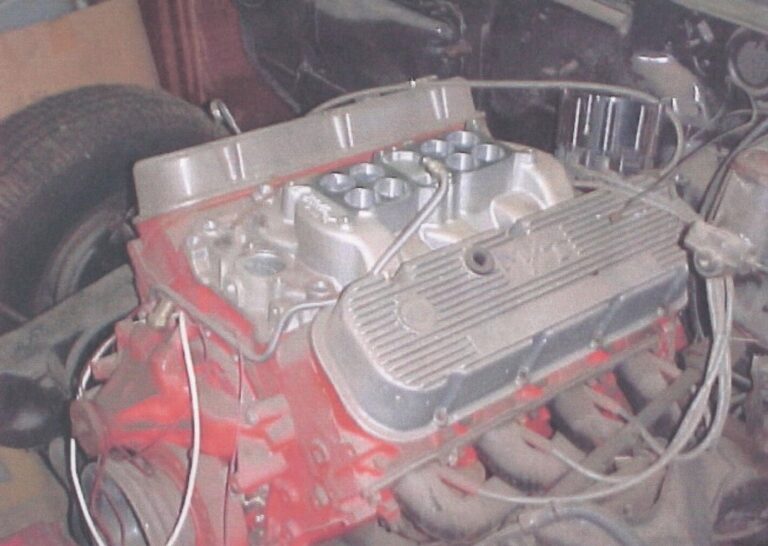
That is the choice I faced many years ago when my Chevelle kept blowing smoke and I thought it was a simple valve train repair. Expecting a quick repair of the engine heads, I soon discovered the classic car needed a whole engine rebuild—and I discovered this just after I had taken it apart to the point that it could not just be reassembled.
Instead of paying a mechanic to mend my Chevelle, I decided to try rebuilding the engine myself. I did it—eventually—though I made plenty of newcomer mistakes on the way. Here is what I learned.
Do Your Research
Aftermarket shop manuals are great for learning the tools and parts you will need, but they sometimes read like a general overview (step one: remove radiator, front bumper, and windshield washer reservoir). Internet forums can offer detailed instructions and tricks specific to your car, usually with step-by-step photos. Unless you drive something outlandish, there is a site like Chevy or Ford Forums to help you. But do not forget that Web forums, while helpful, are just Web forums. Get a factory service manual from your manufacturer if you are diving deep into a big repair.
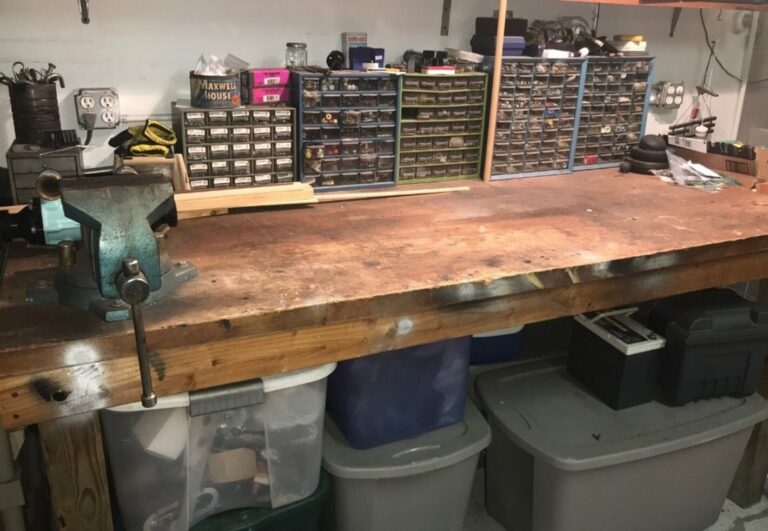
Set Up Your Workspace
I started my teardown in the corner of my two-car garage. I got all set to pull the engine when I discovered I had no room to maneuver my engine hoist. Even with a few muscular friends, moving a half-disassembled car was a masochist’s game of Tetris. So do not make my mistake: Clear plenty of space before you start the job and position your car for maximum elbow room. The best spot was right in the center of the garage, though not everyone in my family shared this view.
Expect It to Take Time
The first time doing a repair always takes the longest. Tinkering on nights and weekends, my adventure lasted a few months, far beyond what I had anticipated. There were lots of trips for parts, tools, and advice, and times when sheer frustration halted my progress.

Take Pictures, Make Notes, Label Everything
When you are on step two of a big job, it is tempting to think you will remember which bolt goes where, but by step 14 you will have a plethora of fasteners, washers, and clips lying around that give no indication where they came from. Save yourself a thousand headaches by being organized from the start. Use sandwich bags, empty egg crates, and plenty of labels. A phone camera and a dry-erase board are indispensable for noting the layout of wires, cables, and brackets, and neither one will blow away behind the workbench when you open the garage door.
Use a white-paint pen on metal parts to indicate where parts came from or their orientation. Choose a universal reference point, like “front of the car,” “passenger side,” or “driver side,” and label things with arrows and sides. Label clearly based on situation too. Do not be afraid to write notes directly on the part or leave yourself notes about how things go back together, such as the orientation of the distributor relative to the block. Masking or blue painter’s tape is also a great tool as well. Loop it around a hose, wire, or connector and close a nice 2-inch flap on the other side that you can use to label what it does or where it goes.
Make a Final Checklist
There is a natural excitement to putting everything back together. You will be tempted to hustle through the finishing touches. Do not. The last bit of wire routing, bolt tightening, or body-panel aligning is what separates a pro-quality repair from an embarrassing hack job, and if you slap it together for a test drive, you might never get around to correcting it. (Nobody’s impressed by a guy in a classic muscle car with no hood, front fenders, or bumper—in case there was any doubt.)
So, make yourself an exhaustive final checklist, including everything you need to inspect, double-check, torque, and test before you put that classic car back on the road. Go over it at your desk or at the dining table—not in the garage, where you will be anxious to get going on your first drive.
Finally
Unfortunately, there is no fool-proof method for the DIY mechanic to take on this project; I did find using tackling that first big classic car repair tips did help me get to the finish line with the least about of pain.