
The chrome on your classic car is scratched and scuffed, and you simply cannot afford the cost to re-chrome your parts. Do not fret there is a solution for the DIYers out there by painting classic car chrome parts, since quality of the chrome paint products have gotten quite a bit better over the years.
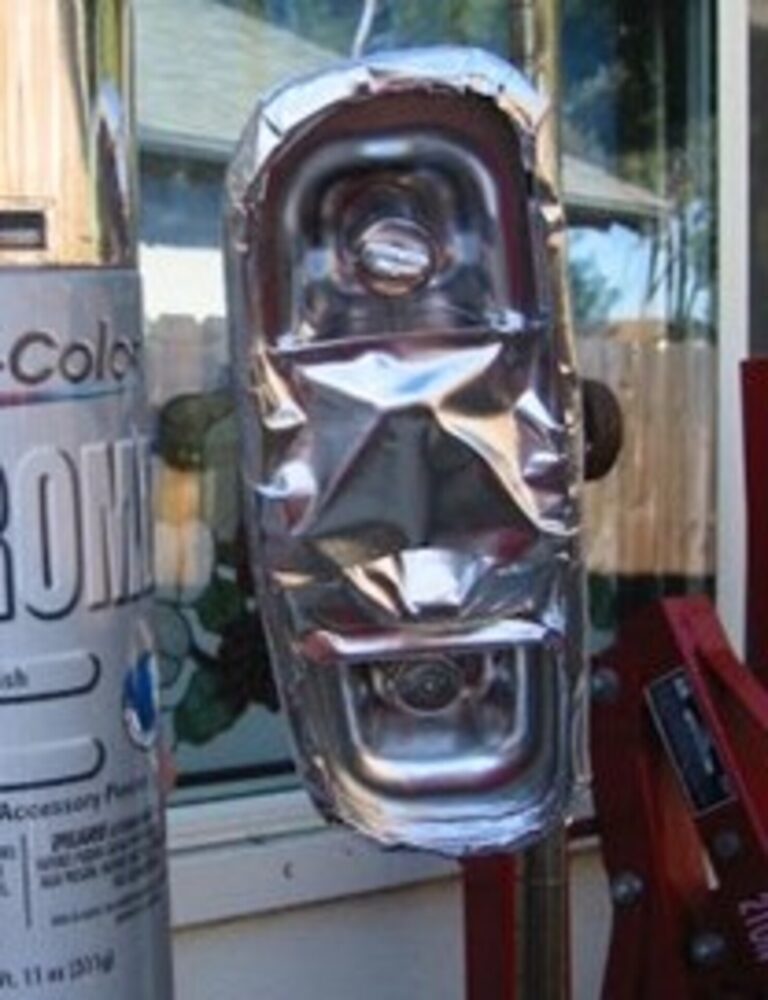
Chrome is normally bright silver and very shiny, which makes it stand out as trim on a car. Chrome can also get scratched, become dull or stand out too much for some people. A good solution to these problems is to paint the chrome car trim & parts. Chrome paint using the wrong steps can result in chipping, flaking and cracks in the paint. Using the proper steps for painting chrome car trim can result in a nice, durable finish for vintage car trim pieces.
The following is a simple step-by-step process; however, many chrome paint manufacturers have a complete program for the proper product application as well as stages to follow.
Preparing the Surface for Primer
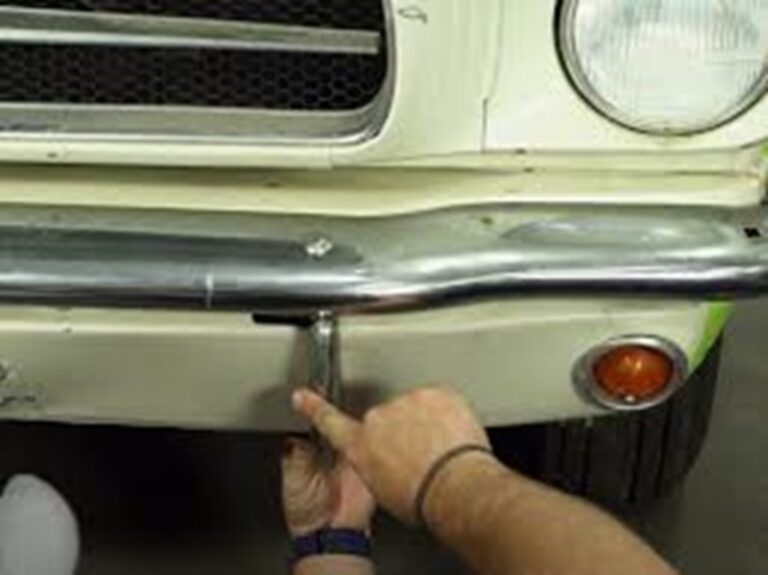
Remove the part from the vehicle. Removing the chrome from your classic car will make it easier for you to carry out the process of painting it.
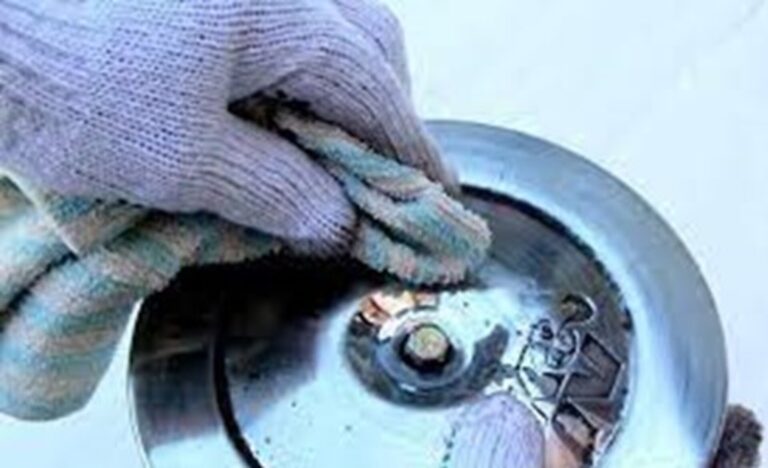
.Wash the chrome bumper with soap and water. You want to make sure you remove all the fingerprints, dust, or dirt that is on the bumper’s surface. Wash the part thoroughly with soap and water, and then carefully dry the bumper so that it is no longer damp4.
Remove rust from the bumper if necessary. Chrome rusts easily, so if your parts are rusty, you will need to remove the rust before you can start painting. To do this, mix vinegar and baking soda together until they form a thick paste. Take a rag or some sort of cloth and cover the rusted area with the paste. Let it sit for about 5 minutes, and then use steel wool to rub the rust off the part.
- The vinegar and baking soda mixture should cause the rust particles to loosen. If your part still shows signs of rust, repeat the process over again.
- Wipe down the part with water or soap once you have removed the rust to be sure to have a nice clean surface.
Sand the entire chrome bumper evenly. To apply paint to your chrome part, you need to create a workable surface for the primer. Use sandpaper or a dual action sander to remove any imperfections. Start with a coarser sandpaper, such as 60- or 120-grit, and then use 320-grit paper for a finer finish. The goal is to remove the shiny quality from the chrome surface.
- If you need to remove flaking spots, deep scars, or do heavy sanding, you should use 40- to 60-grit paper.
- For fixing small imperfections, try 80- to 120-grit paper.
For an exceptionally smooth surface, use 360- to 600-grit paper. This should leave you with a surface without many scratches.
Wipe down the bumper using grease and wax remover. Grease and wax remover will get rid of any additional traces of dirt, oil, grease, and other contaminants. Remnants of dirt will cause a bad paint job, so be sure to wipe the part with wax and grease remover thoroughly, and then dry it off with a clean rag.
- Grease and wax remover can be purchased at a home improvement store, auto shop, or online.
Cover any areas of the bumper you do not want painted with tape. If there is a part of the car or bumper that you do not want to paint over, use painter’s tape or plastic to cover up this section. If using painter’s tape, make sure that the edges are pressed down firmly and evenly.
Priming the Chrome Parts
Set up your work area and safety gear. Paint fumes and aerosol sprays are not healthy to breathe in, so make sure you are working in a ventilated area. You can set up a ventilated spray booth and wear a respirator or use a local exhaust ventilation system. Wearing gloves and eye protection are important safety precautions as well.
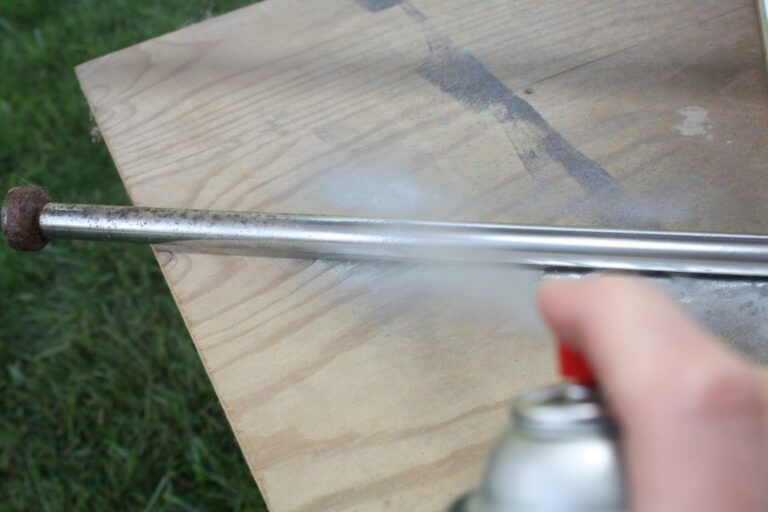
Spray the chrome part with self-etching primer. The self-etching primer is what will allow the regular primer to grab hold of the metal. Cover the entire part with the self-etching primer, spraying 2-3 even coats. Allow each coat to dry completely before continuing.
- When spraying in between layers, self-etching primer should only take a couple of minutes to dry. Allow the last coat to sit for 3-4 hours before starting to sand.
Spray the part with regular automotive primer. The regular primer will help to bond the paint to the chrome, strengthen the metal, and prevent rusting, so do not just use the self-etching primer and not the regular one as well. Cover the entire surface evenly using 2-3 coats and wait for each coat to dry before applying the next one.
- Depending on which type of primer you are using and what kind of paint you will be using on top, the regular primer’s drying time will vary. Check the instructions on the primer to see how long to let it sit.
Sand the primer without touching the chrome surface. Once your chrome part’s primer is completely dry, you can start sanding. The purpose of this sanding is to smooth out the surface of the primer while not getting to the chrome layer, so only use a fine sandpaper (400- to 600-grit) for this step.
- If you do happen to sand through the primer and reach the chrome surface, re-apply the primer, let it dry, and sand again.
Wipe away any dust or residue from the primer. Use a cloth to wipe off any dust particles left over from sanding. You do not want any dirt left on your bumper, as this will affect how the paint sticks to the surface. To avoid accidentally removing the primer, be gentle when wiping.
- You can use water, lacquer thinner, or a wax and grease remover to wipe away the dust.
Applying the Paint and Finishing Touches to Chrome Parts
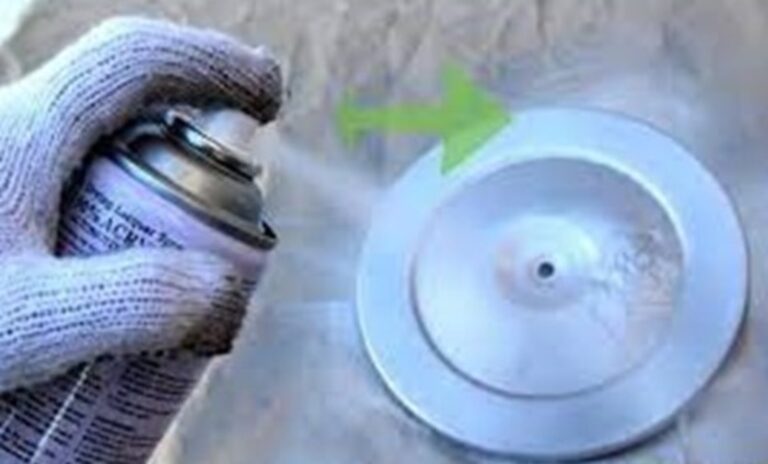
Practice your spraying technique. If you have never used a spray gun before, practicing on a scrap piece of metal is a good idea. Hold the spray gun 6 inches (15.2 cm) away from the surface of the metal and spray the paint back and forth in even motions. Many companies now provide chrome paint in a can for those who have not used a spray gun. To avoid drips or areas with heavy paint, only press down on the paint trigger when your arm is in motion.
- If you do have drips, you can use 2000-grit wet sandpaper to gently sand down the paint run.
Spray the paint onto the bumper in light, even coats. Once you are confident in your spraying technique, apply the paint in an even layer over the part. Use 3-4 coats, and make sure to check for any drips that will take away from the paint’s appearance. Let each coat dry entirely before adding an additional one.
- For correct drying times, check your paint’s directions to see how long to wait between coats.
Apply clear coats to the painted part. After you are satisfied with the chrome part’s color and all the paint coats have dried, apply 2-3 clear coats evenly. While mostly referred to as car clear coats, they are also called topcoats or high glosses. The clear coat will help preserve the color, as well as protect the part from sun damage, chipping, dirt, chemicals, and many other things that could harm your chrome part’s surface.
Reattach the part to your vehicle once it is completely dry. Once your chrome part’s final coat is dry, you are ready to reattach it to your vehicle.
Finally
These steps can be used to “colorize” the part to match the other parts on your classic car. This process may not provide the same finish a newly re-chromed metal, but for those who cannot afford newly chromed parts and want a classic car to drive regularly this will provide a suitable alternative.