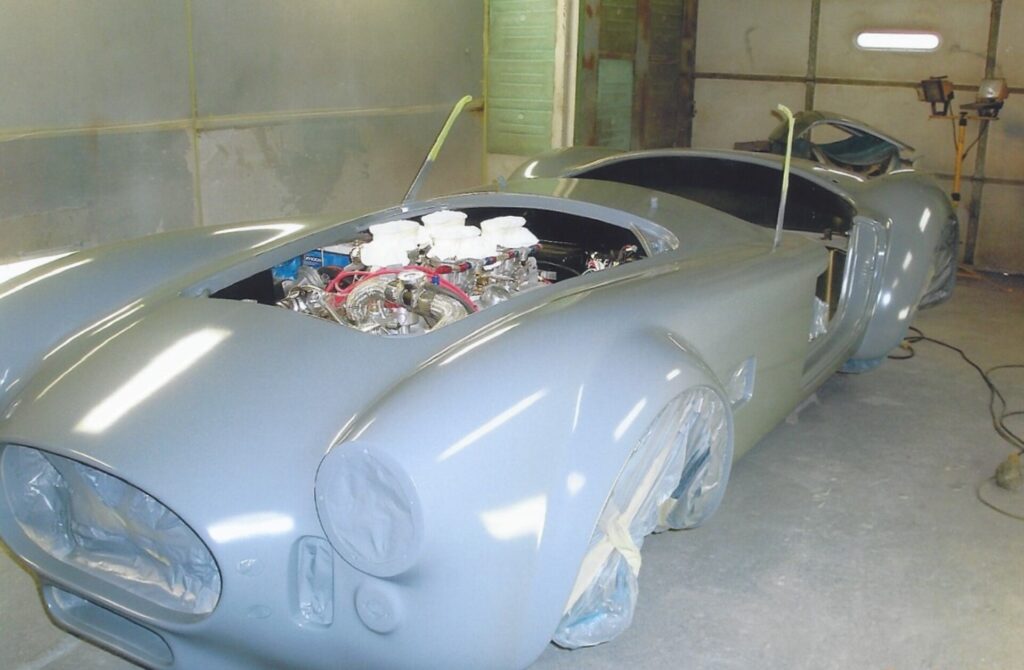
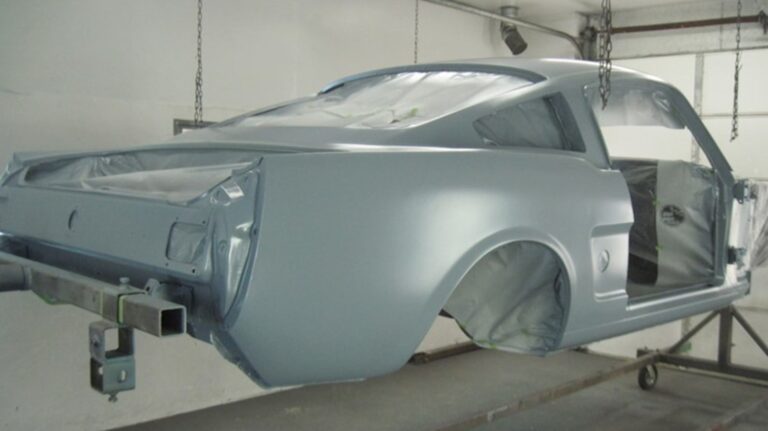
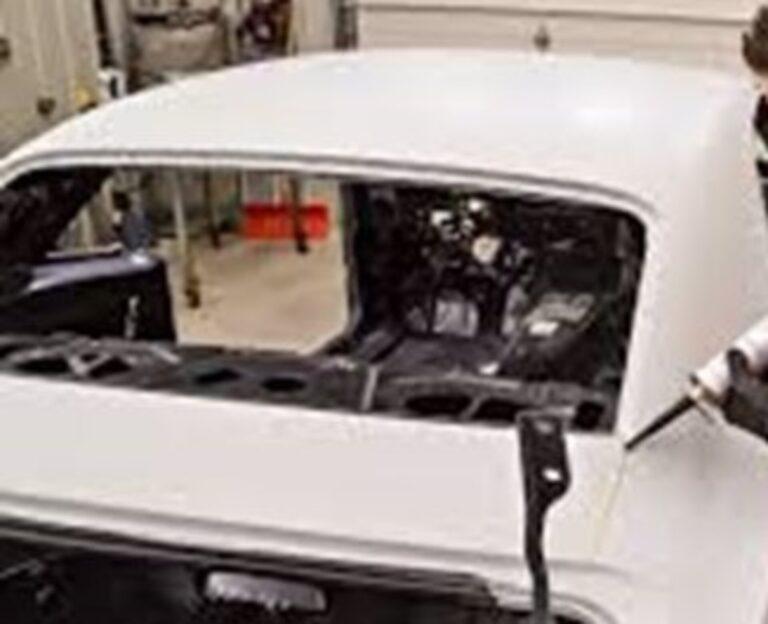
Classic cars can be made of metal, fiberglass, and now more carbon fiber are on the market. If you plan on painting your classic car then the use of automotive primer is key to your paint job.
Whenever you are dealing with bare metal or fiberglass, whether old or new, you will need to use of automotive primer before covering the area with any automotive paint. If you are making small body repairs and need to sand down or grind out a blemish, it is important to protect that area and make sure the paint will bond with the surface to further damage from rust or peeling.
The only time you will not need to use of automotive primer is if you are not uncovering any bare metal. If you are just lightly buffing away the top layer of paint and have not uncovered your vehicle’s steel panels, then it is ok to forego the primer. This goes for any plastic parts as well. If you are not removing paint down to the bare surface, then the primer is unnecessary.
Which Primer Should I Use?
If you are needing a best all-around primer, something that provides a little corrosion protection and allows maximum paint adherence these will be some of your best bets:
For large paint jobs – in instances where you need to repaint/refinish a large surface area of your vehicle, epoxy primer will usually be your best option. It is a two-component primer, so it is simple to mix, and provides the optimum blend of paint adhesion and corrosion resistance and protection. Epoxy auto primer can be applied on top of everything from fillers and fiberglass to prepared steel or factory finishes. Dry time is quick as well, making this a great all-around auto primer for home mechanics and auto body shops alike.
Think of epoxy primer as the foundation for your paint. These primers create a harder, more chemically resistant coating. They are water resistant, have minimal shrinkage, excellent adhesion properties, and will stick to bare metal, primers, filler, and old paint. For example, you can spray epoxy primer onto a surface that has been sanded down to bare metal, repaired with body filler, and then feathered into the original paint. Understand that epoxy primer will not stop or neutralize any rust that has started or is already present. Make sure to remove and treat any corrosion before applying primer.
Refer to the tech sheet for the time the epoxy primer can be recoated before it needs to be sanded or scuffed. Missing that window is one of the biggest mistake’s painters make. On the other end, pay close attention to the time the product must dry before applying paint over it. With epoxy primer, depending on the catalyst used, the product must sit for 30 to 60 minutes when one coat is sprayed. But, if two coats are sprayed the wait is 60 to 90 minutes. Yet, when applying over body filler, the wait times are quite different — one hour wait time for one coat. If spraying two coats, the product must dry overnight before applying over body filler. Wet sanding epoxy primer is usually the best way to prep it because epoxy tends to clog paper when sanded dry.

For small touch-ups – polyester primer is perfect for those little repair jobs that require some light filling or putty, as it has great “build” – meaning it is on the thicker side and can fill in minor nicks and scratches and sands down well, negating the need for an extra putty or filler step. Polyester auto primer is perfect for completing small auto body repair jobs and is excellent for spot repairs.
Polyester primer is a very thick two-part product and is used when there is a good deal of bodywork. Poly primer is great for using over bare fiberglass and epoxy. It is a high-solids product and has minimal shrinkage. It sands easily and is perfect for getting those wavy panels straight. Think of it as a sprayable body filler. Using this product can save hours of time. Get the panels straight with the poly primer, paint one round of urethane primer, sand it, and you will be ready to go into sealer and color!
After spraying the poly primer, block-sand it with 80-grit to flatten the surface. Then do most of the sanding with 180-grit, and finish with 220. This will provide the flat surface you want. The courser grits work better for getting the surface flat. They carve more effectively, scraping away the high spots. The finer grits tend to remove less of the high spots, passing over the bumps.
Never wet-sand polyester primer! It will absorb the moisture and may cause issues down the road if it does not completely evaporate before painting. While polyester primers are great for filling, they can be porous. Once you are finished sanding the polyester primer, use a urethane primer or a sealer over it. Urethane primers are a better surface for basecoats. The urethane primer is much denser and seals the polyester surface. Always check the product sheet to know what works best for the poly primer you are using.
For the best rust protection – in situations where rust was present and sanded out, or even where complete rust removal is not an option, moisture cure urethane primer will provide the best protection from further rust damage. Urethane auto primer sands easily, dries quickly, and holds color well.
Deciding which type of automotive primer to use does not have to be overwhelming or confusing. Begin by determining which needs are most important when it comes to repairing or repainting your vehicle – will you need extra rust prevention? Is strong paint adhesion a priority?
A quality urethane primer-surfacer will do a good job of leveling out the transition from plastic filler to metal, as well as filling the sanding marks in the filler. But do not try to use primer-surfacer where plastic filler or polyester primer can be used. Keep to the recommended number of coats. That information — plus recommended air pressures and wait times — can be found in the product sheets. Each product is different, so make sure to read through the product sheet before priming. Never leave a two-part primer sitting in the spray gun. Most catalyzed primers start to harden in about an hour. Let each coat flash (dry dull) before applying the next.
Urethane automotive primers come in a standard and high-build variety. Urethane primers also have great filling qualities. Follow the instructions for mixing and flash times (dry times in between coats). Primer surfacers shrink when flash times (usually 5 to 10 mins) are ignored. Do not use a hardener meant for one product with a different product.
If preparing the surface for sealer and topcoat application, use 320-grit when block-sanding urethane primer-surfacer. It is rough enough to sand it quickly and flatten out any small imperfections. Then, wet-sand the surface with 400-grit. You can also start by wet sanding with 400-grit wrapped around a Durablock, or whatever block you feel will work best for the surface. Spraying a light guide-coat on the surface prior to sanding shows the high and low areas and helps keep the body lines straight as you sand.
Sealers
Years ago, I never used sealer. Now, I do not even consider painting without first spraying sealer. Think of sealer as an insurance policy. Sealer takes care of many problems. It creates a bond between properly sanded primer and the basecoat paint. Sealers help the paint to stick and can reduce the chance of having the topcoat paint run. Sealer fills those light sand scratches and can diminish very slight imperfections. The sealer also helps to “seal” the surface. The edges of the layers that were sanded-through tend to heal under a coat of sealer. If sealer was not used, they might show up through the topcoat.
Sealers also help the basecoat to flow. But, since sealer is not sanded, it will leave more texture if it is not sprayed flat. If you get a grainy surface with the sealer, that surface will show up in your basecoats. Wait times can be critical with sealer. Wait too long, and sanding will be needed to assure proper adhesion of the basecoat. Too short a wait time, and solvents might be trapped. Sealer adds to the cost of the paint materials, but the troubles it prevents makes it well worth it.
Colored sealers can also be a big help. A white sealer under a light basecoat, helps the topcoat to have better coverage. Some sealers come in a range of colors, so check your paint brand for its sealer choices. Sealers are offered in white, light gray, and dark gray. There are some sealers than can be custom tinted to better match the topcoat color.
An Easy Way to Avoid Many Painting Problems
When using 2K products, the best way to avoid problems is to only use the hardener or catalyst designed to go with that product. It does not matter if your buddy tells you,” Sure use that, I do it all the time.” You take a chance when using a hardener that goes with a different brand of paint or filler. Chances are, something is going to go very wrong, and you will never know the real cause of the problem. If you do not have the correct hardener to go with the stuff you are using — stop and wait until you get the right hardener. It is never worth it to use questionable hardener!
You want to apply the automotive primer evenly to all areas that are to be painted on your classic car. Primer is needed to make sure the paint adheres to the car. Paint will stick much better to a car with primer than to a car that has not been primed. If you are applying primer indoors then it is necessary to make sure there is good ventilation.