Over many years of at home car restorations; starting in a 1 car narrow garage to a more spacious environment all require organization tips to keep the classic car restoration project on target. Also, most of us cannot afford a garage set up from one of the catalogs costing in the thousands of dollars.
The thrill of making progress assembling your DIY project can quickly be overshadowed by the frustration of a missing part or piece of hardware that you are sure you set down right there. Despite how confident we all are in our memory and ability to stay organized and remember exactly where each piece went, a little preparation and awareness goes a long way.
You need an enclosed area to restore an old car. I have known one or two determined souls that have restored cars in their driveway or under a carport, but it is not very practical nor efficient. Old car restoration is hard enough to begin with, why make it harder?
A car is comprised of many, many parts: engine, transmission, brakes, fenders, doors, trim, seats, exhaust, tires, wheels, etc. In the perfect world (that none of us live in), a three or four bay shop would be ideal. This would allow plenty of room for a full body-off restoration, a dedicated paint area, and extra space for removed parts (seats/upholstery/etc.). But let us be realistic and work with what we have.
Here are some tips for how to stay on top of your game:
Work clean, stay clean
This is how I strive to keep my workbenches and spaces. It ensures that my projects do not get muddled.
The last few points have been all about general organization, but a good foundation of success for any project is a clean and ready environment in which to do the job. If you are having to shuffle spare parts and other dirty pieces out of your way as you are trying to work, it is less likely to end well. Get your space cleaned up before diving into the task at hand and remember to keep tidy as you go. That means having a few rags or towels on hand, as well as floor-dry (Also can use cheap kitty litter) or trays to contain spills and greasy parts.
These organization tips will get you started, but over time you will develop your own system. There is always room for fine-tuning and improvement.
Get small trays for small parts (and bigger trays for big parts)
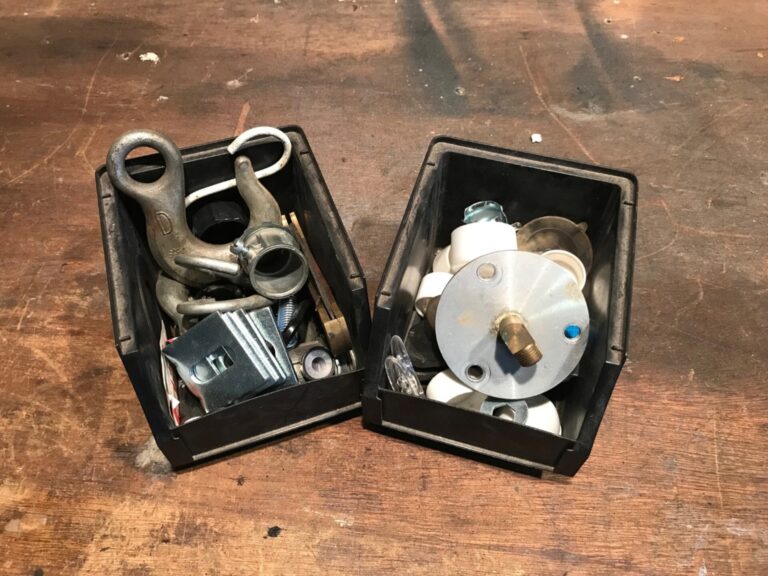
I do not remember where these small plastic trays came from, but they live on top of my workbench now, making organization of bolts and small parts easy.
If your project is not going to be apart long, use a handful of small trays to organize bolts and hardware. Muffin tins are great for this, and you can label each grouping of hardware directly on the tin with a permanent marker. I also keep these stacking plastic trays on my workbench and I can number the order in which the hardware or small parts came off the car and assemble in reverse order to ensure I am doing things in the correct order. I say to do this only if the project won’t be apart long because if you just have random tray and dishes of hardware on your workbench, it is only time before they get knocked and scattered across your floor. In my shop they seem to always make it under something immovable.
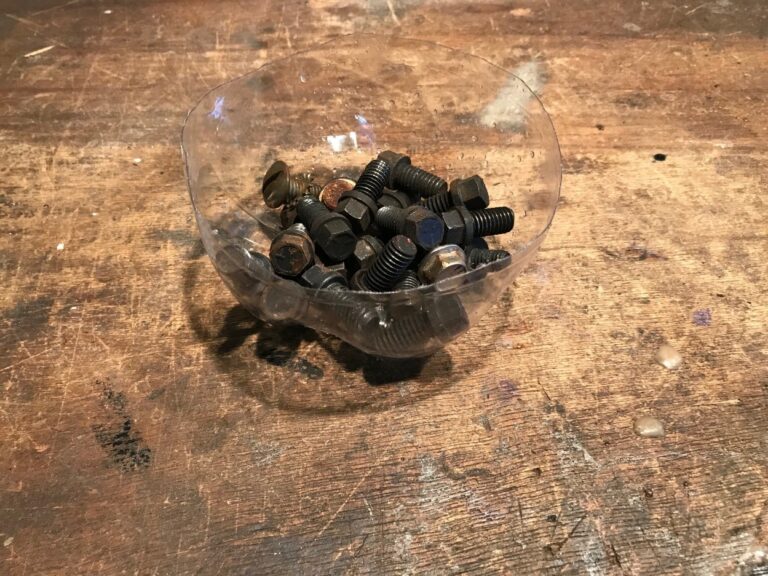
If all else fails, then I grab a handy soda bottle to cut apart.
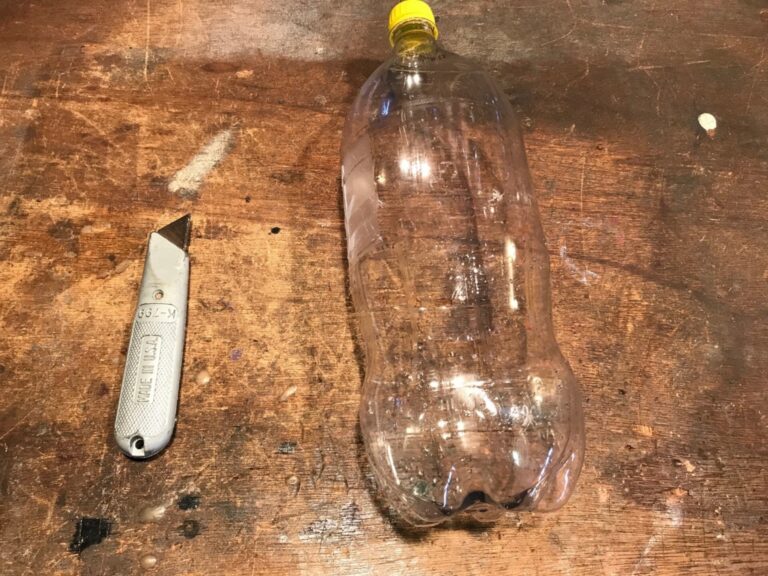
Cutting it into 3 pieces gives me a container for small parts.
And a handy funnel.
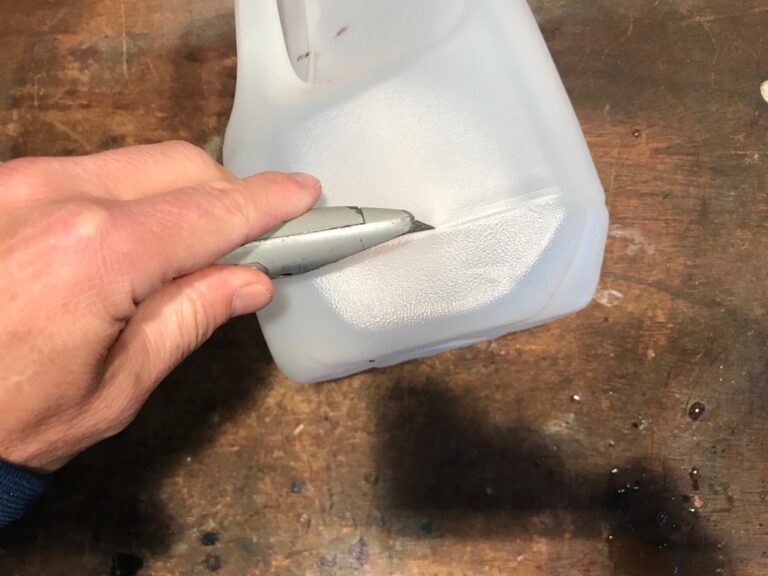
If I need a larger tray, then I cut the bottom of a 1-gallon water or milk container.
Grab your camera
This is one piece of advice that has been relayed to me 100 times, and I have recommended it to others just as often, yet I still catch myself not actually doing it. So, do as I say and not as I do, because taking pictures during disassembly can—and will—save you from massive headaches. Sure, there are times where you end up not needing the references upon reassembly. When you do, though, those jpeg files feel like they have been downloaded from the heavens rather than your digital camera.
Painter’s tape is your friend
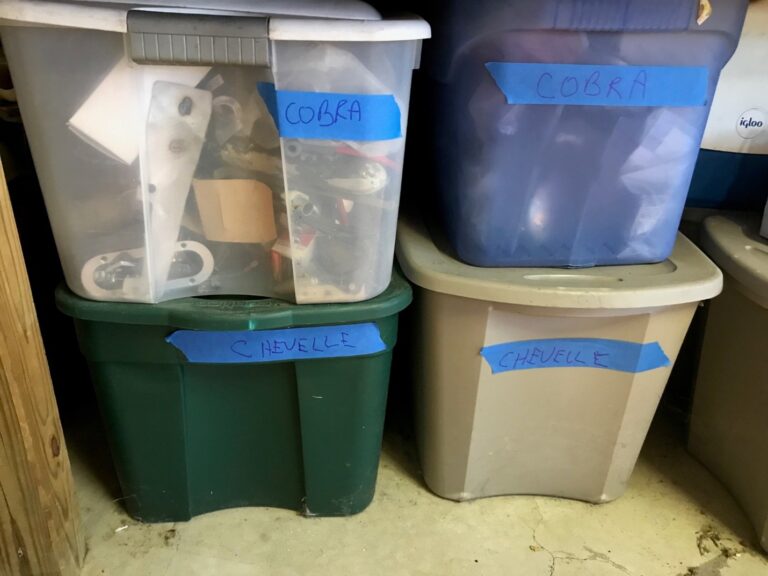
I use larger plastic continer for my larger parts and label the outside so I know what is in each box. We stay away from carboard boxes since many have fallen apart over the years and the spill of parts on the garage floor is not fun.
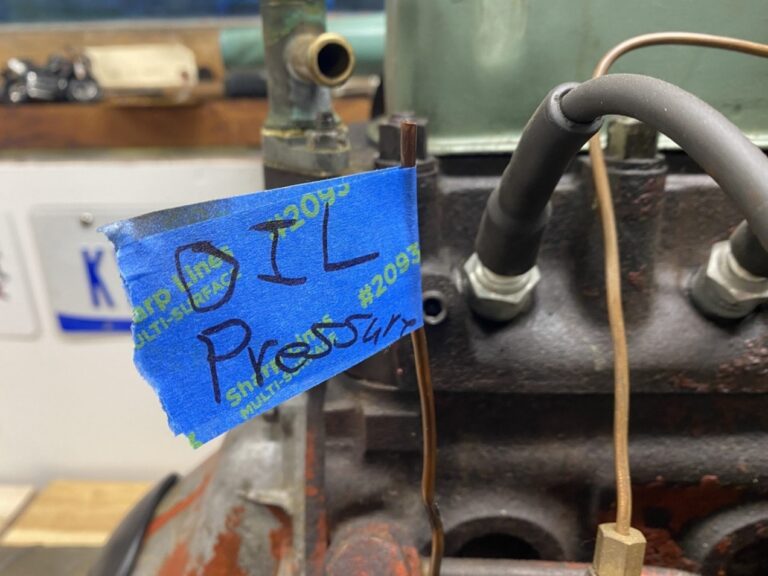
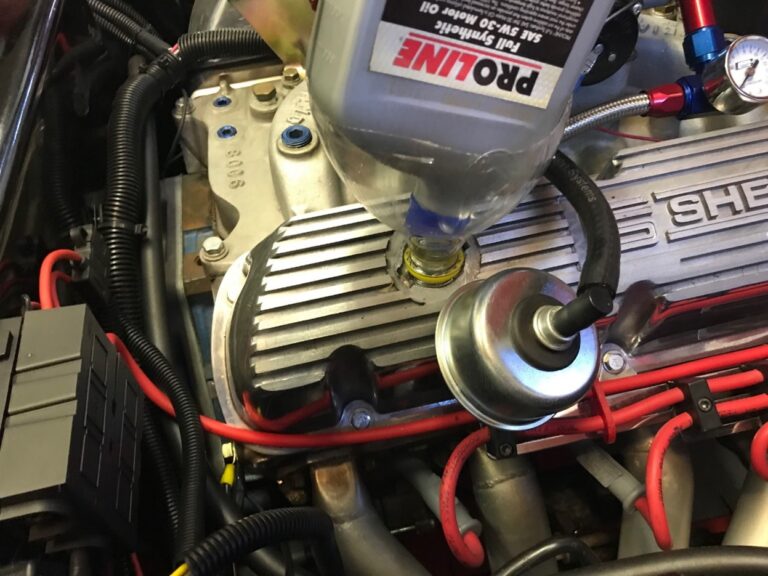
I probably would remember to reconnect the oil pressure gauge connection, but this guarantees it.
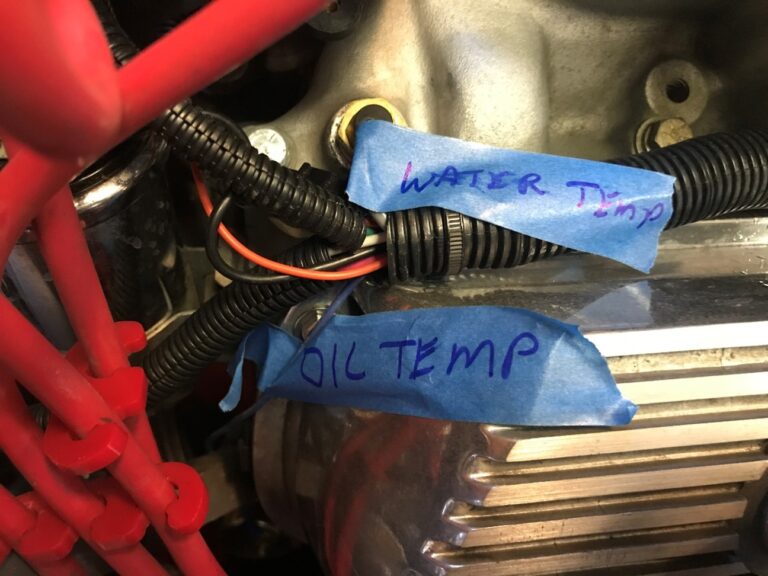
Tape flags work perfect for wires as well.
The term “tag and bag” is great, but what about items that cannot be bagged? Grab some tape, write the info you will need to remember for reassembly, and then slap it on your part. For greasy bits where tape doesn’t stick, make yourself a few quick and easy “toe tags” by attaching a flag to a piece of wire or string, writing the info you need on it, and then tying the wire or string to the part.
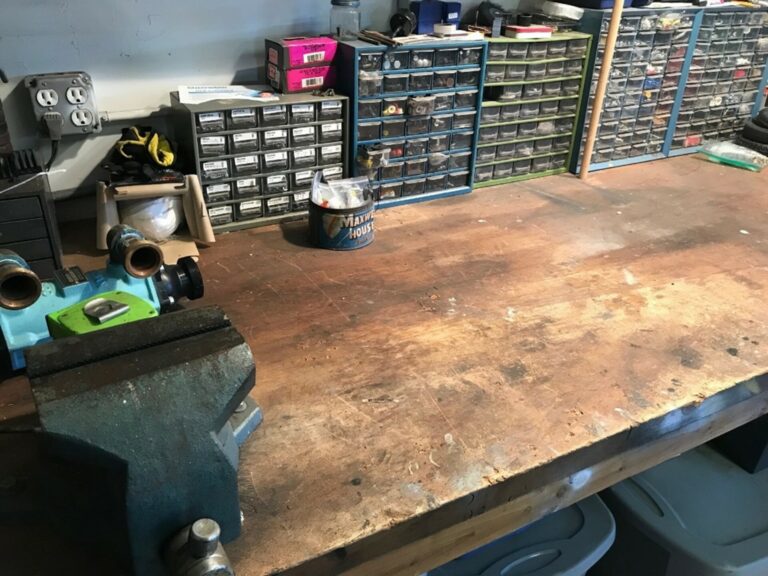
Keep it all in one spot
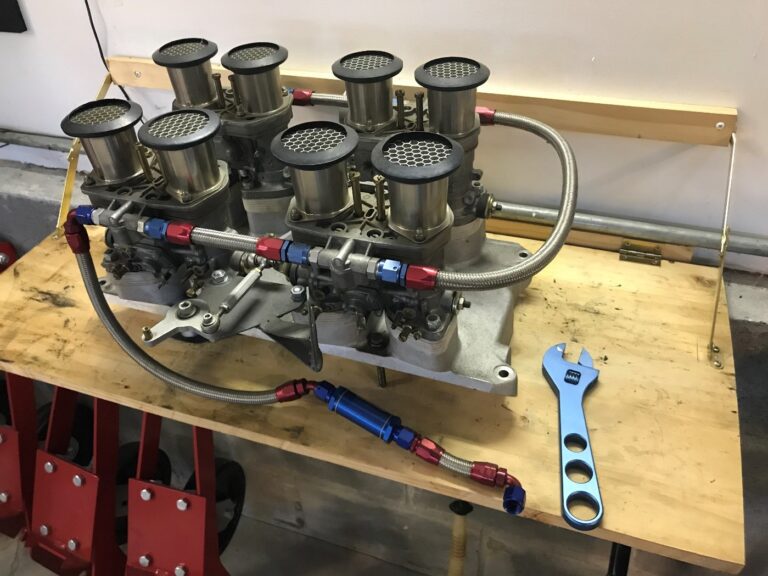
All the parts from the intake manifold swap of the Cobra are all on this workbench. The fact I fold this down to work next to the car is an extra luxury. A rolling worktop toolbox is also very handy.
The concept is simple: keep everything related to a project on its assigned bench. Be disciplined about this one. I know everything on one workbench should be parts for project A, and everything on the other is parts for project B. If you do not have much worktop space, a folding table is a wise investment to keep parts in one place and off the floor. I keep a folding plastic worktable and plenty of plastic containers handy if a project expands.
Separate and Store
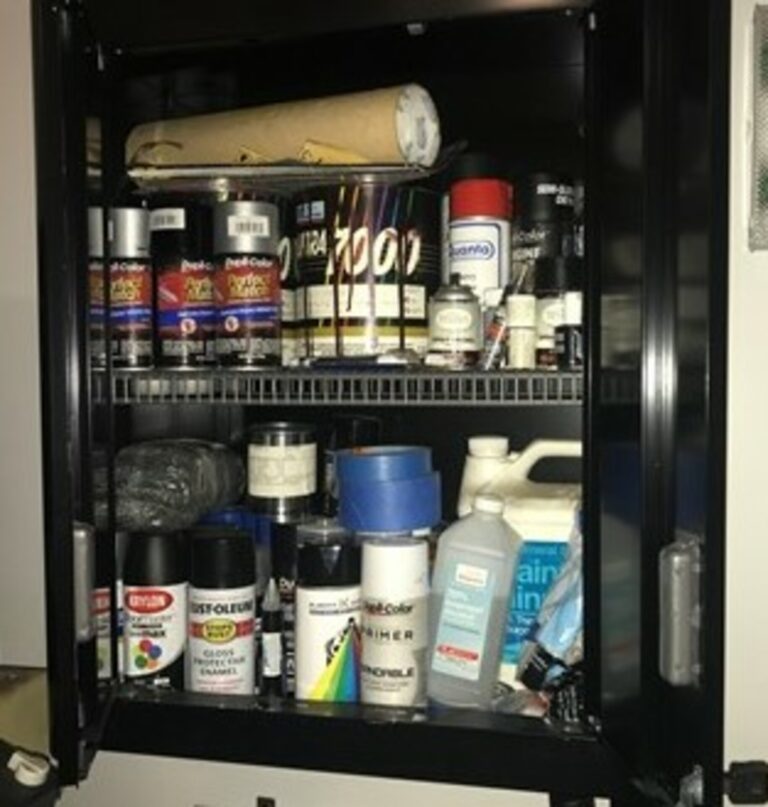
I keep my paint and bodywork supplies separate from my parts and mechanics tools. You want to make sure that your body work material does not get any grease, oil, and other contaminants on them otherwise you may serious foul you future paintwork. Even the mist created by may products or harmful to paints so keeping them separate and store away will help in this cause.
Safety First and Always
When working in your garage workshop, please be safe. Proper protective equipment includes safety glasses with side shields, foam ear plugs, and gloves. When cutting and grinding metal, wear a face shield.
Always use jack stands when working under a car.
Wear safety glasses anytime you are drilling or cutting. Many times, you will need to feel something with your bare hands. For the rest of the time, you should be wearing gloves (there is several different types).
I keep several fire extinguishers around the garage especially near the doors and work areas, and there is a small first-aid kit on top of my toolbox. I also keep oil-dry handy – who has not spilled oil all over the garage floor at one time or another?
Latex Work Gloves
Working around cars for years, I have used lots of different brands of gloves. The ones I buy for personal use are more expensive than others, but they feel better and last longer.
Best Workshop Layout
It has taken me years to set up my garage the way it is today, and in doing so, I have come up with lots of ways to improve my productivity and pleasure working on my classic cars. By organizing tools and shop equipment, you can improve your productivity, and get that old car back on the road sooner.