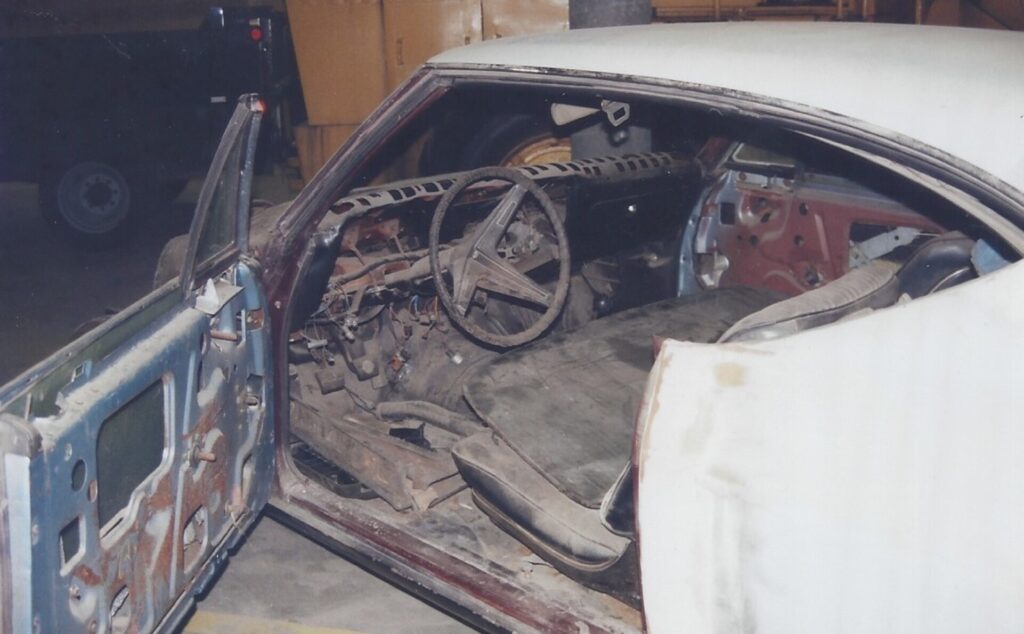
So your dream of a classic car restoration is now sitting pretty in your garage. After the shock of you being a mere restoration project away from absolutely owning your neighborhood roads abates, you are now left with a simple question: Now what? Hmmm; step 1 – car disassembly.
Keep in mind that the average circa 1960s classic car has over 8,000 component parts. Each of those will need to be individually removed, inspected, and restored or replaced. So, your first obvious step is grasping the enormity of the task ahead of you. Yet you have come this far; there is no turning back now.
Document & Photograph Everything!
While proceeding with your classic car restoration, remember to record every detail of what you do. Take pictures of all vehicle components before disassembly and record the origin and detail of each individual part before marking and bagging it with the other pieces of its component system.
These steps to disassembly for a classic car should be followed whether the work is being done in your garage or at a restoration shop.
Steps to Car Disassembly:
Step 1: Do you have the correct tools
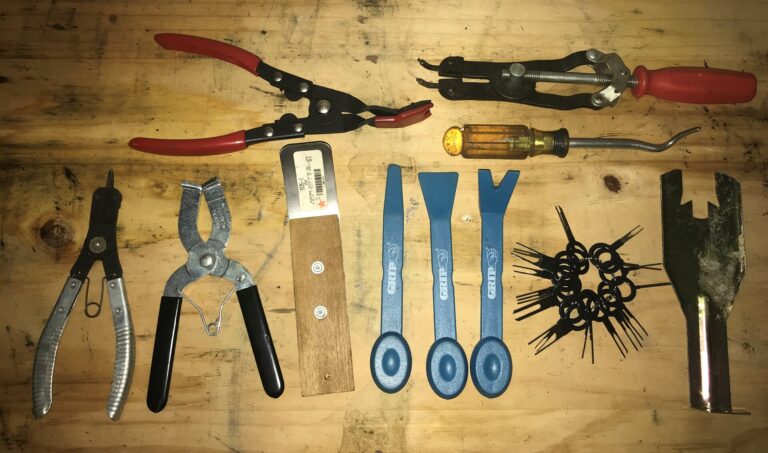
There are numerous parts on a vintage car that are installed using special clips, bolts, and other fasteners. These parts can be specific to a manufacturer or even a car. Research is extremely helpful in preparation for removing parts with the correct tools will save on possible damage resulting in added expense as some parts may be hard to replace such as exterior moldings.
Step 2: Have a place to store the parts

Sorting and storing parts is critical in the restoration process. All parts from panels to screws must be properly labeled, packaged, and boxed so that you can find them easily in the future. Countless restoration projects go off the tracks when parts are lost or misplaced from the original disassembly. For this make sure you have plenty of rolls of painter’s tape, packing tape, bubble wrap, plastic bags (various sizes), and plastic containers. Clearly label and store in the same place for easy access.
Step 3: Remove the vehicle’s trim
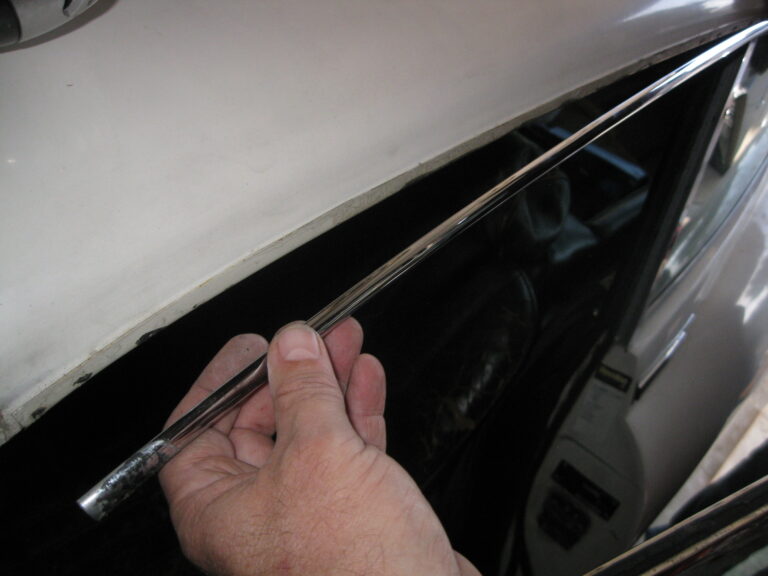
Locate the screws and fasteners that are holding on bumpers, grills, lights, and side trim. Take your time and be delicate as you remove them, as these can be some of the most expensive elements to have to replace.
Step 4: Remove the glass
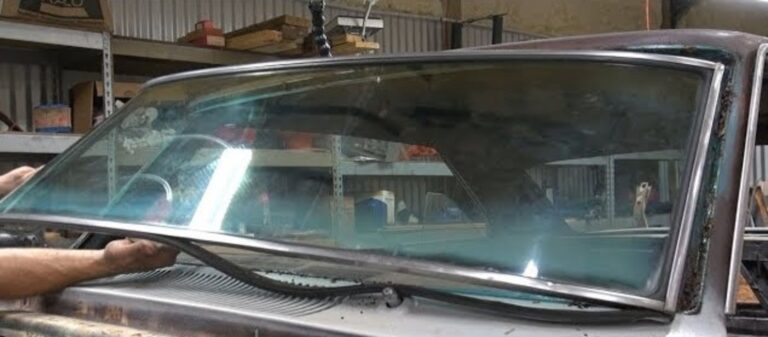
Take the windshield out first by removing the interior trim and then releasing the rubber molding holding the body in place, pushing outward from the inside rather than pulling. Do the same with the rear window. Remove the door trim panels to get to the side windows.
Step 5: Take out the interior
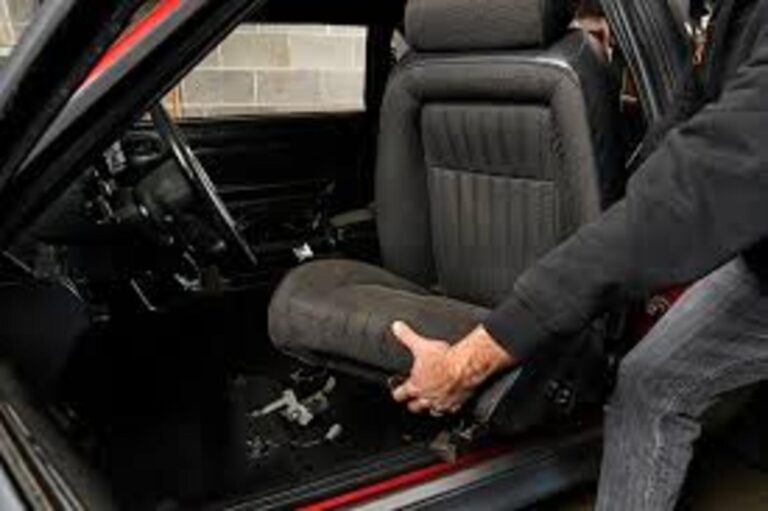
Start with the door panels, then move on to the seats, the remaining interior window trim, and then the carpet and floor insulation. Remove the dash and then proceed onto the steering column, pedals, and heater/blower box.
Step 6: Disassemble the drivetrain
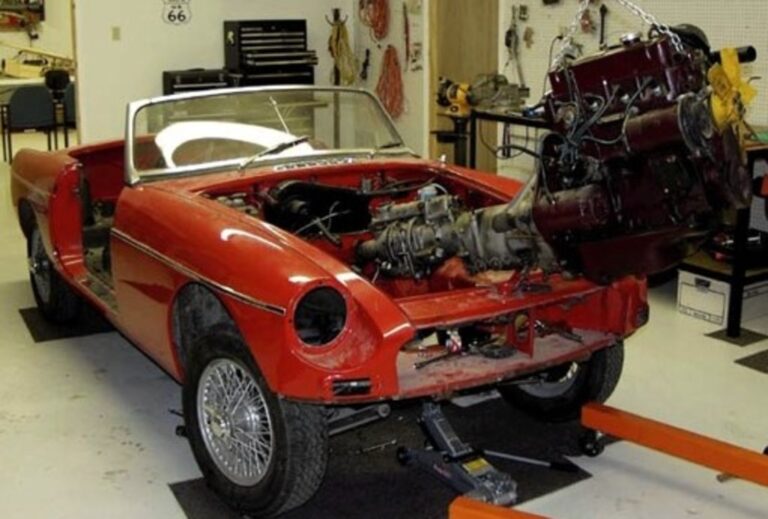
Now you have reached the nitty-gritty of your classic car restoration project. Remove the battery, drain the engine of any remaining fluids, lift, and secure the engine, and remove the rear assembly. Next, take out the suspension from the back to the front.
Step 7: Remove the wiring
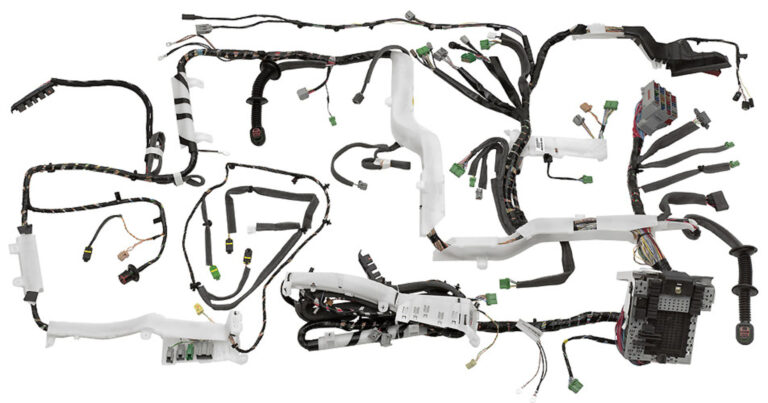
Begin by removing the wiring harnesses in the rear feed, and then move on to the engine bay. Finish by taking out the harness in the dash. Remember to label each wire as to what it was connected to for future reference.
Step 8: Strip the body paneling

Before taking this last step, find out the exact body type of your vehicle. Whether it is unitized, monocoque, or body-on-frame will determine how the paneling is mounted (and how it should be removed).
Conclusion
Sounds simple enough, right? Not to worry; countless other classic car enthusiasts have traveled down this road before. If they did it, so can you. Know, too, that there is help available with your classic car restoration project as each step has quite a few parts to get to full disassembly.
Every weekend i used to pay a visit this web page, as i wish for
enjoyment, for the reason that this this web site conations genuinely fastidious funny information too.
Appreciating the commitment you put into your
site and in depth information you provide. It’s good to come across a blog every once in a
while that isn’t the same out of date rehashed information. Great read!
I’ve bookmarked your site and I’m including your RSS feeds to my
Google account.
We are a group of volunteers and opening a new scheme in our community.
Your web site provided us with valuable information to work on. You’ve done an impressive
job and our entire community will be grateful
to you.
I delight in, cause I discovered just what I was looking for.
You have ended my 4 day lengthy hunt! God
Bless you man. Have a nice day. Bye
When filming wrapped in 2021, Butler realized simply how
a lot a toll the position took on his physique.
Elvis is an upcoming biographical drama directed by Baz Luhrmann.
Hello it’s me, I am also visiting this site on a regular basis, this site
is truly fastidious and the people are truly sharing nice thoughts.
I read this post fully about the resemblance of most recent and earlier technologies, it’s awesome article.